ENG-12
8 Press the
➛
or
❿
buttons to start scanning channel.
Result: The frequency band is scanned and the first
station found is displayed.
9 Press the
or
❷
buttons until the NAME is selected.
The station name is set automatically from the
broadcast signal.
10 To change the programme’s name, press the
❿
button.
Result: The first letter of the name flashes.
11 To... Then...
Select a character Press the
or
❷
button until
the required character is
displayed (letters, numbers or “-”
character).
Move to the next or
Press the
➛
or
❿
buttons
previous character
respectively.
12 If you... Then...
Wish to store the
◆
Press the
or
❷
buttons
station displayed until the MFT is selected.
◆
Press the
➛
or
❿
buttons to
adjust the picture, if necessary.
◆
Press OK to store the station
Do not wish to
◆
Press the
or
❷
buttons
store the station until the CH is selected.
displayed
◆
Press the
➛
or
❿
buttons to
go on scanning the
frequency band and display
the next station
◆
Go back to the beginning of
Step 9
13 Repeat this procedure from Step 6 onwards, until
all the required stations have been stored.
14 On completion, press the RETURN button three
times to exit the menu.
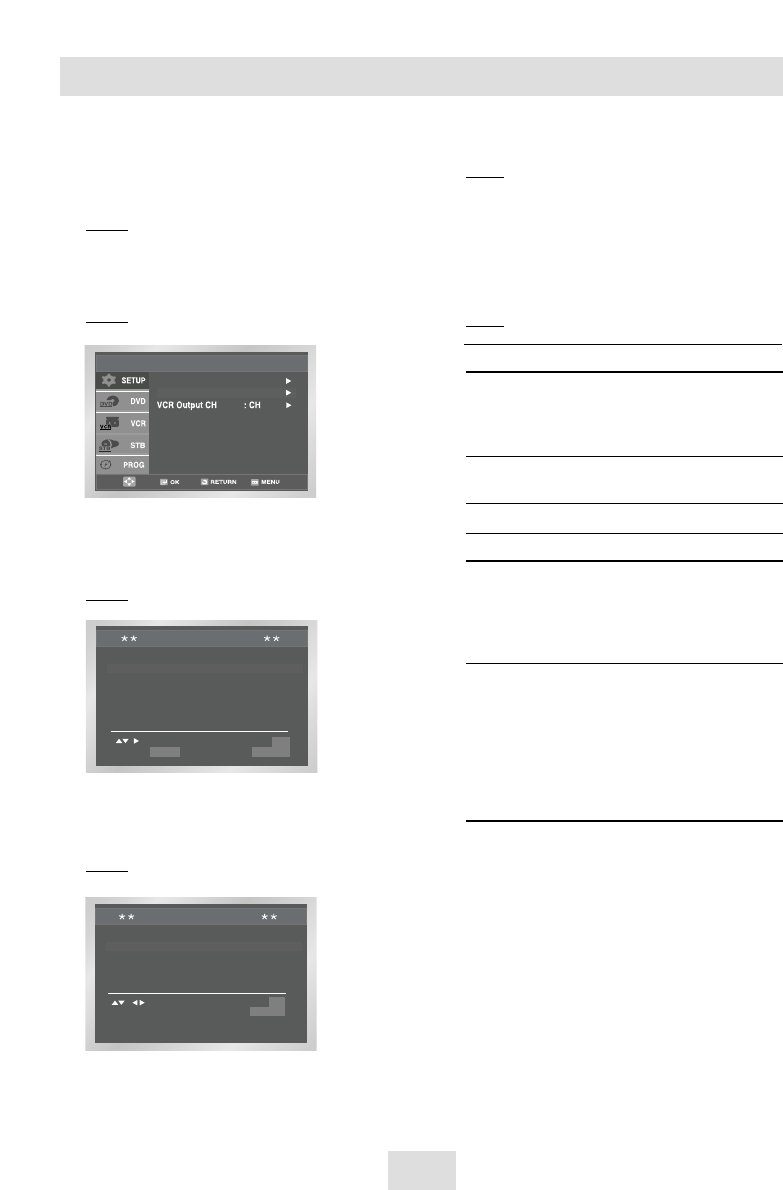
Presetting the Stations Manually
☛
You do not need to preset the stations manually if
you have already set them automatically.
1 After pressing the MENU, press the OK or
❿
.
Result: The Setup menu is displayed.
2 Press the corresponding
,
❷
buttons to select the
Install option.
3 Press the OK or
❿
to select this option.
Result: The Install menu is displayed.
4 Press the corresponding
or
❷
buttons, until the
Manual Setup option is selected.
5 Press the OK or
❿
to select a Manual Setup option.
Result: The TV STATION TABLE menu is displayed.
6 Press the
or
❷
buttons to select a programme
number as required.
7 Press the
❿
button to preset the station.
Result: The MANUAL TUNING menu is displayed.