masterpage:Left
filename[D:\MVC-CD1000 kaihan\3062473121\3062473121MVCCD1000UC\02GB-
MVCCD1000UC\09adv.fm]
62
model name1[MVC-CD1000]
[3-062-473-12(1)]
Changing the
recorded still image
size (RESIZE)
To cancel changing the size
Select [CANCEL] in step 3.
Notes
• When you change from a small size to a
large size, the picture quality deteriorates.
• The original image is retained even after
resizing.
• You cannot change the size of images
recorded in TEXT mode, uncompressed
image, or moving pictures.
• If you resize an image, the disc space will
decrease.
• If the disc space is not sufficient, you may
not be able to resize an image.
• The resized image is recorded as the
newest file.
Selecting still images
to print (PRINT MARK)
You can mark a print mark on still
images recorded with your camera.
This mark is convenient when you
have images printed at a shop that
conforms with the DPOF (Digital Print
Order Format) standard.
To remove the print mark
Select [OFF] in step 2.
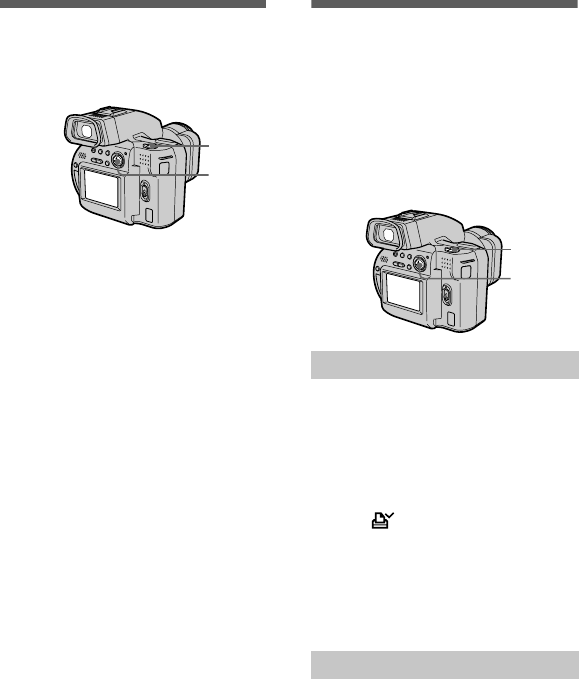
1
Set the PLAY/STILL/MOVIE
selector to PLAY, then
display the image of which
you want to change the size.
2
Select [TOOL] and then
[RESIZE] from the menu.
3
Select the desired size.
1600×1200, 1024×768, 640×480.
The resized image is recorded and
the image on the LCD screen or on
the viewfinder returns to the
previous size after recording.
2, 3
1
In single mode
1
Set the PLAY/STILL/MOVIE
selector to PLAY and display
theimageyouwanttoprint.
2
Select [FILE], [PRINT MARK],
and then [ON] from the menu.
The (print) mark is marked on
the displayed image.
In INDEX mode
1
Set the PLAY/STILL/MOVIE
selector to PLAY, then
display the INDEX screen.
2
Select [FILE], [PRINT MARK],
and then [SELECT] from the
menu.
3
Selecttheimagestobe
marked with the control
button.
2, 3, 4
1
01cov.book Page 62 Wednesday, July 19, 2000 10:33 AM


