40
Getting Started
2
This section explains how to use the menus: [A Rec. Mode],
[Q Playback], [R Set-up] and [A Custom Setting].
The following explains how to set [Program Line] in the [A2]
menu as an example.
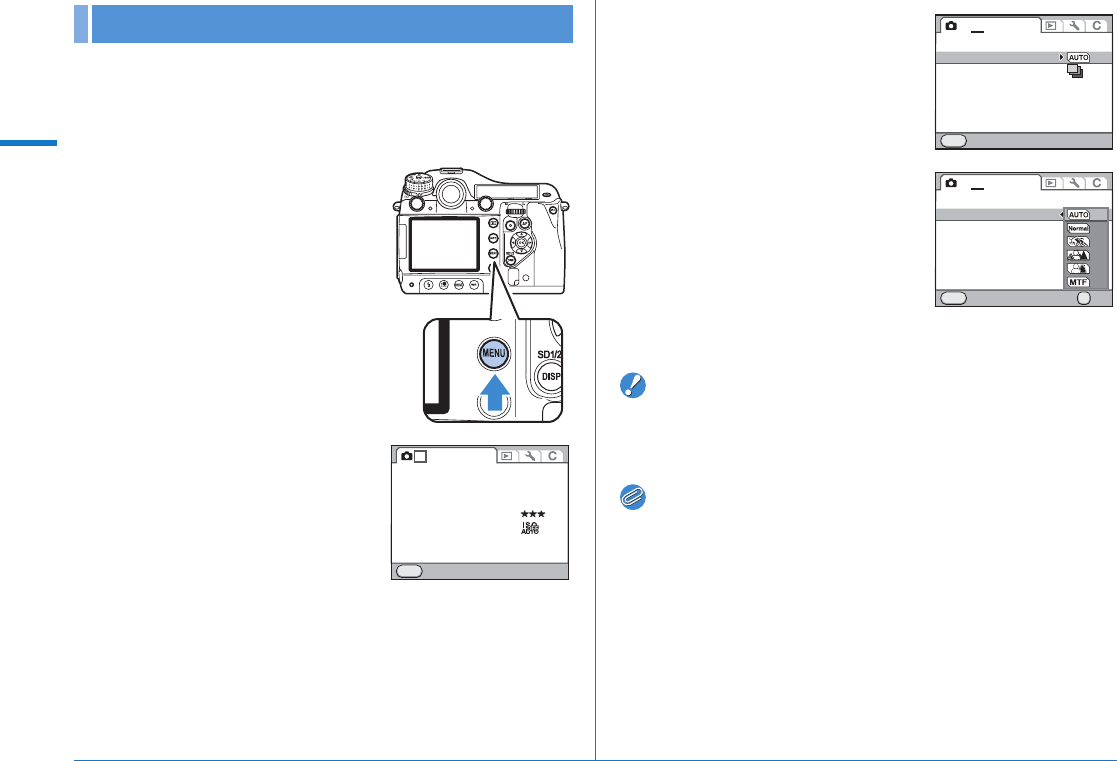
1 Press the 3 button in
Capture mode.
The [A1] menu appears on the
monitor.
Press the 3 button in Playback
mode to display the [Q1] menu first.
2 Press the 5 key or turn the
S dial to the right (y).
Each time the 5 key is pressed, the
menu will change in the following
sequence: [A2], [A3], [A4], [Q1]
...[A1].
When the R dial is turned to the
right, the category will change in the following sequence: [A1],
[Q1], [R1], [A1].
3 Use the 23 keys to select
an item and press the 5 key.
Available settings are displayed.
The frame moves to the pop-up menu
if there is one.
4 Use the 23 keys to select
an item and press the 4
button.
The camera returns to the menu
screen. Next, set other items.
Press the 3 button to exit the
menu and return to the screen that
was displayed before the menu was selected.
Caution
• Your settings may not be saved if the camera is turned off
improperly (such as by removing the battery while the camera is
on).
Memo
• Refer to “Menu Reference” for details on each menu.
• A Rec. Mode Menu z p.R13
• Q Playback Menu z p.R22
• R Set-up Menu z p.R23
• A Custom Setting Menu z p.R30
Using the Menus
JPEG
JPEG
L
Exit
MENU
1 234
SD1 Image File Format
SD2 Image File Format
JPEG Recorded Pixels
JPEG Quality
ISO AUTO Adjustment
D-Range Setting
Program Line
Lens Correction
Extended Bracketing
HDR Capture
Multi-exposure
Interval Shooting
Exit
MENU
1 2
3
4
Off
OFF
Program Line
Lens Correction
Extended Bracketing
HDR Capture
Multi-exposure
Interval Shooting
Cancel OK
OK
MENU
1 2
3
4
OFF


