[ 8 ] Pelco Manual C519M-D (7/00)
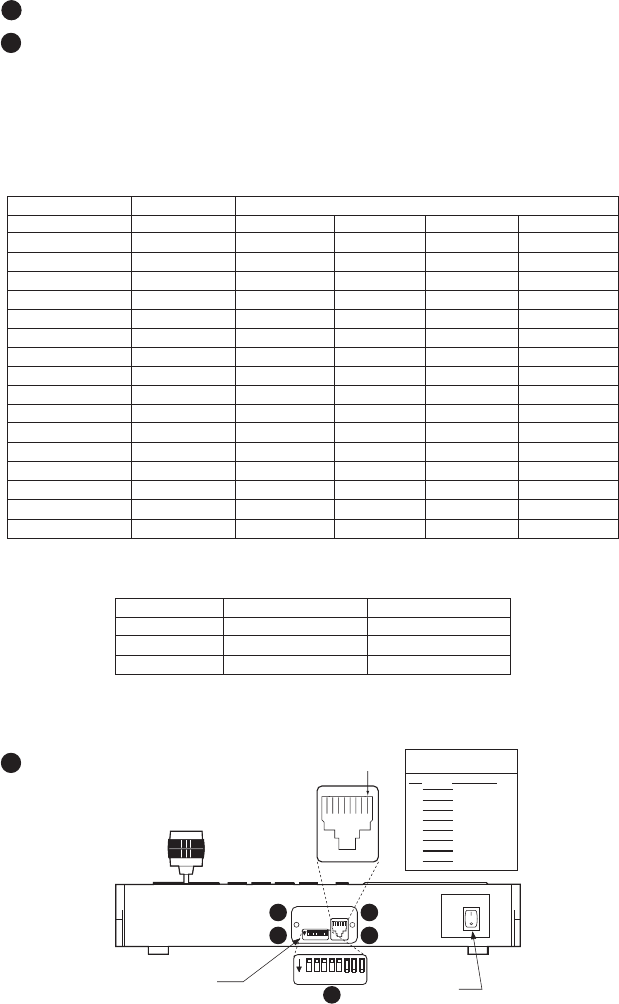
Figure 4. Keyboard Rear Panel
SWITCH SETTINGS
To set the switches on the keyboard (refer to Figure 4):
1 Remove the two screws and the DIP switch cover plate from the rear of the keyboard.
2 Set the switches:
• Address (Switches 1-4)
Position the switches according to Table B. Each keyboard in the system must have a
different address, including the local keyboard. To make programming easier, address
keyboards in ascending order.
NOTE:
CM6700 accepts only eight addresses.
Table B. Keyboard Addresses
Keyboard Address Switch Settings
1234
10OFF OFF OFF OFF
21ONOFF OFF OFF
32OFF ON OFF OFF
43ONON OFF OFF
54OFF OFF ON OFF
65ONOFF ON OFF
76OFF ON ON OFF
87ONON ON OFF
98OFF OFF OFF ON
10 9 ON OFF OFF ON
11 10 OFF ON OFF ON
12 11 ON ON OFF ON
13 12 OFF OFF ON ON
14 13 ON OFF ON ON
15 14 OFF ON ON ON
16 15 ON ON ON ON
• Mode (Switches 5, 6, 8)
Table C. Keyboard Modes
CM6700 Direct
Switch 5 OFF ON
Switch 6* ON or OFF* ON or OFF*
Switch 8 OFF OFF
* Switch 6 enables/disables turbo pan. (Can be switched while keyboard is on.)
• Not Used (Switch 7)
3 Replace the cover plate.
RJ-45 JACK
PIN FUNCTIONS TABLE
PIN FUNCTION
1 Tx+
2 Tx-
3 +12 VDC
4 DC COMMON
5 GROUND
6 COMP. VIDEO
7 Rx-
8 Rx+
PIN 1
VIDEO POWER
ON
OFF
ON
1 2 3 4 5 6 7 8
ON
1 2 3 4 5 6 7 8
MONITOR ON/OFF
SWITCH
KEYBOARD
DIP SWITCH
(BENEATH COVER)
3
1
3
1
2
