116
chapter 4_Playing Back, Deleting and Editing Your Recordings
Dividing Movies
You can divide a scene into two parts. To delete unnecessary portion of scene, first
divide the scene, and then delete the unnecessary portion. You can also cut out a
part of scene and use it in the play list.
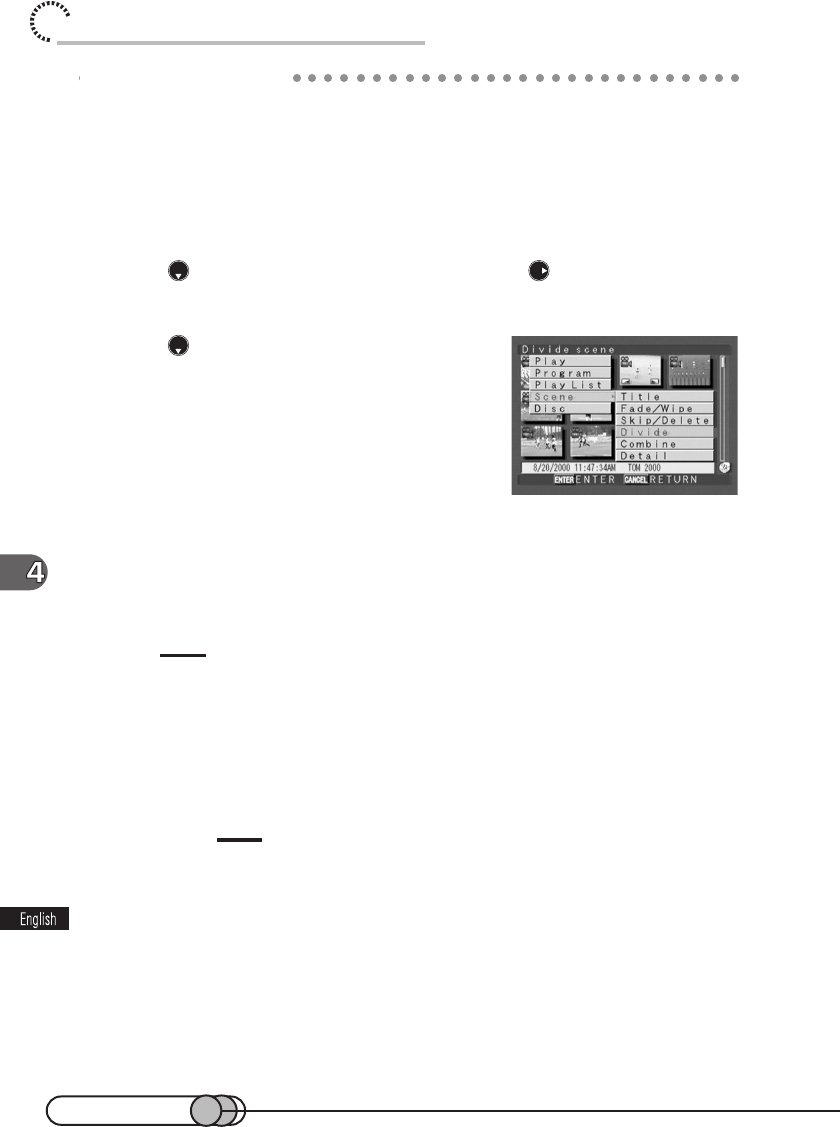
1. Select the scene to be divided, and press the MENU button to dis-
play the Disc Navigation menu screen.
2. Press to choose “Scene”, and then press to display the
menu screen for editing scenes.
3. Press to choose “Divide”, and then
press the ENTER button.
Playback of the selected scene will start.
4. When you reach the point where you want to divide the scene,
press the ENTER button.
The scene will be divided at the specified point, and the thumbnail display screen
will be restored, with the divided scenes, appearing side by side.
Tips
• Search and frame advance are useful when designating division points.
• If memo has been attached to the original scene, the same title will be attached to the divided
scenes.
• If a special effect has been added to the original scene, the “In” effect will be added to the first
half of scene, and the “Out” effect, to the latter half.
Cautions:
• The division point may drift before or after the designated point by approximately 0.5 second.
• Since a scene with a skip set cannot be played back, no division point can be specified: Release the skip
for the scene before dividing it.
• If the division point is at a still, a message "Dividing" will appear, but no division will be made.
• If the division point is at the start or end of a scene or at switching of scenes, a "Dividing" message will
appear, but no division will be made.
• A scene of 0.5 seconds or less cannot be divided.
• If free space available on disc is insufficient, division will not be possible: Delete unnecessary scenes.
