2 Setting up the hardware
You can install the all-in-one on a desktop or mount it to a mounting fixture such as a wall mount or
swing arm. Be sure to place the all-in-one in a convenient, well-ventilated location. Connect the
cables after you have installed the all-in-one to a mounting fixture.
To set up the all-in-one, ensure that the power is turned off to the all-in-one and all attached
accessories, and then follow the instructions below for your configuration.
Preparing for desk use
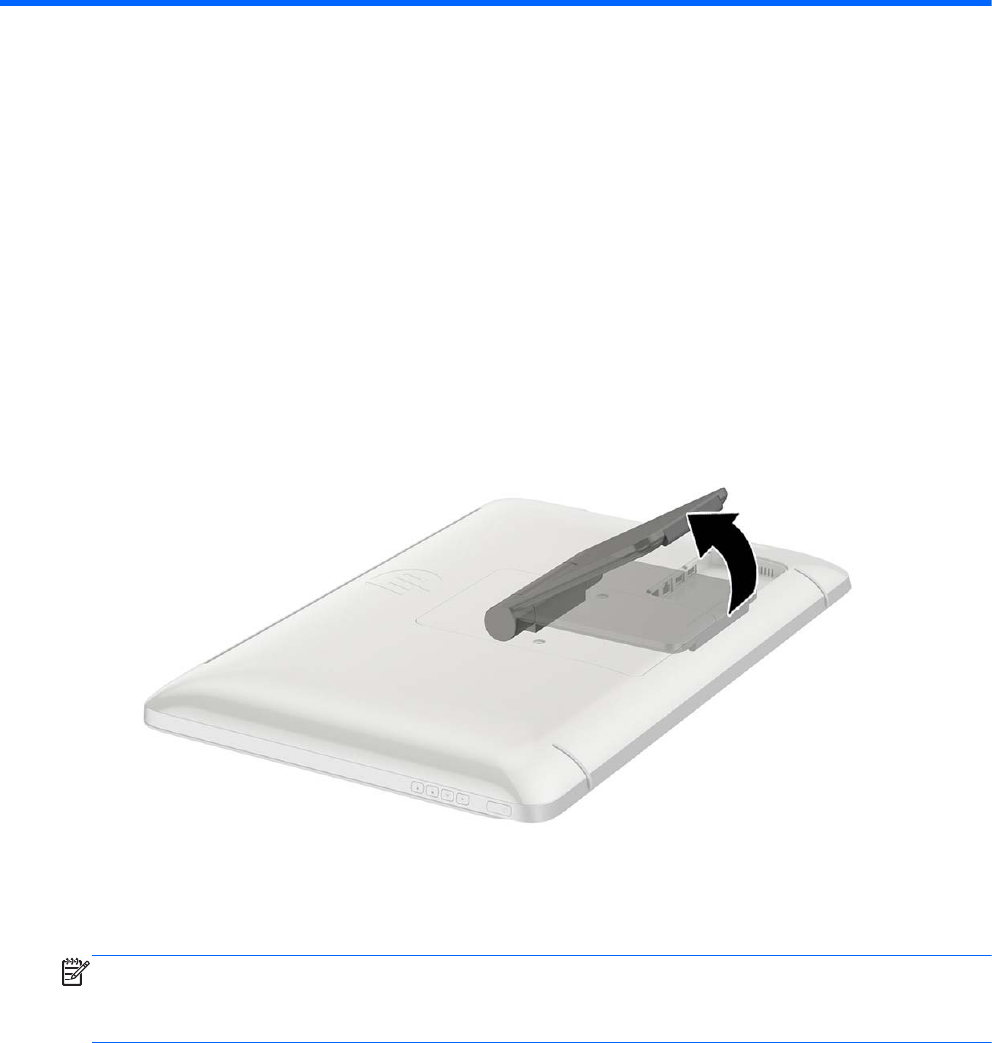
To assemble the all-in-one for desktop use:
1. Set the all-in-one face down on a flat, soft, protected table or desk surface.
2. Pull the stand outward until you hear it click.
3. Lift the all-in-one to an upright position and place on a flat, stable surface.
Preparing for wall mounting
NOTE: This all-in-one is intended to be supported by UL or CSA Listed wall mount bracket.
You can only VESA mount the all-in-one in landscape orientation with the rear ports facing down. Do
not place in portrait orientation.
To attach the all-in-one to a mounting fixture:
1. Set the all-in-one face down on a flat, soft, protected table or desk surface.
4 Chapter 2 Setting up the hardware


