Shear Pin
Replacement
Figure 90
Tools Needed Qty
To replace the shear pin:
1.
2.
3.
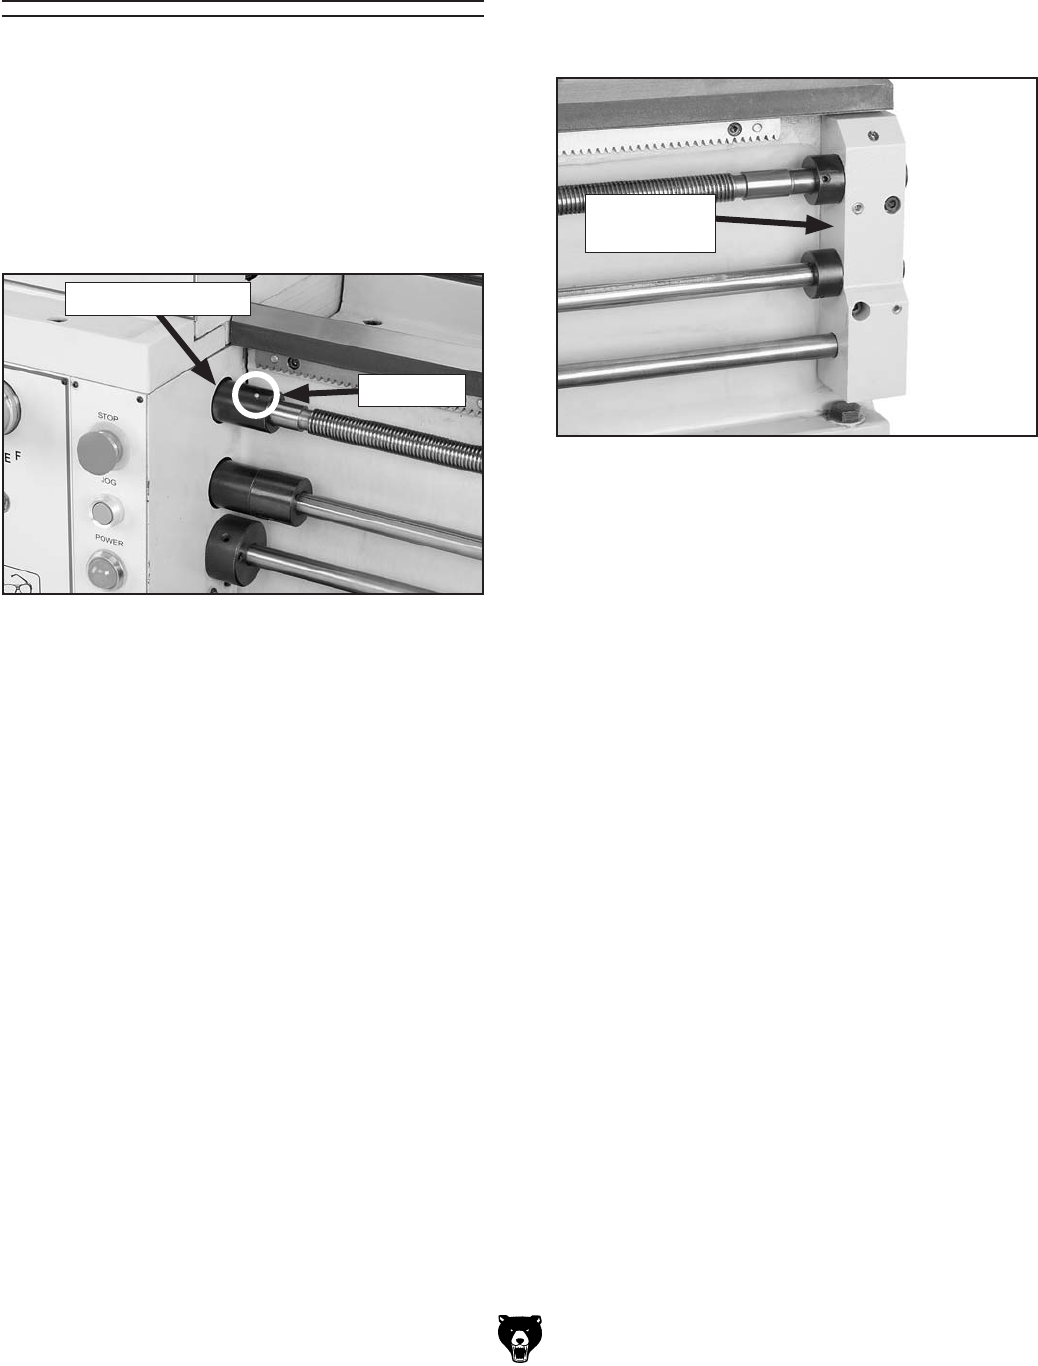
Figure 91
Note: Take care not to put pressure on the
leadscrew or rods when the end bracket is
removed to prevent bending them.
Figure 91.
4.
5.
Note: Keep in mind that the shear pin hole
is tapered and must be properly aligned to
accept a new tapered shear pin.
6.
7.
Figure 90.


