Scanning
8-7
Basic Scanning Operations
2
Press [SEND/FAX].
The SEND/FAX indicator lights up and the
machine enters the send standby mode.
3
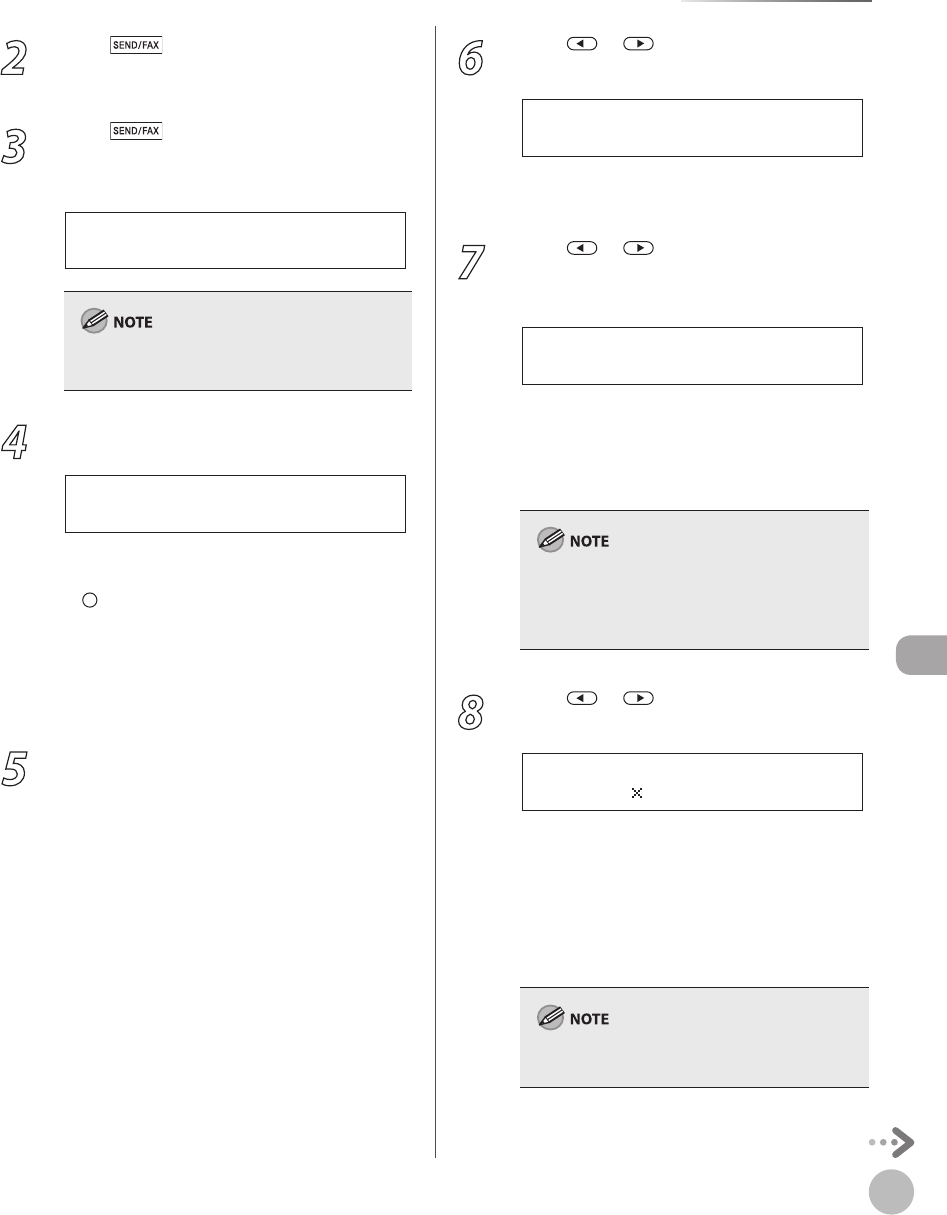
Press [SEND/FAX] repeatedly to
select <E-MAIL:B&W> or <E-MAIL:
COLOR>, then press [OK].
S E L E C T : O K
E - M A I L : B & W
If you want to send color images to the file server,
select <E-MAIL: COLOR> as the sending method.
4
Specify the file server’s address.
[ 0 1 ] S E R V E R 1
s e r v e r 1
Ex.
You can specify the file server addresses only
with one-touch keys, coded dial codes, or
[Address Book].
For information how to specify the file server’s
address, see “Specifying Destinations (Scan to
File Server),” in the e-Manual.
If you want to start sending without adjusting
the optional send settings, skip to step 10.
5
Press [OK] repeatedly until <FILE
FORMAT> is displayed.
–
–
–
6
Press or to select the file format,
then press [OK].
File server (B&W): <PDF>, <TIFF(B&W)>
File server (Color): <PDF(COMPACT)>, <JPEG>
7
Press or to select <ON> or <OFF>
for <DIVIDE INTO PAGES>, then press
[OK].
O N
D I V I D E I N T O P A G E S
<OFF>: Sends multiple images as a single file
without dividing them.
<ON>: Separates multiple images and send
them as separate files.
If you have selected <JPEG> in step 6, this setting
is not available. <DIVIDE INTO PAGES> is
automatically set to <ON> when sending
documents in JPEG format.
8
Press or to select the resolution,
then press [OK].
2 0 0 2 0 0 d p i
R E S O L U T I O N
File server (B&W): <200×200dpi>,
<300×300dpi>, <400×400dpi>,
<600×600dpi>, <150×150dpi>,
<200×100dpi>
File server (Color): <200×200dpi>,
<300×300dpi>, <100×100dpi>,
<150×150dpi>
If <PDF(COMPACT)> is selected as the file format,
only <300×300dpi> can be selected.
–
–
–
–
–
–
