25
Arranging Embroidery Designs
Opening/Importing Embroidery Designs
Creating a new embroidery
design
Toolbar button:
1. Click , or click File, then New.
→ If the current Design Page has already
been saved or has not been edited, a new
Design Page immediately appears.
→ If the current Design Page has not been
saved, you will be asked whether you
want to save the changes.
2. Specify the Design Page settings.
Opening a PE-DESIGN Lite
file
An embroidery design that has previously been
saved as a PE-DESIGN Lite file (.pes file) can be
opened.
Toolbar button:
1. Click , or click File, then Open.
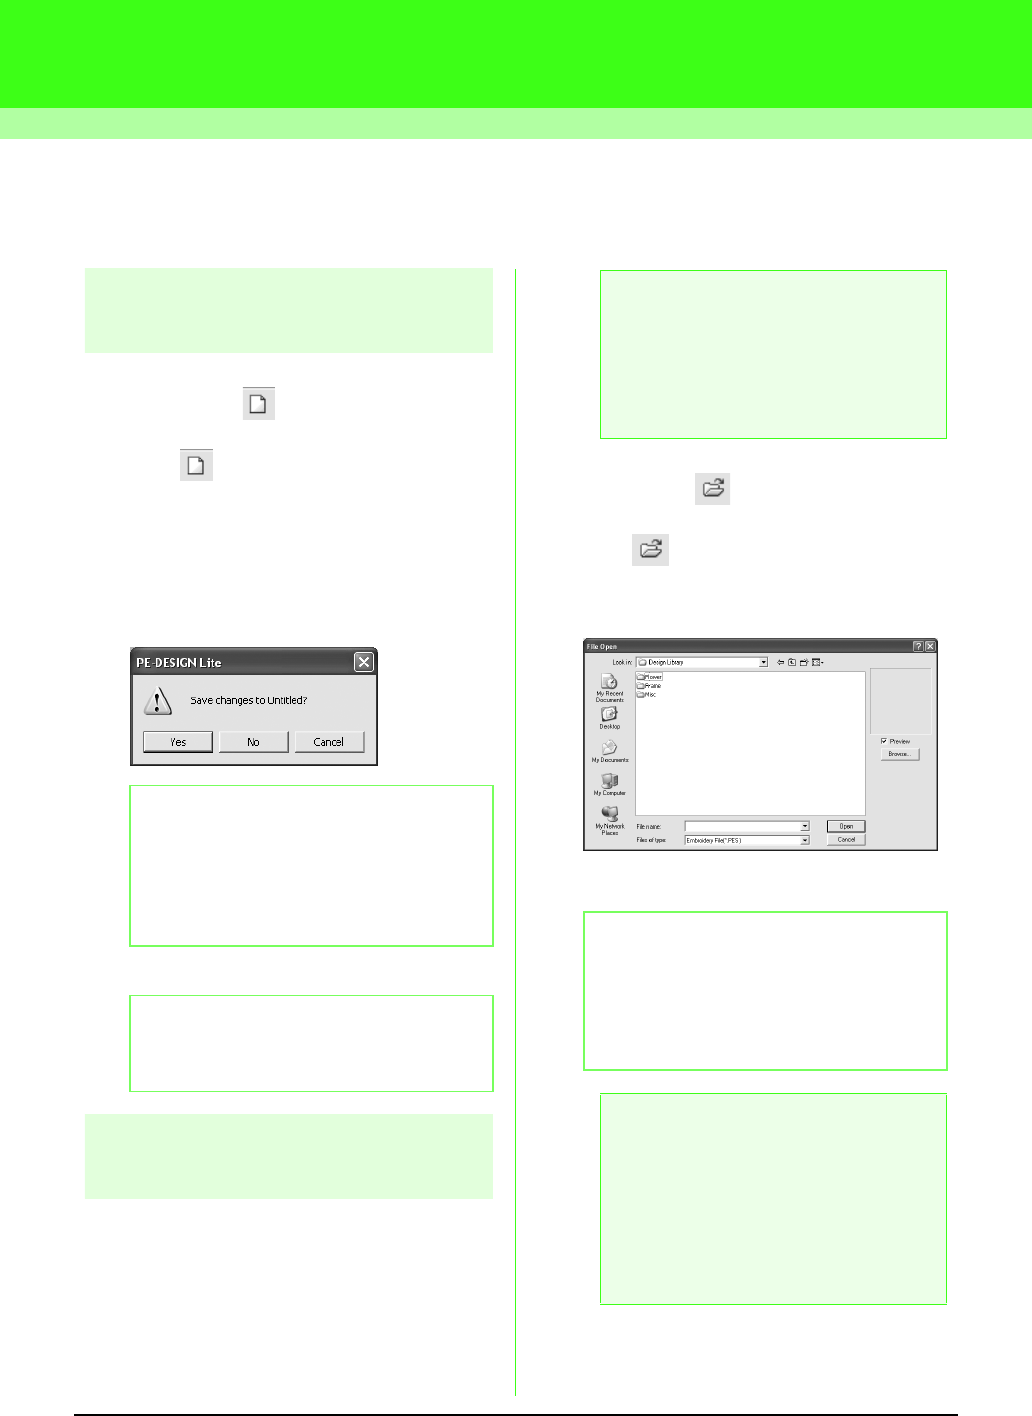
→ A File Open dialog box similar to the one
shown below appears.
2. Select the drive and the folder.
b Memo:
• To save the Design Page, click Yes.
• To abandon the Design Page, click No.
• To return to the Design Page, for
example, to modify it or save it with
another file name, click Cancel.
b Memo:
For more details, refer to “Specifying the
Design Page Size and Color” on page 29.
a Note:
If a .pes file created with PE-DESIGN
version 7 or earlier is opened with this
software, the message “This file will be
imported onto a new Design Page.”
appears before the embroidery design is
displayed on the new Design Page.
b Memo:
• If the Preview check box is selected, the
contents of the selected file will appear in
the Preview box.
• To quit the operation and close the dialog
box, click Cancel.
a Note:
• Be sure to select a folder that contains
.pes files.
• If a .pes file is saved with Pattern
extending off the Design Page or with
the number of stitches or number of
colors for the design exceeding the
Design Page limitations, a preview of
the image cannot be displayed.
