80
Chapter 8 Creating Your Own Favorite Drum Kits (Drum Kit Edit Mode)
■ Editing Procedure
1. If editing a drum part, press [DRUM A/B]
then specify Drum Bank A or B. If editing a
bass part, press [BASS] to specify the bass
part.
2. If editing a drum part, specify the key pad
to be edited by pressing that key pad.
This step is not required if you are editing a
bass part.
* You cannot edit individual key pads for the bass
part.
3. Press [ ] [ ] to specify the
setting (parameter) you want to change.
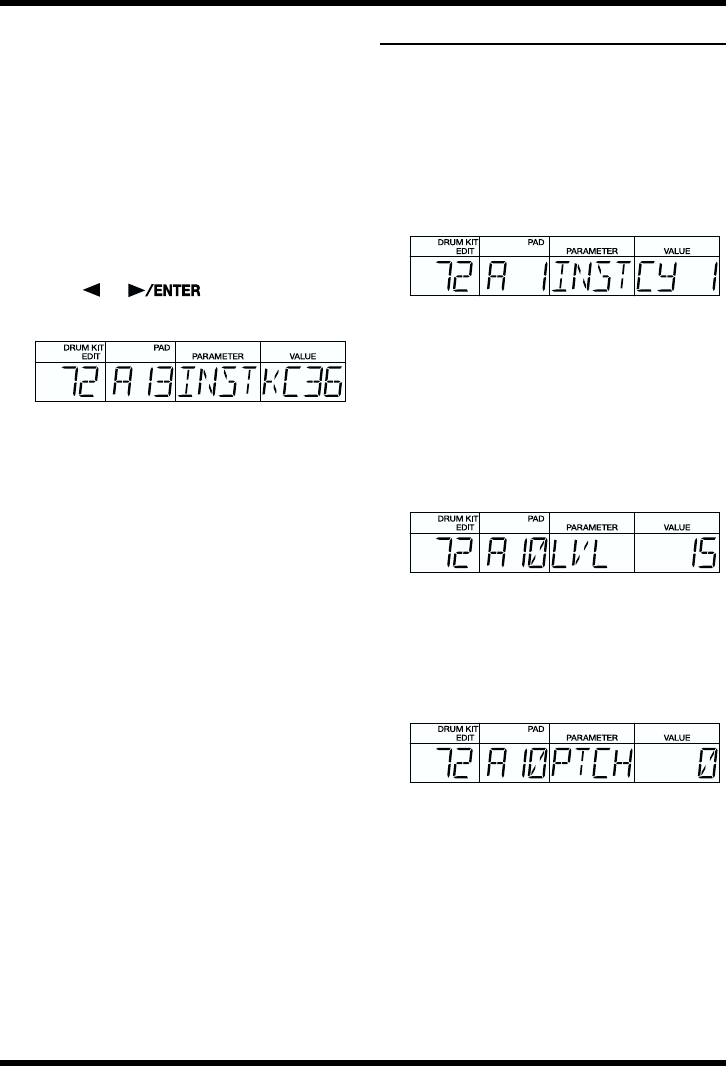
fig.08-04
4. Rotate the TEMPO/VALUE dial to change
the value of the setting.
5. Repeat Steps 3 and 4 as needed.
When editing drum parts, start from Step 2
if you are editing other key pads.
Editing the Drum Parts
■
Selecting the Sounds Assigned
to the Key Pads (Instrument)
This selects the instruments to be assigned to the
key pads.
For more on the instruments that can be
selected, refer to the “Instrument/Bass Tone
List” (p. 99).
fig.08-05
* You cannot select bass tones for the drum parts.
■
Setting the Volume (Level)
This sets the volume (the level) for each
instrument. The velocity when you actually tap
the key pads is changed within the level range
set here.
Valid Settings: 0–15
fig.08-06
■ Setting the Pitch (Pitch)
This sets the pitch of each instrument in units of
10 cents.
Valid Settings: -1200– +1200
fig.08-07
Positive (+) Values:
The pitch is raised as the value increases;
an increase of 100 cents raises the pitch a
half step (semitone).
0: The original pitch is used.
Negative (-) Values:
The pitch is lowered as the value
increases; an increase of 100 cents lowers
the pitch a half step (semitone).
* With some instruments, the pitch may not
change properly when the value is positive (set to
“+”).
