


Chapter 2 - Installing the Yamaha CRW4261t Drive
5
Chapter 2 - Installing the Yamaha CRW4261t Drive
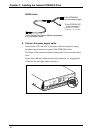
MASTER/SLAVE settings
Before you install the CRW4261t in your computer, you must make the
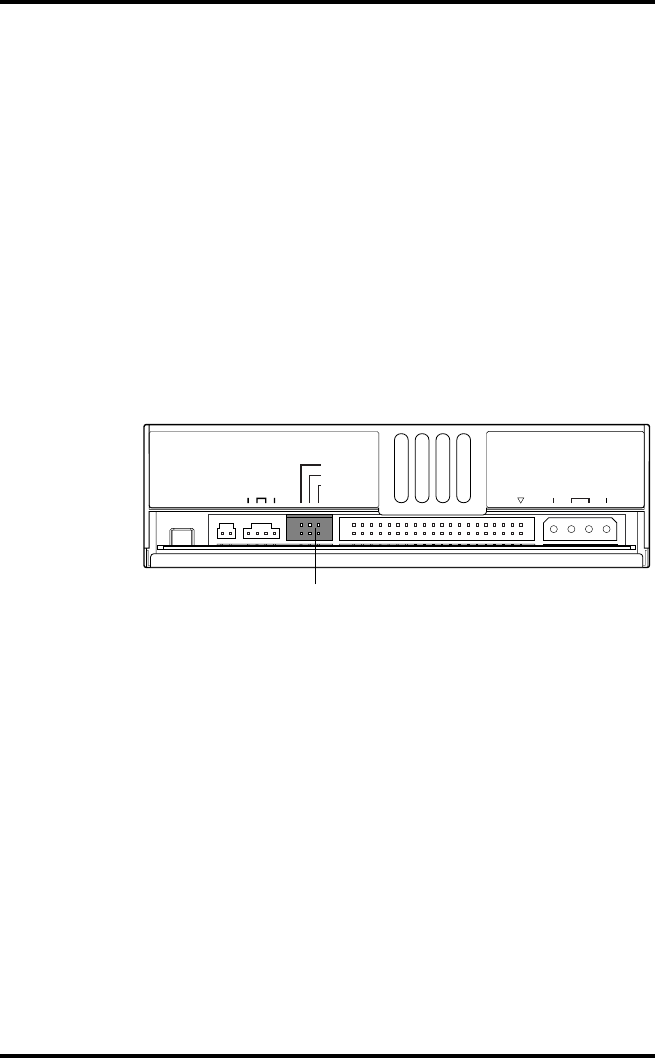
MASTER/SLAVE setting.
This setting is set by inserting a jumper pin in the jumper switch
located on the rear panel of the CRW4261t drive.
Important:
When the unit is shipped from the factory, this setting is in the MASTER
position.
Note:
Use long-nose pliers to remove or insert the jumper pin.
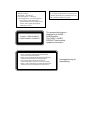
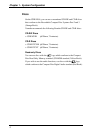
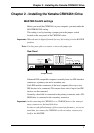
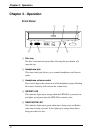
Rear Panel
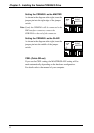
Enhanced IDE compatible computers normally have two IDE interface
connectors; a primary one and a secondary one.
Each IDE interface connector of the host computer allows up to two
IDE devices to be connected. This means that a total of up to four IDE
devices can be connected.
Normally, a hard disk is connected to the primary connector, and a CD-
ROM drive is connected to the secondary connector.
Important:
Avoid connecting the CRW4261t or a CD-ROM drive to the same pri-
mary connector as the hard disk drive.
In order to take full advantage of the system's performance, we recom-
mend that you connect the CRW4261t to the secondary connector by
itself as the MASTER.
R G L
AUDIO OUT
CSEL
SLAVE
MASTER
IDE
INTERFACE
CONNECTOR
DC INPUT
15V
+
12V
+
G
Jumper Switch