8
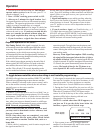
6. Clean roof area where the base feet will be at-
tached to the roof. Do not erase your marks!
7. Put approved sealant in the area under the base
foot location.
8. After all base brackets are secured to roof, put
sealant on top of foot and screws.
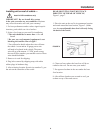
FIGURE 2
!
Installation
Install in DRY conditions only!
Installing unit on roof of vehicle —
IMPORTANT! Do not install this system
in the rain, or under any wet conditions. Moisture
may affect electronics and void your warranty!
1. For best performance and to reduce signal acquisi-
tion time, park vehicle on a level surface.
2. Select a level spot on your roof for installation.
ï The unit should be no more than +/-1∞ off
level.
ï Be sure any roof-mounted equipment is not
blocking the satellite ìline of sight.î
ï You will need to decide where the wires will enter
the vehicle. A coax and an 18 gauge power wire
will need to be placed in the vehicle. The power
wire will go to the nearest +12 VDC power source;
the coax will be routed to your satellite receiver. These
wires should be hidden.
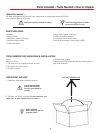
3. Remove tie used for shipping.
4. Plug holes created by shipping strap with white
rubber plugs in hardware bag.
5. After selecting location for unit (see number 2), put
the unit on the centerline of the coach.
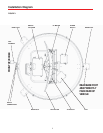
REAR MOUNTING FOOT MUST FACE
DIRECTLY OFF REAR OF VEHICLE,
Figure 1, page 7.
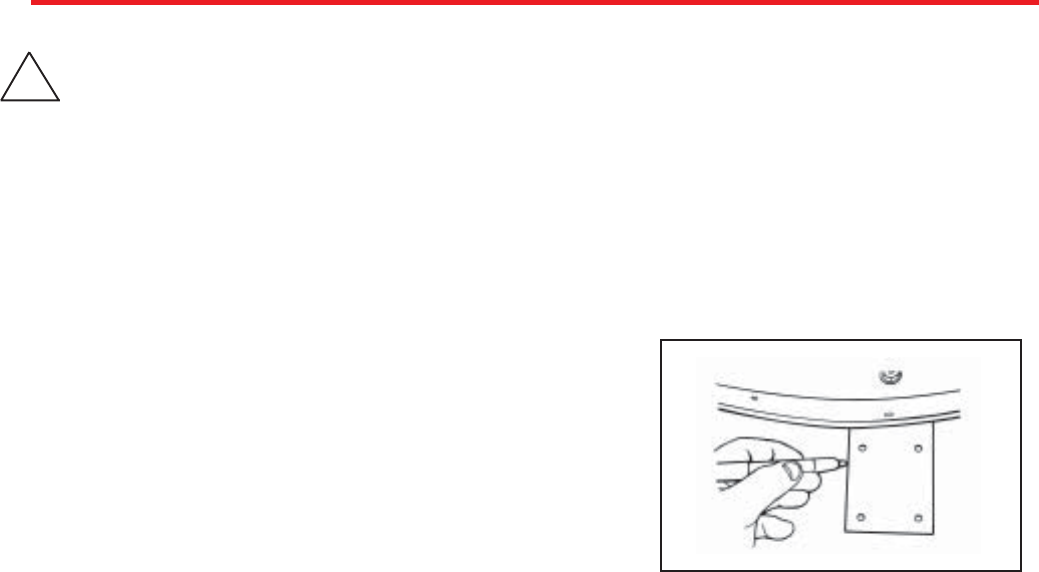
5. Place the unit on the roof in its permanent location
and mark around the base bracket, Figure 2. (Make
sure the rear adjustable base foot is directly facing
the back of the coach.)


