TUNER MODULE INSTALLATION AND REPLACEMENT
CAUTION
These servicing instructions are for use by qualified personnel only. To avoid electric shock do
not perform any servicing other than that contained in the Operating Instructions unless you
are qualified to do so. Refer all servicing to qualified service personnel.
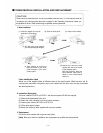
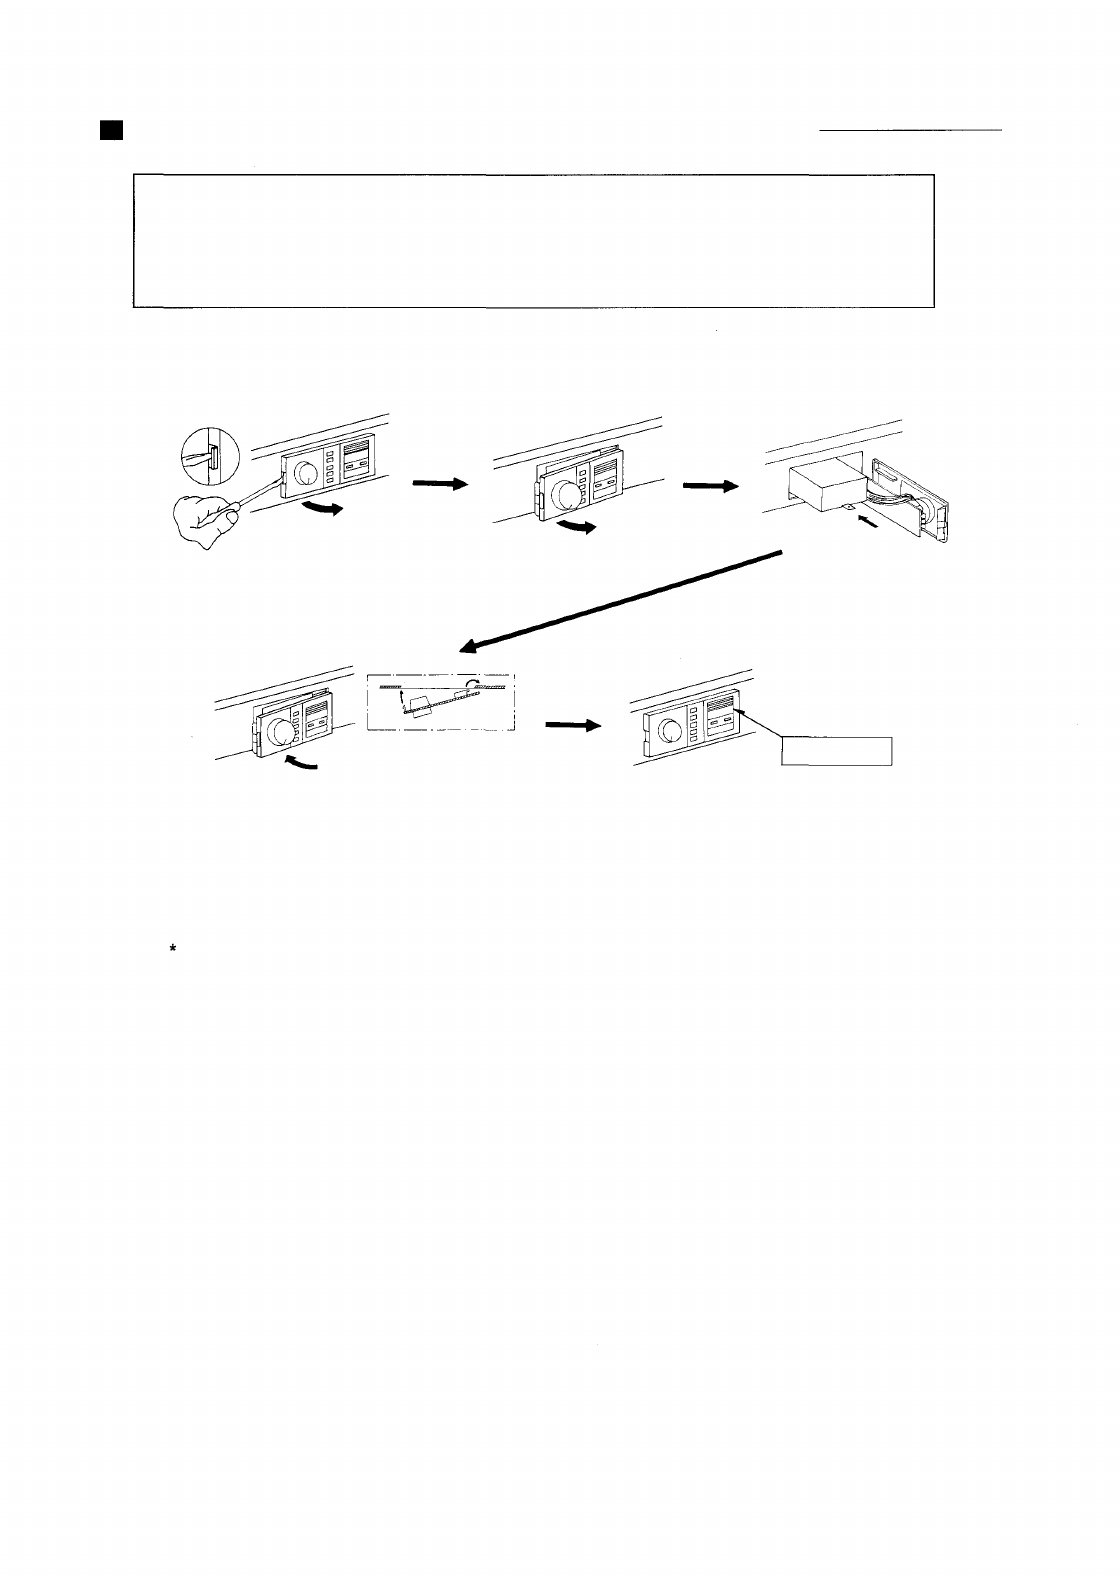
1. New Installation
(1) Press the stopper of the tuner (3) Open the tuner panel. (4) Insert a tuner module,
panel with a screw driver.
(2) Pull the tuner panel towards
you while pressing the stopper.
D1234
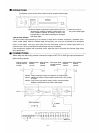
Color Identification Label
Attach one of the supplied labels of different colors to the tuner's panel. (Both the tuner and its
corresponding hand-held microphone have to be marked with the same color for easy association
with their frequencies.)
2. Installation (Expansion)
The tuner module WTU-870 or WTU-871 and the tuner panel WP-860 are required.
(1) Remove the blank panel of the unit.
(2) Attach the unit's connector to the tuner panel connector.
(3) Insert a tuner module (WTU-870 or WTU-871)
(4) Fit the tuner panel in place.
(5) Attach the frequency label supplied with the tuner module.
3. Replacement
Pull out the tuner module with long nose radio pliers.
[Note] Be sure to refer the installation and replacement to qualified service personnel.
(5) After checking to confirm the
tight connection of the tuner
panel connector, fit the tuner
panel in place.
(6) Attach the frequency label
supplied with the tuner module
to the assigned space.
After the frequency label has
been attached, make sure to
attach a color identification
label on it.
– 4 –


