


Bookshelf / Center Channel / Surround: PAGE 4
ConnECting YoUR SpEakERS
Now that you’ve got your speaker placed properly, it’s time to connect them.
Before you begin connecting your speakers, turn your system components OFF. That way, you won’t
run any chance of “shorting” your amplier and possibly damaging it as you’re hooking up your speak-
ers. And, of course, turn your system back ON when you’re done!
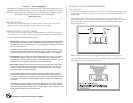
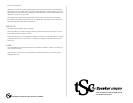
TSC speakers have two “binding posts” for connecting the
speaker cable from your amplier. One of the posts is red
(positive or “+”), the other black (negative or “-“). Speaker
wire, in turn, has two conductors, one for the “+” side of the
signal, one for the “-“.
Note: Some TSC speakers include dual “bi-wire” terminals.
More about them shortly.
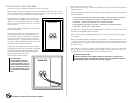
Now look at your speaker wire. You’ll see that it has two
conductors separated by insulation and identied by color
(if the insulation is clear) or by differences in the insulation
itself (ridged vs. plain is the most common). Choose one
conductor to carry the “+” signal and the other for the nega-
tive signal. It makes no difference which one you pick – just
maintain that choice for all your connections.
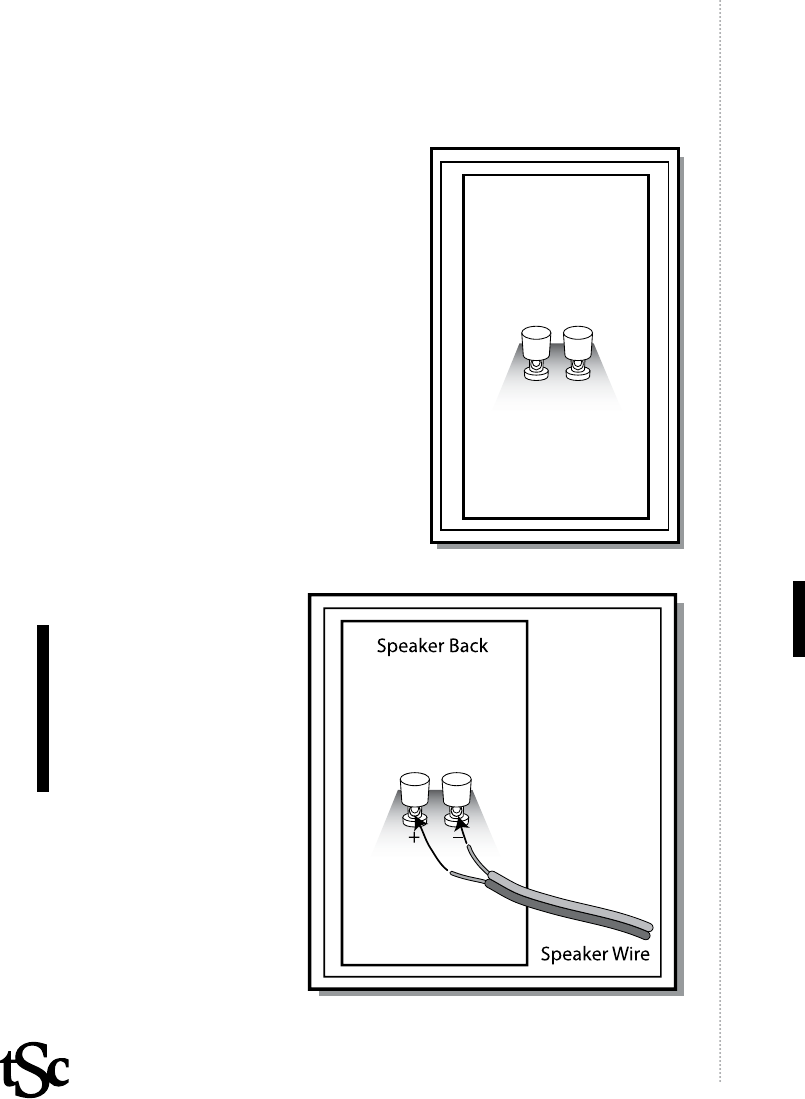
Prepare the wire by exposing about 3/8” of each conductor
by stripping the insulation with a wire stripper or sharp knife.
Twist all the individual strands of each conductor together
before inserting the end into the hole in the binding post.
Then tighten the end cap down over the
wire so that there’s a rm connection.
Don’t Over-Tighten!
Armmechanicalconnectionis
obviouslybetterthanalooseone.
Justdon’tgooverboard!Ifyoucan
makethespeakerwireslipwithjust
agentletug,tightentheconnectiona
bit.Nottoomuch,though.Youcan
stripconnectorsbyover-tightening
them.
Polarity and Proper Phasing
Don’t let these words scare you. They both refer to making sure you get all the sound your speakers are
capable of giving you.
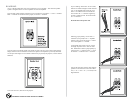
Here are step-by-step instructions for connecting the Left front output from your receiver or amplier to
the Left front speaker.
1) Locate the Left front speaker output on the receiver or amplier. Note the two connectors – one marked “+”
(the positive terminal – usually red) and one marked “-“ (the negative terminal – usually black).
2) Connect the “+” conductor of the speaker wire to the “+” terminal on the amplier.
3) Connect the ”-“ conductor of the speaker wire to the “-“ terminal on the amplier
4) At the speaker end of the same wire, connect the “+” conductor to the “+’ terminal on the speaker
5) Connect the “-“ conductor to the “-“ speaker terminal.
Then follow steps 1 through 5 for all other amplier-speaker connections in your system. Maintain the
same pattern for all amplier-speaker connections!
Why are we placing as much emphasis on consistency here? We want you to get all the performance
you’ve paid for!
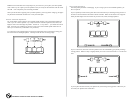
When your amplier-to-speaker connections are consistent (when “+” is always connected to “+” and
“-“ is always connected to “-“), your speakers are connected “in phase.” That means the drivers in each
speaker will push out when they get a common positive signal from an amplier and pull in when they
get a negative signal.
When speakers are connected “out of phase,” the drivers ght each other – some move out while others
move in. The result? You’ll get less bass and blurred imaging. That’s a pretty heavy price to pay for
not taking just a few extra seconds to make sure your connections are correct.
SomeAdviceOnSpeakerWire
Pleaseuse16gaugewireifyouramplier-to-speakerrunsareunder50’.Forlongerruns,we
stronglysuggest14gauge.Foryourreference,standard“lampcord”availableatmosthardware
storesis18gauge.Bettertouseheavierwiresuchas16or14gauge.
Speaker Back
+
_