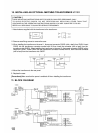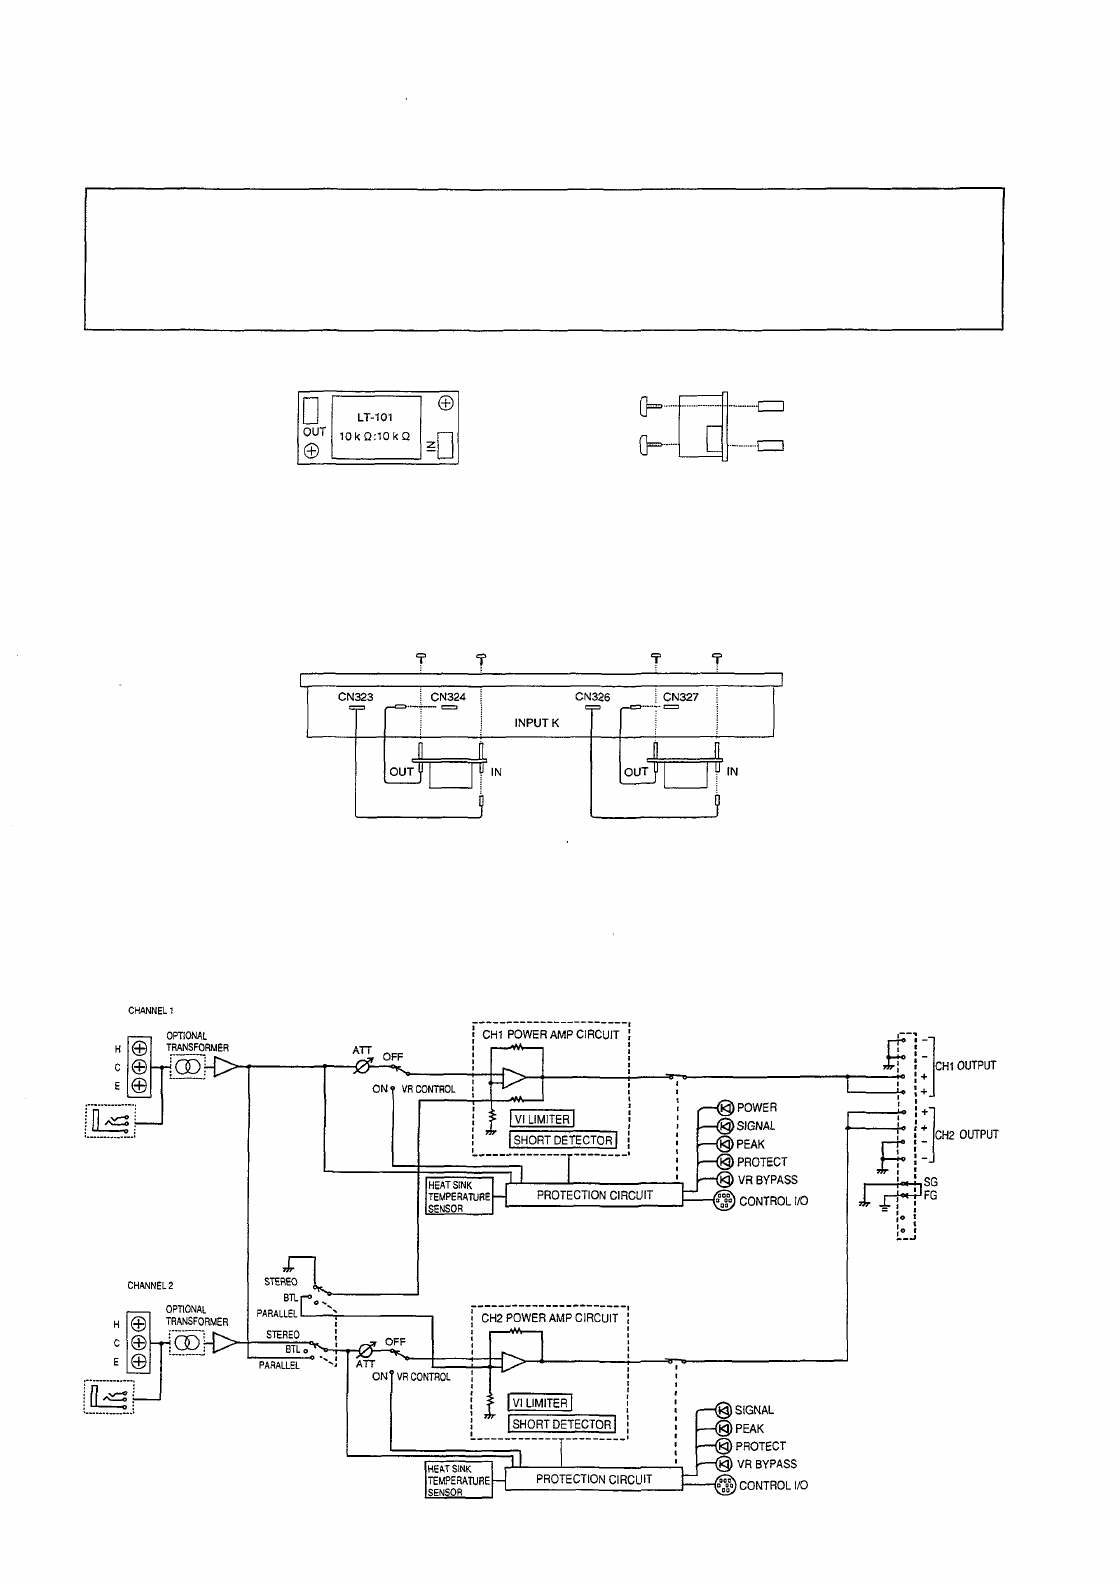
10. INSTALLING AN OPTIONAL MATCHING TRANSFORMER LT-101
[ CAUTION ]
THESE SERVICING INSTRUCTIONS ARE FOR USE BY QUALIFIED PERSONNEL ONLY.
TO AVOID ELECTRIC SHOCK, DO NOT PERFORM ANY SERVICING OTHER THAN THAT
CONTAINED IN THE OPERATING INSTRUCTIONS UNLESS YOU ARE QUALIFIED TO DO SO.
REFER ALL SERVICING TO QUALIFIED SERVICE PERSONNEL.
1. Attach sleeves supplied with the transformer to the transformer.
2. Remove case fixing screws to remove the case.
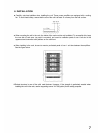
3. When installing the transformer at channel 1, disconnect connector CN323 (with a lead) from CN324. Insert
CN323 into the transformer connector marked with IN, then insert the connector (with a lead) from the
transformer into CN324. When installing the transformer at channel 2, disconnect connector CN326 (with a
lead) from CN327. Insert CN326 into the transformer connector marked with IN, then insert the connector
(with a lead) from the transformer into CN327.
4. Mount the transformer to the rear panel.
5. Replace the case.
[Precautions] Make sure that the power is switched off when installing the transformer.
11. BLOCK DIAGRAM
10


