


SPECIAL PAGE FUNCTIONS & MIDI IMPLEMENTATION
S
PECIAL PAGE FUNCTIONS
Some very important features lurk inside your SansAmp PSA and aren’t accessible through
the knobs and Up and Down switches alone. They’re very important and useful, so take the
time to check them out, especially if you are using a MIDI footcontroller or other MIDI gear
to interface with your SansAmp PSA.
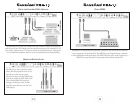
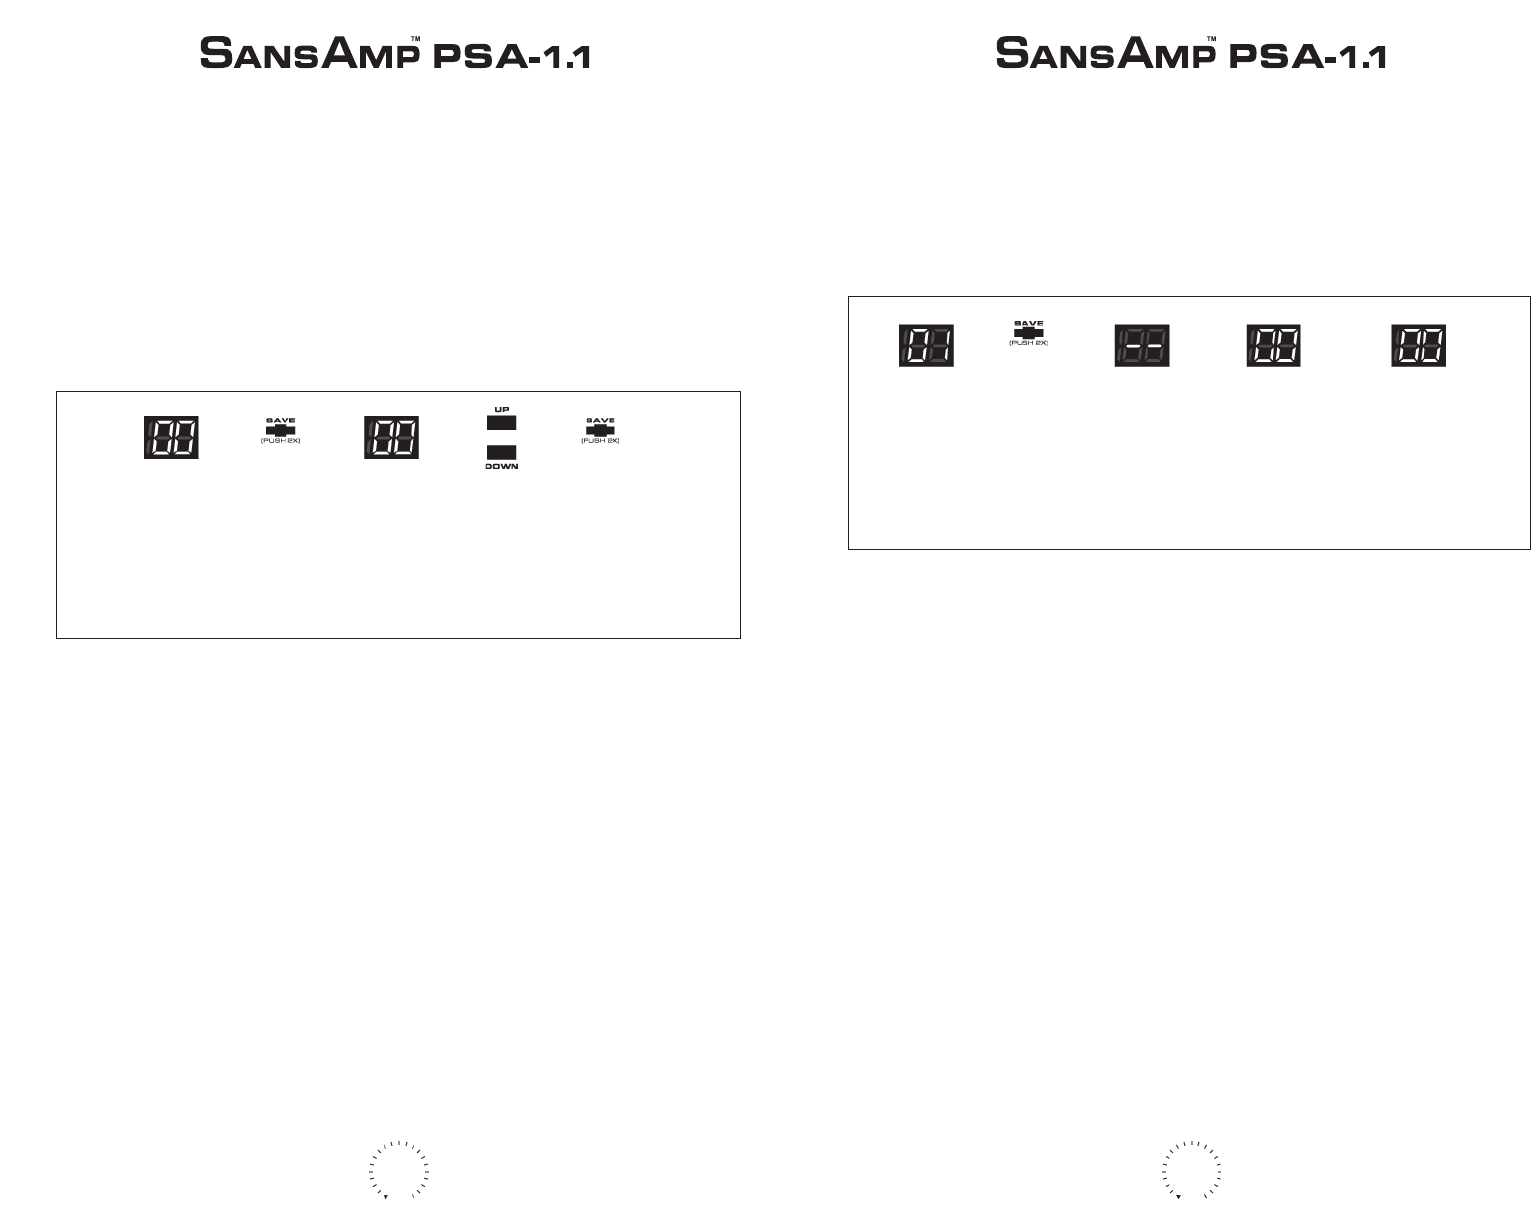
To operate the Special Page functions, select Program 00 and press the Save button once.
(Use a guitar pick or a pen tip.) The digits in the numerical display should now be flashing
together.
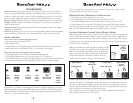
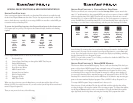
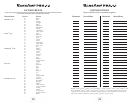
Use the Up and Down buttons to select any of these functions:
00 Exit Special Page
01 Custom Preset Data Dump out through the MIDI Thru/Out port
02 Define MIDI Mapping
03 0-127 / 1-128 Patch Offset
04 Preset Protection Writer
05 MIDI Channel Select
06 Software Revision Number
07 Edit Pot Display Mode
08 Disengage All Pots
09 MIDI Thru Disable
When you select a function, press the Save button a second time and the digits will stop
flashing. (NOTE: If you select function 00, you will exit the Special Page function menu and
return to Bypass Program 00.)
Then you can proceed to do any of the following:
16
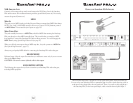
SPECIAL PAGE FUNCTION 1: CUSTOM PRESET DATA DUMP
This lets you off-load your custom presets to another SansAmp PSA-1.1 (note: must be the
same “1.1” model number) or other external MIDI gear, such as a sequencer. Connect a MIDI
cable from the SansAmp PSA’s MIDI Thru/Out jack, and plug the other end into a second
SansAmp PSA-1.1, sequencer, MIDI-able computer, etc. Set up the sequencer or computer to
receive the MIDI data (a second SansAmp PSA-1.1 will automatically detect and accept the
data dump, so you don’t have to adjust anything), and then press the SansAmp PSA’s Save
switch. The SansAmp PSA’s display will show two dashes for approximately 10 seconds, and
then a flashing 00, meaning that it has completed the dump and returned to the Special Page
function menu. You may now choose either a new Special Page function, or press Save again
to exit. If you don’t make a choice in about 15 seconds, the display stops blinking, indicating
that the SansAmp PSA is in Program 00, bypass.
NOTE: Use one cable at a time. To use 2 cables, you will need to disable the MIDI Thru. See
Special Page Function #9 on page 21.
SPECIAL PAGE FUNCTION 2: DEFINE MIDI MAPPING
This function defines internal MIDI mapping. That is, it tells your SansAmp PSA which pro-
gram to call up when a MIDI Program Change command comes in. For example, if your MIDI
footcontroller sends out a Program Change command that says Program 26, and you want
your SansAmp PSA to respond to that Program 26 message by calling up preset number 15,
you can set the SansAmp PSA to map that message to the appropriate location. NOTE: The
SansAmp PSA comes from the factory with its MIDI map set by default to map incoming pro-
grams to the same numbered displayed programs. That is, MIDI 01 calls up Program 01, etc.
To remap a MIDI Program Change command, here’s what you do:
Select function 02 and push Save. The left digit will blink with the right digit dim, telling
you that the display is showing the number of the incoming program. To change that number,
use the Up and Down switches to select a new number. Now push the Save button and the
right digit blinks; the left digit dims, indicating the SansAmp PSA program that will be
17
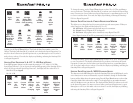
Push
the
Save
Switch
Push
the
Save
Switch
Again
Digits
Blink
Select
Program
00 to
Access
Special
Page
Menu
Select
Special
Page
Function
(00 - 09)
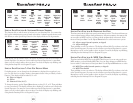
Push
the
Save
Switch
Display
Shows
Two Dashes
While
Dumping
MIDI
Data
Display
Flashes 00
Upon
Return to
Special
Page
Menu
Digits Stop
Blinking
Upon
Return to
Program
00
Digits
Blink