15
. /
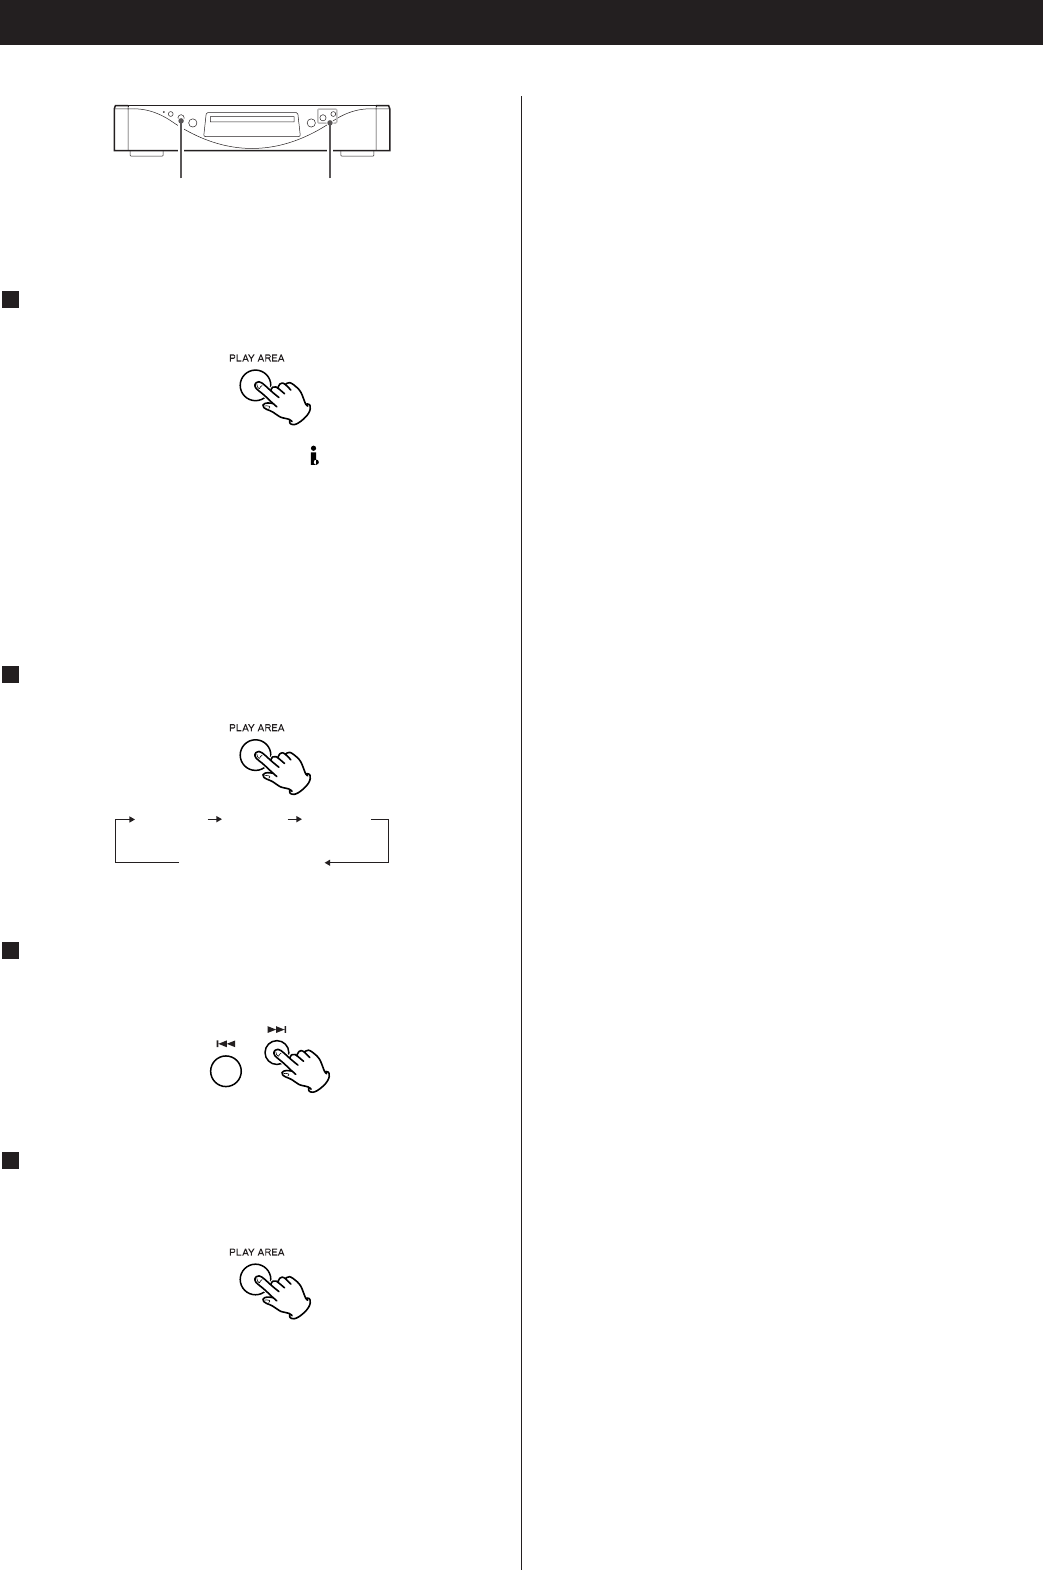
In the stop mode, press and hold the PLAY AREA button
for more than 2 seconds.
1
The unit enters setup mode, and “ >
***
” appears on the
display. (
***
changes depending on your setting.)
In the following cases, the setup mode will be cancelled:
• Leave the unit idle for 10 seconds.
• Press and hold the PLAY AREA button for more than 2
seconds once again.
Repeatedly press the PLAY AREA button to select the
menu item to be changed.
2
Use the SKIP buttons (.//) to select the options
within the menu item.
3
Press and hold the PLAY AREA button for more than 2
seconds (or leave the unit idle for 10 seconds) to exit
the setup mode.
4
< Switching off the power without exiting the setup mode may
cause problems. Do not turn the unit off.
<
Settings are stored even when power is turned off and the
unit is unplugged. If left unplugged for an extended period,
the settings may be lost.
Output Settings
i.LINK DF DSD
(normal display)
Available menu item and options
i.LINK
Used to select an i.LINK output setting. “60958”, “PCM” or
“OFF” are available.
You can also use the i.LINK button of the remote control unit.
See page 14 for details.
DF (Digital Filter)
Used to select a digital filter.
“Wide” or “Narrow” are available.
DSD
Select “Normal” to output DSD after processing and “Direct”
to output the audio signal without running it through the
processor.
The analog level in the Direct mode is 3 dB lower than in the
Normal mode.
(Normal display)
Select this to exit the setting mode.


