24
Recording (1)
Before you start recording, make sure that you understand
the following points:
< CD specifications limit the number of tracks to 99.
< You can not create recording tracks shorter than 10 seconds.
< Once you have recorded on a CD-R disc, the data cannot be
erased.
< A recorded CD-R can be played back in a regular CD player after
finalizing.
< To add more recordings to a finalized CD-RW, unfinalize it. (See
page 31.)
When all available space on a CD-RW has been recorded, you can
record additional tracks by erasing previously recorded tracks.
Note that you can only erase all tracks or the last track.
< If the STOP button (H) or PLAY/PAUSE button (y/J) is pressed
within 10 seconds from the beginning of recording, the unit does
not stop recording.
< When the recording is finished, “REC” and “- ENd - ” blink for a few
seconds, and the unit then goes into stop mode. Do not apply
any shock or vibration to the unit during blinking.
< If the disc reaches the end during recording, the unit finalizes the
disc automatically and stops.
< If the disc reaches the end of the 99th track during recording, the
unit finalizes the disc automatically and stops.
< The recording time of a track may differ slightly from the original
one.
< When a partially recorded disc is inserted, recording starts after
the last recorded track.
< The AUTO REC function automatically divides a track according
to the sound level that has been set (See page 25). Therefore it
is possible when using this function that a finished copy could
have more tracks than its original source. It would be caused by
extremely quiet part or noisy part.
< When the TRACK INCREMENT button is pressed while recording,
the recorded sound will be cut for a moment.
Do not use the TRACK INCREMENT function while the music
sound continues.
< When the disc which was recorded by this unit is played back by
some other players, a small noise may be heard at the point that
the track is divided.
Before Recording
Audio from the FM/AM, PHONO, TAPE (cassette tapes) or AUX
sources can be recorded on the CD recorder.
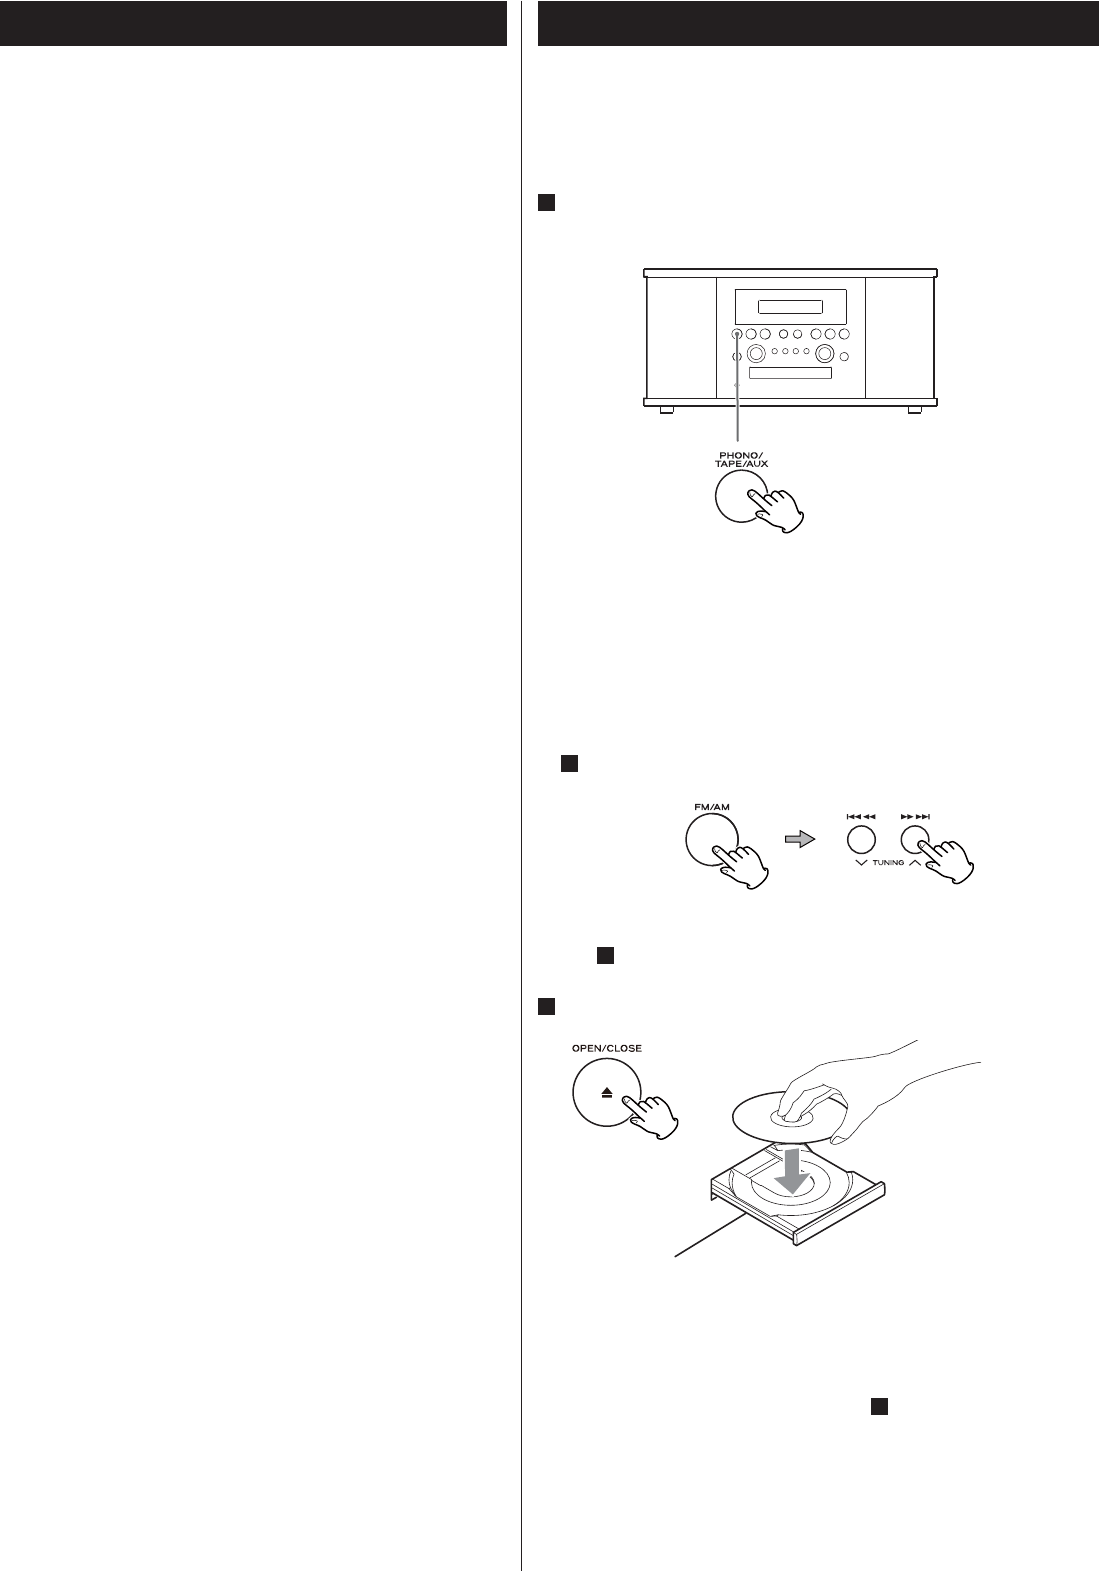
1
Press the PHONO/TAPE/AUX button or the FM/AM button
repeatedly to select the source to be recorded.
To record a record or cassette tape, select PHONO/TAPE and set
the INPUT switch by the turntable to the desired source.
To record an external source connected to the AUX IN jacks,
select AUX.
To record a radio broadcast
Select FM or AM using the FM/AM button and select the station
using the .m/,/ button or PRESET button in step
1
.
A station cannot be selected after you press the REC button in
step
4
.
2
Load a recordable CD-R or CD-RW disc into the unit.
Press the OPEN/CLOSE button (L), place a disc on the disc tray
with the printed label side up, and then press the OPEN/CLOSE
button (L) to close the disc tray.
Make sure “NO TOC” and “CD-R” (or “CD-RW“) indicators lights on
the display, or the RECORD button in step
4
will not work.


