


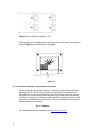

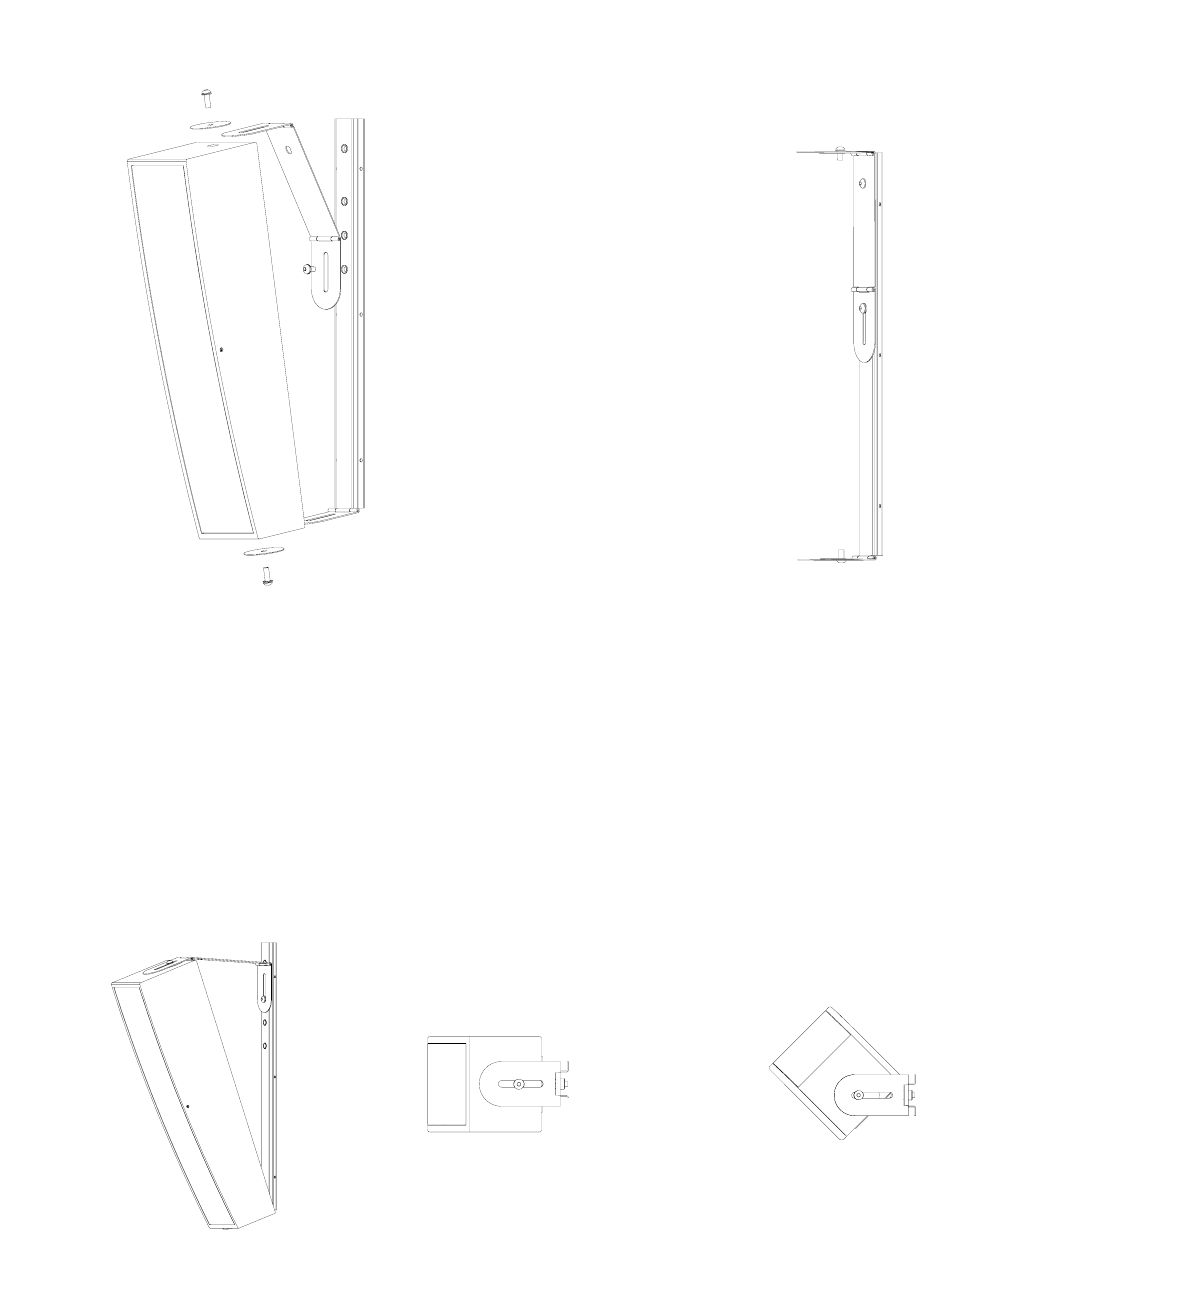
11.2 i9Y - Wall mount Bracket
Fig 3.
Ï
Ð
Í Î
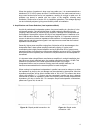
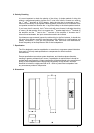
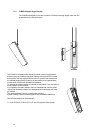
The i9’s proximity to the wall can be adjusted to allow aiming of
the loudspeaker in the horizontal plane (fig 4 & 5).
Fig 5.
Fig 4.
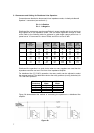
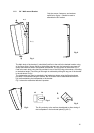
The Main body of the bracket (1) should be fixed first to the wall in the desired location using
all six fixing points. Secure fixings to the building structure are vital; ensure the structure will
accept the combined load of the speaker and bracket. The top portion of the bracket (2) is
fixed to the main body using the bolt provided in one of the four fixing points shown, according
to the desired angle. Fine-tuning of this angle is achieved by sliding the top part of the bracket
in the slot shown in fig1.
The loudspeaker can then be attached to the bracket as shown using the fixing hardware
provided. If no downward angle is desired, the i9Y bracket can be assembled as shown in
fig2. before attaching the loudspeaker to the bracket.
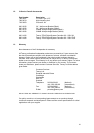
Fi
g
3. shows the assembled bracket & speaker.
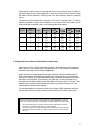
Only the screws, fasteners, and washers
specified on figure 1. Should be used to
assemble the i9Y bracket
Fig 2.
Fig 1.
Ë
(
2
)
Å(1)
12