SV Subwoofers
Page 6
Some things to check as you get ready to calibrate your system:
•
Are your speakers set correct to the correct “size”? Your re-
ceiver/processor should allow you to indicate if your speakers are
“Small” or “Large”. Selecting the size accordingly will ensure
bass goes to most appropriate speakers, and use the subwoofer
correctly too. Also, is your subwoofer turned “ON”? We don’t
mean “is your subwoofer
amplifier
on?” (that’ll be important
later too!) but rather,
is your receiver sending a bass signal to
your sub amp
? This can only happen if you say “Yes” (or “ON”)
to the “Subwoofer” setting of any typical Dolby Digital/DTS ca-
pable receiver.
•
Is your receiver connected to the sub amp? If you bought an amp
from SVS, use an “RCA-to-1/4” adaptor and a well-shielded
RCA cable to hook to the subwoofer output of your DD/DTS re-
ceiver to at least one channel of your subwoofer amplifier. As
mentioned earlier, you can use a stereo amp to drive a pair of SV
Subwoofers. In the latter case you’ll need to “split” the sub-
woofer signal with a “Y Cable” and run separate pairs of speaker
wires to each sub.
•
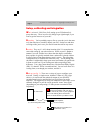
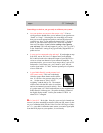
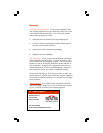
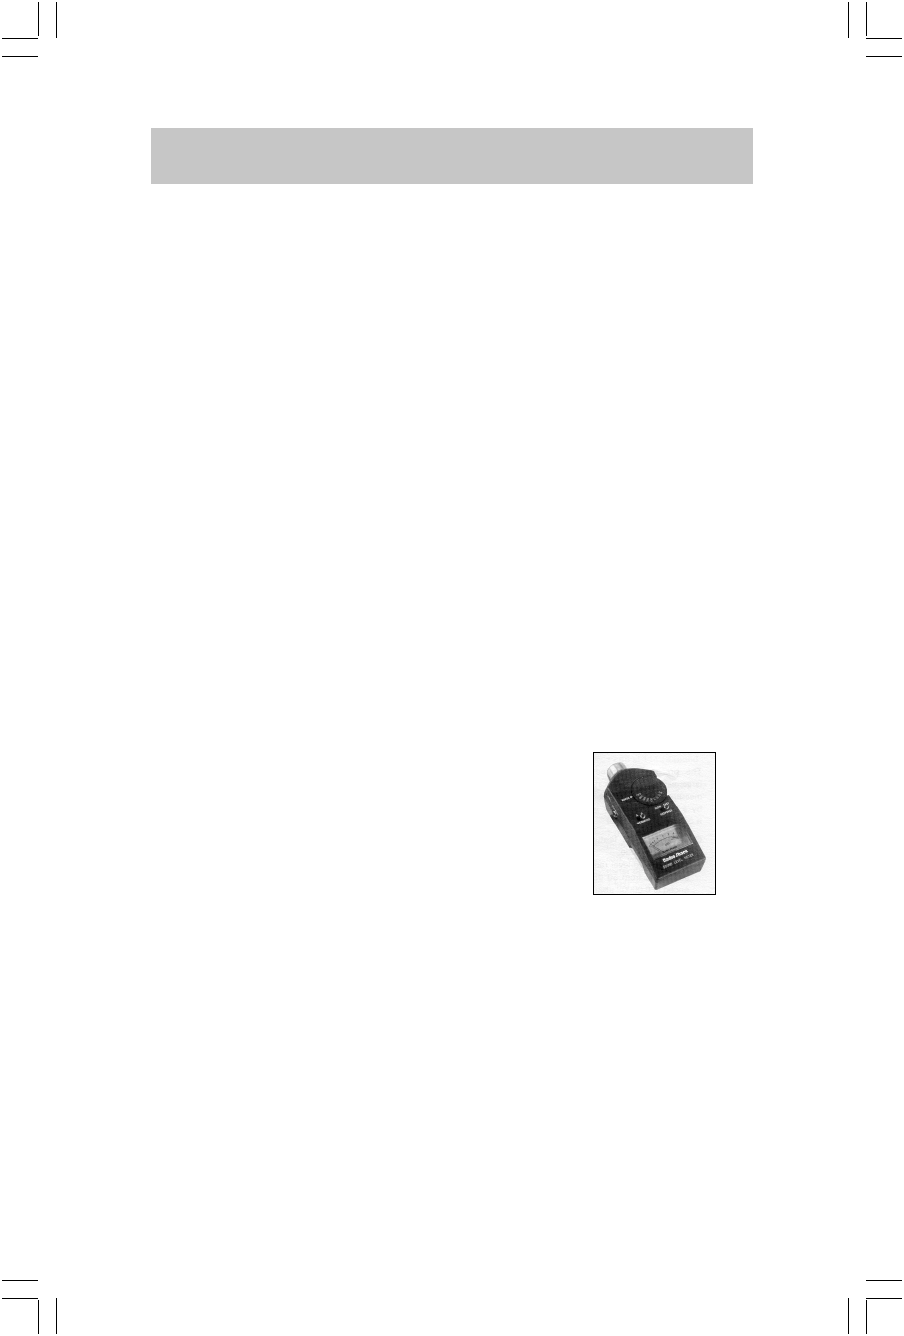
Is your Radio Shack ® sound pressure level
(SPL) meter ready? This tool is absolutely
critical to proper home theater audio calibra-
tion. It’s akin to a tire pressure gauge for your
car. Set the meter to “Slow” and “C-
weighting” (and the dial to 70). The manual
which comes with the SPL meter is excellent,
and we recommend you read it entirely. Have-
n’t got the meter yet? Well, head on down to your neighborhood
Radio Shack ® and snag one. We prefer the analog instead of
the digital display model. Ask for part number 33-2050. At
about $35 it’s a bargain.
D
on’t “just do it”. Do it right. Now play your receiver's internal test
tones so you have something to measure with your SPL meter. Or bet-
ter yet, a calibration disk, like the Video Essentials DVD (go to Chap-
ter 3-1). A test disk’s calibration tones ensure your entire signal path,
from the DVD player to your speakers, is set correctly.


