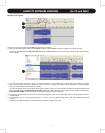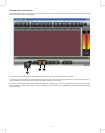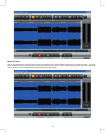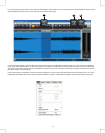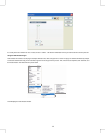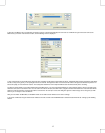
3) Click the “Use Markers as Track Indicators” checkbox to select it. This will automatically save each track and give it the same name as the Markers
that you named.
4) Then, click the “Add to Audio CD Track List” checkbox. This will automatically add all the tracks to the CD track list, making it easy to make a CD after
saving the tracks.
5) Press the Save button, and all your tracks will be saved with the correct names.
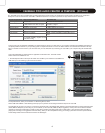
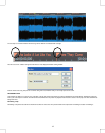
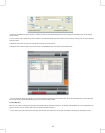
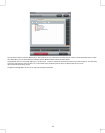
6) Bring the Audio Creator Toolbar to the front and click on the BURNER button. This brings up the window below:
7) The CD tracks will already be in the list. You can add more tracks by pressing the Add Tracks button. Press the OPTIONS button to set the speed for
CD burning. Finally, press the BURN CD button and your audio CD will be created.
Creating MP3 CD’s
MP3 CD’s are useful for CD players that support reading data CD’s as opposed to audio CD’s. By burning a CD with MP3s you can fit significantly more
songs on the disc, but risk not being able to play the CD back in older CD players.
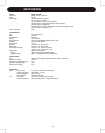
1) If you want to save your audio clips as MP3 files, under the File menu select Save As and then choose MP3. This brings up the following screen:
16


