


3
Thank you for purchasing the T.52 turntable from Stanton. The T.52 is built upon Stanton’s heritage of designing audiophile products for the
most discriminating listener. Before assembling the T.52 please check to make sure the following items are included with the main unit in the
carton.
y AC cord
y RCA cable
y 45 rpm adaptor
y Counter weight
y Cloth dust cover
y Platter with belt (Belt is located underneath the platter)
y Slipmat
y Stanton 500.V3 Cartridge pre-mounted on headshell,
except on model T.52X, no cartridge included
y User Manual
y Target light
After confirming that all of the above parts are included in the box, its time to assemble the turntable.
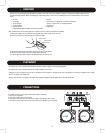
1) Remove the platter from its protective wrapping and place on the spindle of the main unit.
2) Loop the belt over the motor pulley. Be sure it does not twist.
3) Remove the slipmat from its protective wrapping and place on the platter.
4) Place the counter-weight on the back of the tonearm assembly.
5) If desired place the 45rpm adaptor in its allocated holder on the main unit.
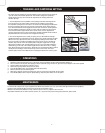
- Do not place the unit in a location where it will be exposed to direct sunlight or near a heating appliance.
- Do not place the unit in a location where there is high humidity or a lot of dust.
- Cartridge may pick up slight sound pressures or vibrations from the speakers coming along the floor or through the air resulting in feedback. Find a location
which is very stable and vibration free.
- The legs have functions for adjusting the height of the unit itself. Adjust the legs to stabilize the main body horizontally.
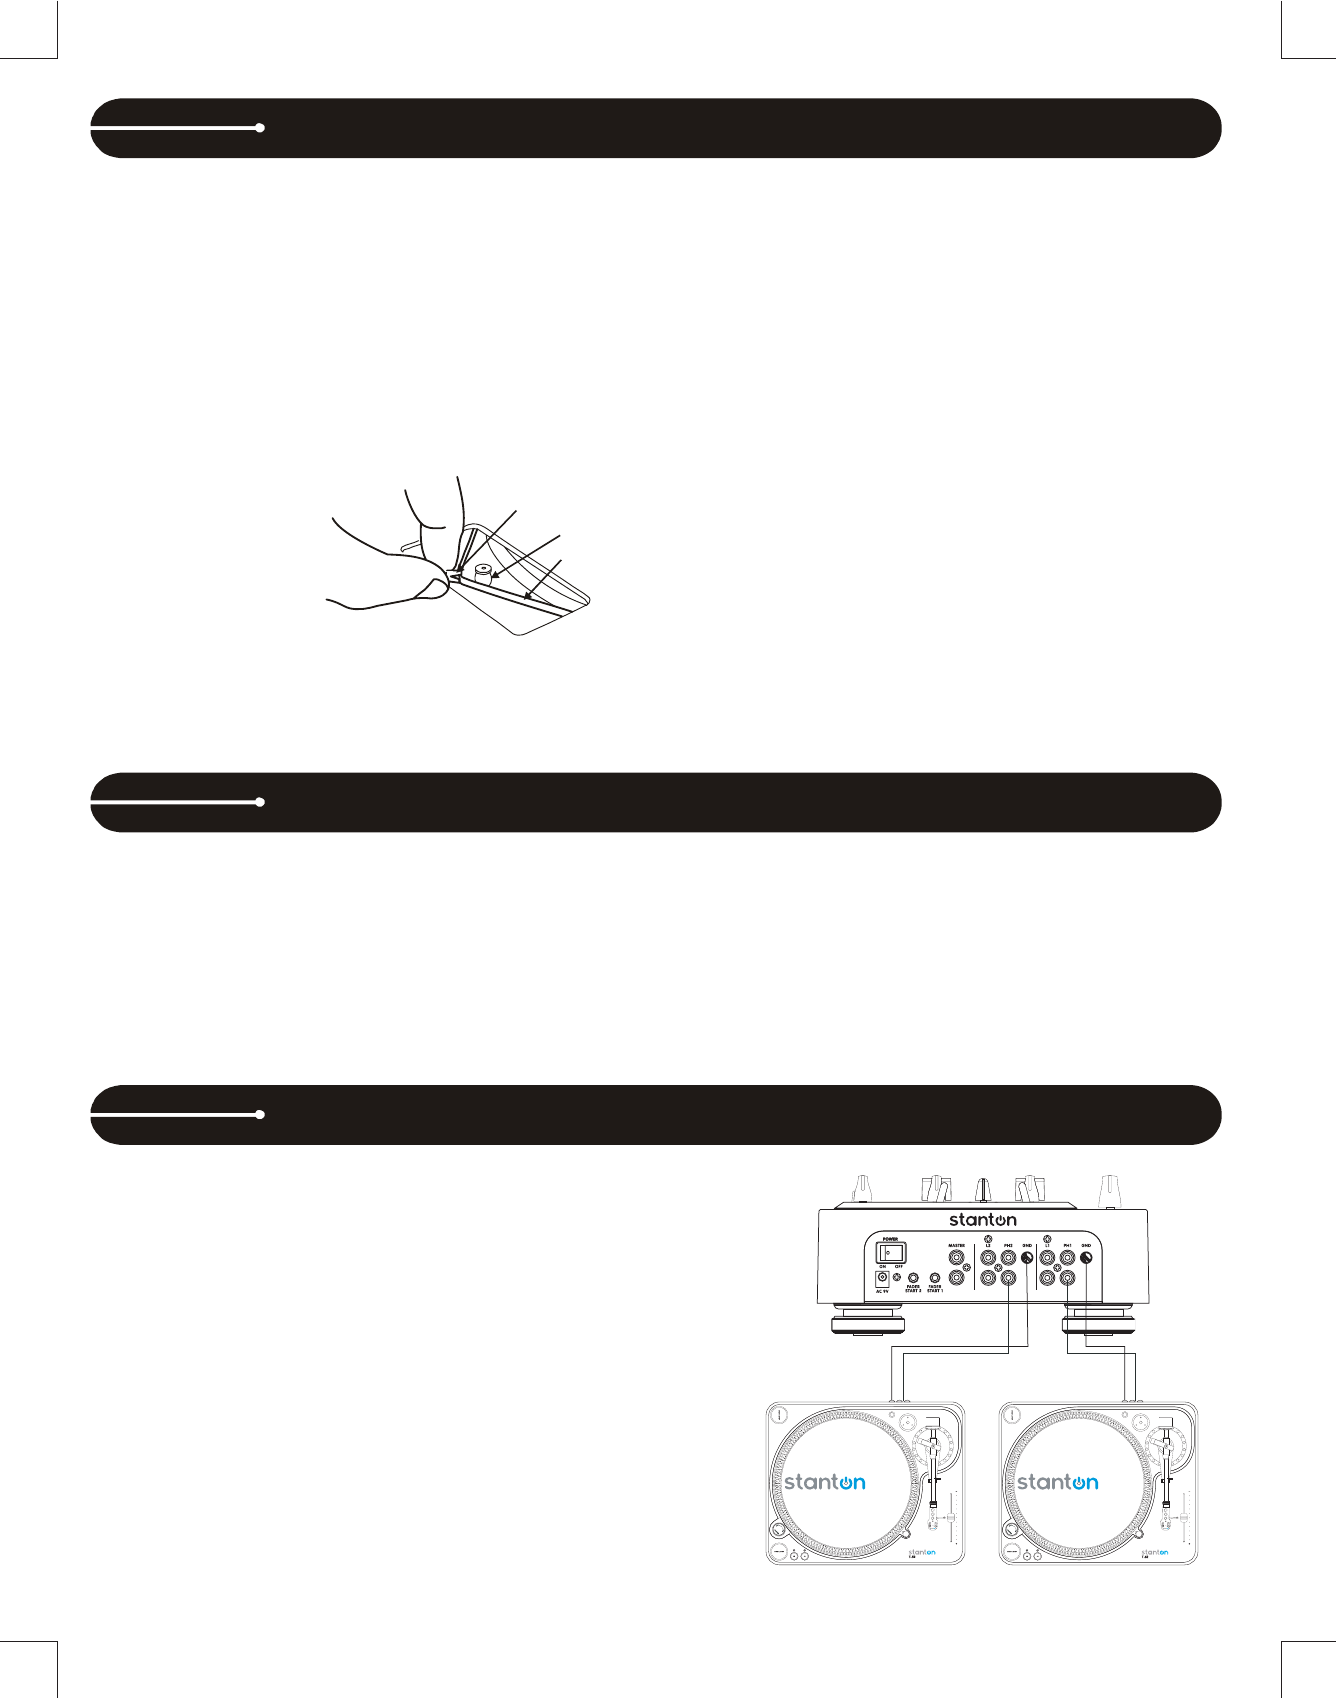
To properly connect your T.52, please follow these simple instructions:
1. Turn Off your equipment.
2. Connect the power cord to an AC outlet.
3. Connect the RCA cable from the T.52 Phono Output to your DJ Mixer Phono input.
4. Connect the ground cable from the T.52 ground post to your DJ Mixer ground terminal.
ASSEMBLY
CONNECTIONS
PLACEMENT
Ribbon tape
Driving roller
Drive belt