


If you start recording from the upper (forward) side, recording automatically goes on
to the reverse side and the unit turns off automatically when the tape comes to the end
of the reverse side. If the tab is removed, however, you cannot record on that side.
To Press or slide
Stop recording p STOP
Start recording r REC during playback
during playback
Review the portion Press and hold REW/REVIEW just recorded during recording.
Release the button at the point to start playback.
Pause recording PAUSE c
To release pause recording, release PAUSE c*.
Take out a cassette Press p STOP and open the cassette compartment lid by hand.
* PAUSE c will be also automatically released when p STOP is pressed (stop-pause-release
function).
Note
Do not use a CrO
2
(TYPE II) or metal (TYPE IV) tape, otherwise the sound may be distorted when
you play back the tape, or the previous recording may not be erased completely.
To prevent a tape from being accidentally recorded over G
Break out and remove the cassette tabs. To reuse the tape for recording, cover the tab
hole with adhesive tape.
Playing a Tape
1 Open the cassette compartment lid.
2 Insert a cassette with the side to start playing facing the lid. C-a
3 Close the cassette compartment lid.
4 Press PLAY then adjust the volume. There is a raised dot to show the direction to
turn down volume beside VOL. C-b
If the playback starts from the upper (forward) side, playback goes on to the reverse
side and the unit turns off automatically.
To Press or slide
Stop playback p STOP
Pause playback PAUSE c
To release pause playback, release PAUSE c*.
Fast forward** FF/CUE during stop
Rewind** REW/REVIEW during stop
Search forward Press and hold FF/CUE and release it at the point
during playback (CUE) you want
Search backward during Press and hold REW/REVIEW and
playback (REVIEW) release it at the point you want
* PAUSE c will be also automatically released when p STOP is pressed (stop-pause-release
function).
** When fast forward and rewind, the tape stops at the end of the tape and the power is turned off
automatically (automatic shut-off mechanism).
Using Various Functions D
To select the side to be recorded
To record on both sides continuously
1 Insert a cassette with the side to start recording facing the lid.
2 Start recording on the upper (forward) side.
If the REV indicator lights in green, slide DIR c so that the FWD indicator
turns green.
When recording reaches the end of the upper side, it will automatically continue on
the reverse side. When recording reaches the end of the reverse side, it will
automatically stop.
Note
Make sure the tabs on both sides are not removed.
To Record on one side only
1 Insert a cassette with the side to start recording facing away from the lid (reverse
side).
2 Start recording on the reverse side.
If the FWD indicator lights in green, slide DIR c so that the REV indicator
turns green.
When recording reaches the end of the reverse side, it will automatically stop.
Note
Make sure the tab on the reverse side is not removed.
Whenever you open the cassette compartment lid, the FWD indicator turns green and
recording starts form the upper (forward) side.
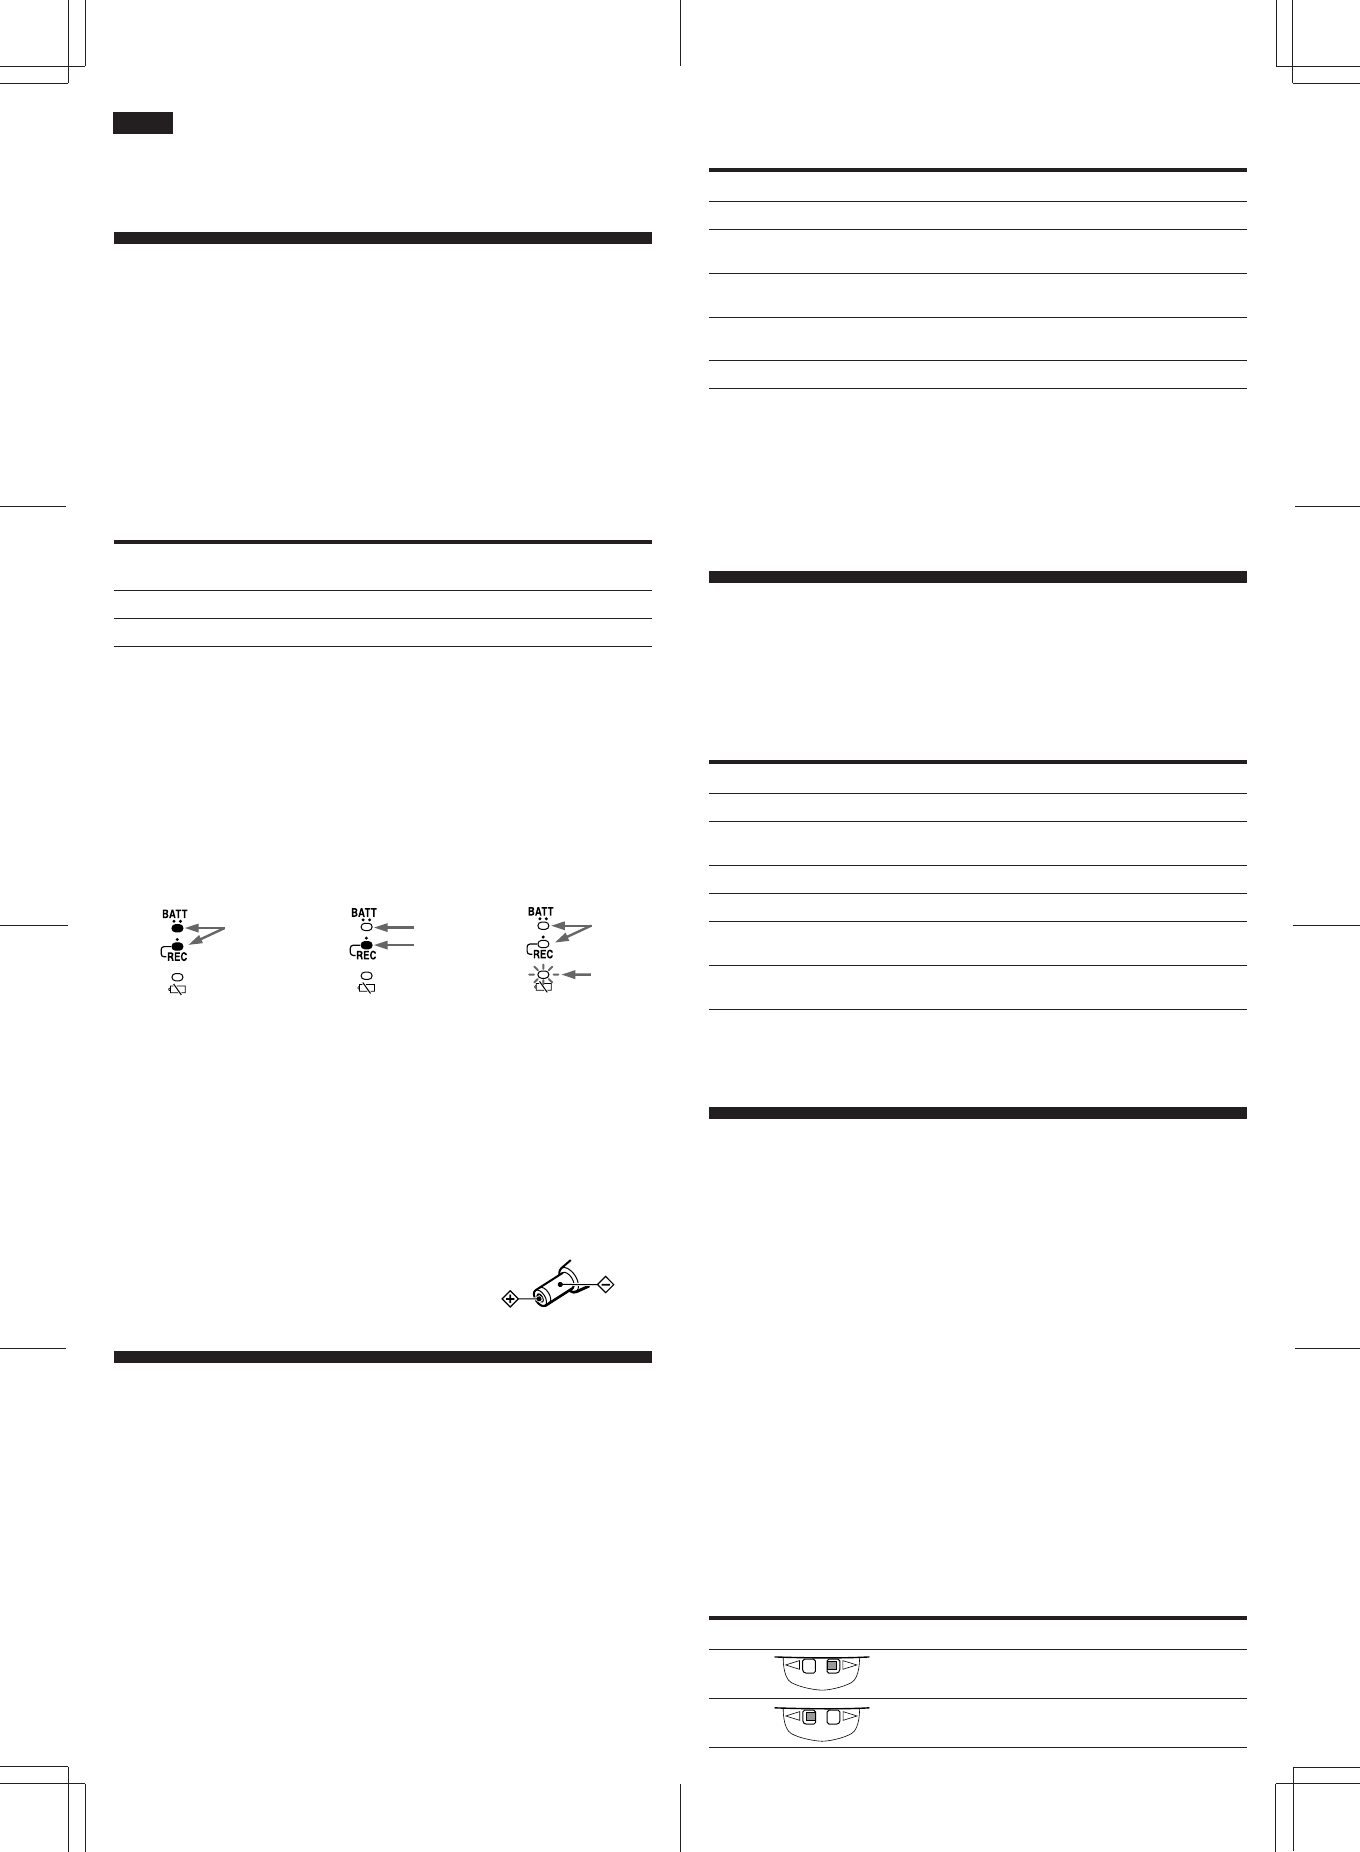
To check the direction of the tape in the display window
Display during recording/playbadk Side of the tape during recording/playback
Upper (forward) side
Reverse side
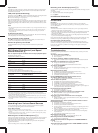
Polarity of the plug
English
As you read, refer to the illustrations in the Japanese corresponding text (labeled with
A, B, etc.)
z Getting Started
Preparing a Power Source
Choose one of the following power sources.
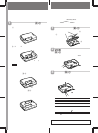
Dry Batteries A-a
Make sure that nothing is connected to the DC IN 3V jack.
1 Open the battery compartment lid.
2 Insert two size AA (R6) batteries with correct polarity and close the lid.
To take out the batteries A-b
To attach the battery compartment lid if it is accidentally
detached A-c
Attach as illustrated.
Battery life (Approximate hours)
Pecording Playback Playback at twice normal
speed/DPC ON
Sony alkaline LR6 (SG) 7.5 7 5
Sony R6P(SR) 2 1.5 1
We recommend to use long-life alkaline batteries.
Notes
• Do not charge a dry battery.
• Do not use a new battery with an old one.
• Do not use different types of batteries.
• When you do not use the unit for a long time, remove the batteries to avoid any damage caused by
battery leakage and subsequent corrosion.
• Dry batteries will not be expended when another power source is connected.
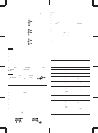
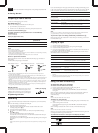
When to replace the batteries
Replace the batteries with new ones when the BATT/REC lamps go off and the i
lamp flashes.
The BATT/REC lamps change as illustrated:
When batteries are new When batteries become weak Replace batteries
Notes
• During FF(CUE) or REW(REVIEW), the i lamp may flash. Only when the tape does not run
properly, replace the batteries.
• In some cases when the unit is used with rechargeable batteries, only one BATT/REC lamp will
light even though the batteries have been fully charged.
• After the batteries have been used for a while, the BATT/REC lamp(s) may flash with the playback
sound when you turn up the volume; however, this does not mean that you need to replace the
batteries.
• The unit will play back normally for a while even after the i lamp flashes. However, replace the
batteries as soon as you can. If you do not, a loud noise may be emitted by the built-in speaker or
subsequent recording will not be done correctly.
• When the tape starts running or at the end of the tape the i lamp may momentarily light. If the
lamp goes off, you do not need to replace the batteries.
House Current
Connect the AC power adaptor to DC IN 3V and to
the wall outlet. Use the AC-E30L (in Japan) or AC -
E30HG (in other countries) AC power adaptor (not
supplied). Do not use any other AC power adaptor.
z Operating the Unit
Recording
You can record the sound easily with the built-in microphone. Use a normal (TYPE I)
tape.
Make sure that nothing is connected to the MIC jack.
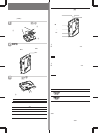
1 Open the cassette compartment lid.
2 Take out any slack in the tape and insert the cassette with the side to start
recording facing the lid. B-a
3 Close the cassette compartment lid.
4 Set VOR to L , H or OFF. For details, see “VOR (Voice Operated Recording)”.
B-b
5 Press r REC. B-c
PLAY is pressed simultaneously and recording starts.
Place the unit on a hard surface such as a desk with the cassette holder side up so
that the flat mic can record effectively.
While the tape runs, the REC lamp lights and flashes depending on the strength of
the sound.
Note
Make sure the tab on the upper (forward) side is not removed; otherwise, recording cannot be
made.
REV FWD
REV FWD
go off
flash
light
go off
light