55
Additional Information
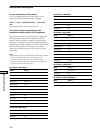
Programming the remote
You can program the remote to control non-Sony
components by changing the code. Once the control
signals have been memorized, you can use those
components as part of your system.
Furthermore, you can also program the remote for Sony
components that the remote is unable to control. Note that
the remote can only control components that accept
infrared wireless control signals.
Note
When you assign a component to the MONITOR button, you can
operate the programmed component without changing the
function of the receiver.
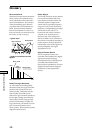
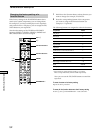
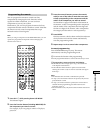
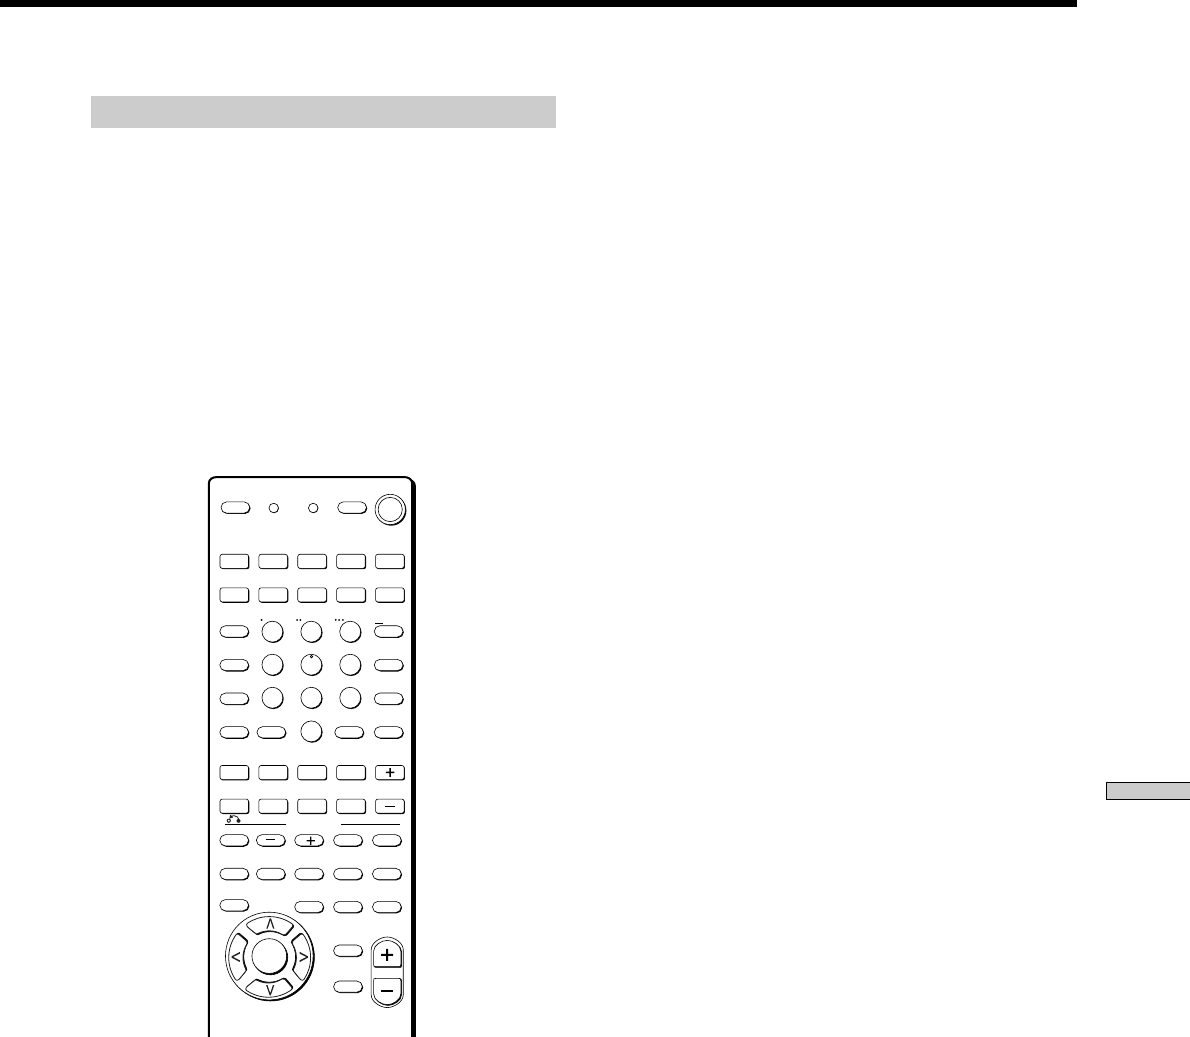
1 Press AV ?/1 while pressing down USE MODE.
The indicator lights.
2 Press the function button (including MONITOR) for
the component you want to control.
For example, if you are going to control a CD player,
press CD.
3 Press the numeric buttons to enter the numeric
code (or one of the codes if more than one code
exists) corresponding to the component and the
maker of the component you want to control.
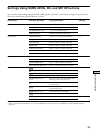
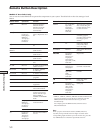
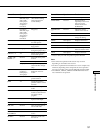
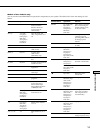
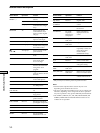
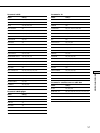
See the tables on pages 59 and 60 for information on
the numeric code(s) corresponding to the component
and the maker of the component (the first digit and
the last two digits of the numeric code correspond to
the category and the maker’s code respectively.)
4 Press ENTER.
Once the numeric code has been verified, the indicator
slowly flashes twice and the remote automatically
exits the programming mode.
5 Repeat steps 1 to 4 to control other components.
To cancel programming
Press USE MODE during any step. The remote
automatically exits the programming mode.
z To activate the function after programming.
Press the programmed button to activate the function you want.
z If programming is unsuccessful, check the following:
• If the indicator does not light up in step 1, the batteries are
weak. Replace both batteries.
• If the indicator flashes 4 times in quick succession while
entering the numeric code, an error has occurred. Start again
from step 1.
Notes
• The indicator turns off while a valid button is pressed.
• In step 2, if several function buttons are pressed, only the last
pressed button is valid.
• In step 3, if a function button is pressed, the new function is
selected and the programming procedure returns to the
beginning of step 3.
• For the numeric codes, only the first three numbers entered are
valid.
>10
1
4
7
2
5
8
3
6
9
0
MONITOR
2ND ROOM
VIDEO 1 VIDEO 2 VIDEO 3 DVD/LD TV/SAT
AUX
TV/VIDEO
INPUT MODE
CLEAR
– SUB CH +
– VOL +
POSITION SWAP
SEARCH
MODE
AUDIO
SPLIT
ENTER
ANT
TV/VTR
D. SKIP/
CH/PRESET
MD/TAPE CD/SACD TUNER PHONO
SHIFT
DISC
JUMP
A.F.D.
AV
DISPLAY
TEST
TONE
NIGHT
MODE
ON
SCREEN
MAIN
MENU
EXIT/
RETURN
AV
MENU
TITLE
GUIDE
ENTER/
EXEC
MULTI/2CH
A. DIRECT
EQ/TONE
MUTING
MUTING
MODE
2CH
PRESET
P IN P
– /– –
SOUND FIELD
D.TUNING
AV1 AV2 3RD
(SOURCE)
WIDE
/11 /10 /12
SLEEP
AV
? / 1
? / 1
SYSTEM
STANDBY
USE MODE
MASTER
VOL
.Mm
nN
X
>
x


