12
Recording Operations
3-858-189-21(1)
pTIMER
PHONES
REC MUTE
REC
AMS
MODE
RESET
RESETERASEWRITE
REHEARSALRENUMBER
AUTO
MARGIN
OFFREC PLAY
TIMER
POWER
g
START ID
PHONE LEVEL
100
§
pPr
R)0±≠
·
OPEN/CLOSE
ANALOG
OPTICAL
COAXIAL
•••
REC LEVEL
INPUT
48 kHz
44.1 kHz
LONG
•••
••
REC MODE
STANDARD
SBM
ON
OFF
L R
5
4
0
6
10
3
1
7
9
28
•
•
•
•
•
•
•
•
•
•
REC MUTE R · P
PHONES
REC MUTE
REC
AMS
MODE
RESET
RESETERASEWRITE
REHEARSALRENUMBER
AUTO
MARGIN
OFFREC PLAY
TIMER
POWER
g
START ID
PHONE LEVEL
100
§
pPr
R)0±≠
·
OPEN/CLOSE
ANALOG
OPTICAL
COAXIAL
•••
REC LEVEL
INPUT
48 kHz
44.1 kHz
LONG
•••
••
REC MODE
STANDARD
SBM
ON
OFF
L R
5
4
0
6
10
3
1
7
9
28
•
•
•
•
•
•
•
•
•
•
Inserting a Sound-Muted
Section While Recording
(Record Muting)
Use Record Muting to insert a space of about 4 seconds
between tracks. This is recommended if you plan to
copy the DAT tape to an analog audio cassette tape
since the spaces will allow you to use automatic search
functions to locate the beginning of each track.
When you start recording from the beginning of a
blank tape and want to insert a space before the first
track, be sure to create a sound-muted section using
Record Muting only. Do not advance the tape with the
) or · button since this will create a blank section
on the tape (see page 9).
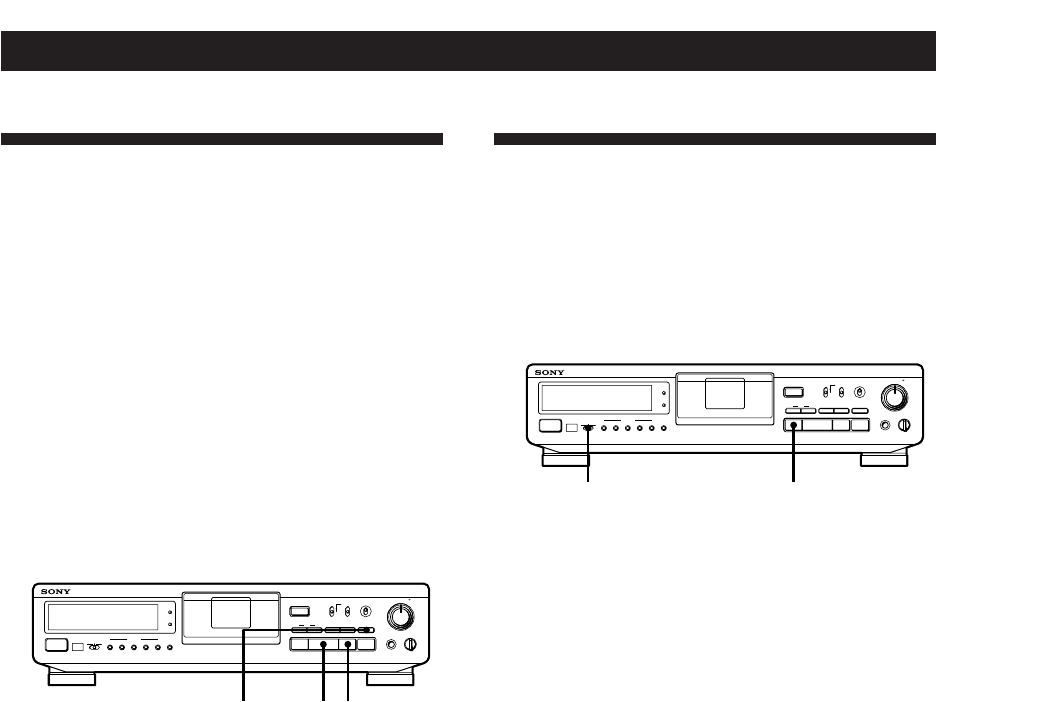
1 Press REC MUTE R where you want to insert a
space while the deck is recording or in recording
pause.
The deck creates a sound-muted section as “REC”
flashes in the display.
After the sound-muted section is completed,
“REC” lights up and the deck changes to recording
pause.
To insert a blank space longer than 4 seconds
Hold down REC MUTE R as long as you want. When
you release the button, the sound-muted section ends
and the deck changes to recording pause. If you keep
the button pressed longer than 4 seconds, “REC” will
begin to flash more quickly and the time elapsed after
pressing the REC MUTE R button is shown in the
display.
When you release the REC MUTE R button, P in the
display stays on and the deck changes to recording
pause.
2 Press P or · to resume recording.
The deck starts recording again.
Note
If you do not create a sound-muted section at the beginning
of a tape, you may not be able to move or erase a start ID
(see page 15) that is recorded within 2 seconds from the
beginning of the tape.
Recording Using a Timer
(Timer Recording)
By connecting a timer (not supplied) to the deck, you
can start and stop recording operations at specified
times. For further information, refer to the instructions
that came with the timer.
1 Do steps 1 to 7 of “Recording on a DAT” on pages
6 and 7.
2 • To specify the time for the start of recording,
press p.
• To specify the time for the end of recording, do
steps 8 and 9 of “Recording on a DAT” on page
7.
• To specify the time for the start and end of
recording, press p.
3 Set TIMER on the deck to REC.
4 Set the timer as required.
• When you have set the time for the start of
recording, the deck turns off. When the
specified time arrives, the deck turns on and
after about 10 seconds starts recording.
• When you have set the time for the end of
recording, the deck continues recording, then
when the specified time arrives, the deck stops
recording and turns off.
• When you have set the time for both the start
and end of recording, the deck turns off. When
the starting time arrives, the deck turns on and
after about 10 seconds, recording starts. When
the ending time arrives, the deck stops
recording and turns off.
5 After using the timer, set TIMER on the deck to
OFF.
Notes
• If the TIMER switch is left at the REC position, the deck
will automatically start recording when you turn on the
deck next time.
• During Timer Recording (i.e., when the TIMER switch is
set to the REC position), Auto Rewind (see page 14) will
not function even if the tape ends during recording. This
is to prevent previously recorded material from being
recorded over.


