11
Sound Settings and
Setup Menu
Changing the sound
settings
Adjusting the sound
characteristics
1 During reception/playback, press the
select button.
2 Rotate the control dial until the desired
menu item appears, then press it.
3 Rotate the control dial to select the
setting, then press it.
4 Press (BACK).
The following items can be set:
*1 When EQ3 is activated (page 11).
*2 When the audio output is set to “SUB-OUT”
(page 12).
“ATT” is displayed at the lowest setting, and
can be adjusted up to 21 steps.
*3 When AUX source is activated (page 13).
Customizing the equalizer
curve — EQ3
“CUSTOM” of EQ3 allows you to make
your own equalizer settings.
1 During reception/playback, press
repeatedly to select
“CUSTOM,” then press (BACK).
2 Press the select button.
3 Rotate the control dial until “EQ3
LOW,” “EQ3 MID” or “EQ3 HIGH”
appears, then press it.
4 Rotate the control dial to adjust the
selected item, then press it.
The volume level is adjustable in 1 dB
steps, from –10 dB to +10 dB.
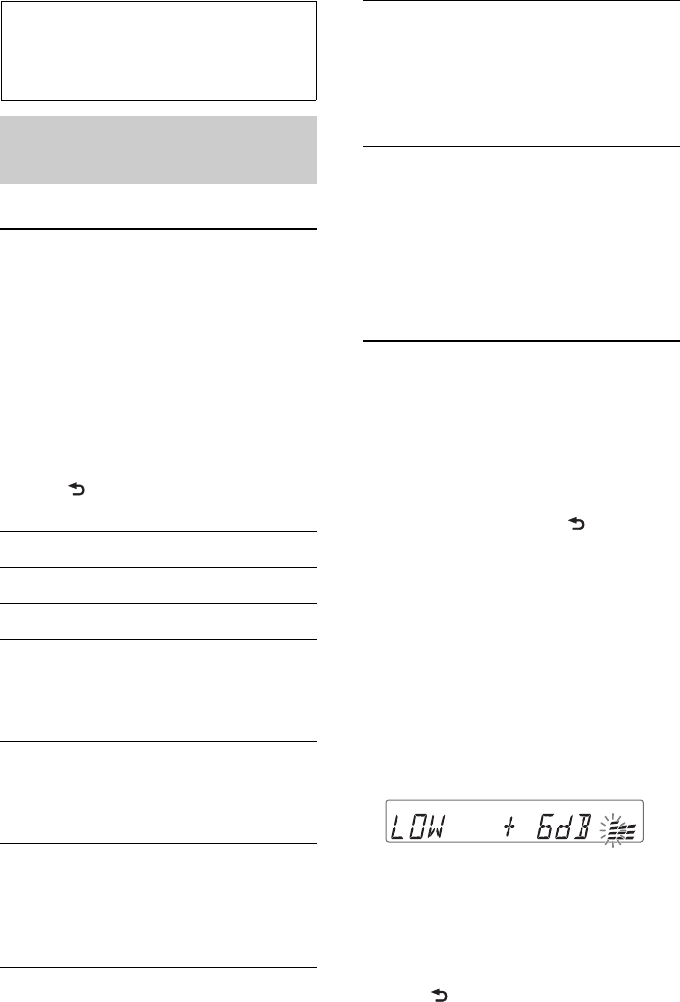
Example: CDX-GT360MP
Repeat steps 2 and 3 to adjust the
equalizer curve.
To restore the factory-set equalizer
curve, press and hold the select button
before the setting is complete.
5 Press (BACK).
EQ3 LOW*
1
(page 11)
EQ3 MID*
1
(page 11)
EQ3 HIGH*
1
(page 11)
BALANCE
Adjusts the sound balance: “RIGHT-15
(R15)” – “CENTER (0)” – “LEFT-15
(L15).”
FADER
Adjusts the relative level: “FRONT-15
(F15)” – “CENTER (0)” – “REAR-15
(R15).”
SW LEVEL*
2
(Subwoofer Level)
Adjusts the subwoofer volume level:
“+10 dB” – “0 dB” – “–10 dB.”
(“ATT” is displayed at the lowest
setting.)
AUX VOL*
3
(AUX Volume level)
Adjusts the volume level for each
connected auxiliary equipment: “+18
dB” – “0 dB” – “–8 dB.”
This setting negates the need to adjust
the volume level between sources.


