CONNECTING THE CINEMA TWO SUB AMPLIFIER
The Cinema Two SUB System includes a Sonamp Cinema 2120 specially designed to drive subwoofers.
Connect the subwoofer output interconnect to the left channel input jack on the rear of the Sonamp
Cinema 2120.If the source preamplifier has no dedicated subwoofer output, use a pair of interconnect
cables from the preamp out or tape out to the left and right input jacks of the Sonamp Cinema 2120.
If no line level output is available to drive the subwoofer, use a Sonance OP-3 to convert high level
speaker output to the appropriate level for input to the Sonamp Cinema 2120. Connect subwoofer
speaker wires to the right and left speaker terminals on the back of the amplifier.
NOTES: Polarity of speaker wires is critical.All positive leads (+) must be attached to red connectors
throughout the system.
Since the Sonamp Cinema 2120 subwoofer amplifier sends a monaural signal to both speakers, either
speaker (right or left) may be driven by either amplifier channel.
The Sonamp Cinema 2120 subwoofer amplifier is designed to drive one speaker per pair of binding
posts. Connecting additional speakers in parallel may cause damage to the speakers and amplifier.
Do not tie amplifier output (+) terminals together and run a single 2 conductor to the two subwoofers.
Each amplifier channel requires separate positive (+) and negative (-) conductors, 4 total for each
amplifier and two subwoofer modules.(See diagram 6)
Plug the power cord into a grounded (three-hole) AC outlet of the voltage indicated on the amplifier.
Do not use a switched outlet on another component. The Sonamp Cinema 2120 amplifier features
auto-on circuitry. After 3 minutes of no input signal, the amplifier turns itself off. It automatically
powers on with an input signal is detected.
Subwoofer Amplifier Settings
Non-THX Processors
For non-THX Processors some experimentation will be necessary to achieve the best possible integration of the Cinema
One SUBS with the other speakers in the system. Start with the following settings on the Sonamp Cinema 2120:
• FREQUENCY: fully clockwise, highest crossover frequency
• PHASE: down, 0, normal phase setting
• LEVEL: 12:00
• BYPASS: down, off
THX and 5.1 Processors
• FREQUENCY: no action
• PHASE: down, 0, normal phase setting
• LEVEL: no action
• BYPASS: up, on
1413
DETAILED BACK BOX INSTALLATION INSTRUCTIONS
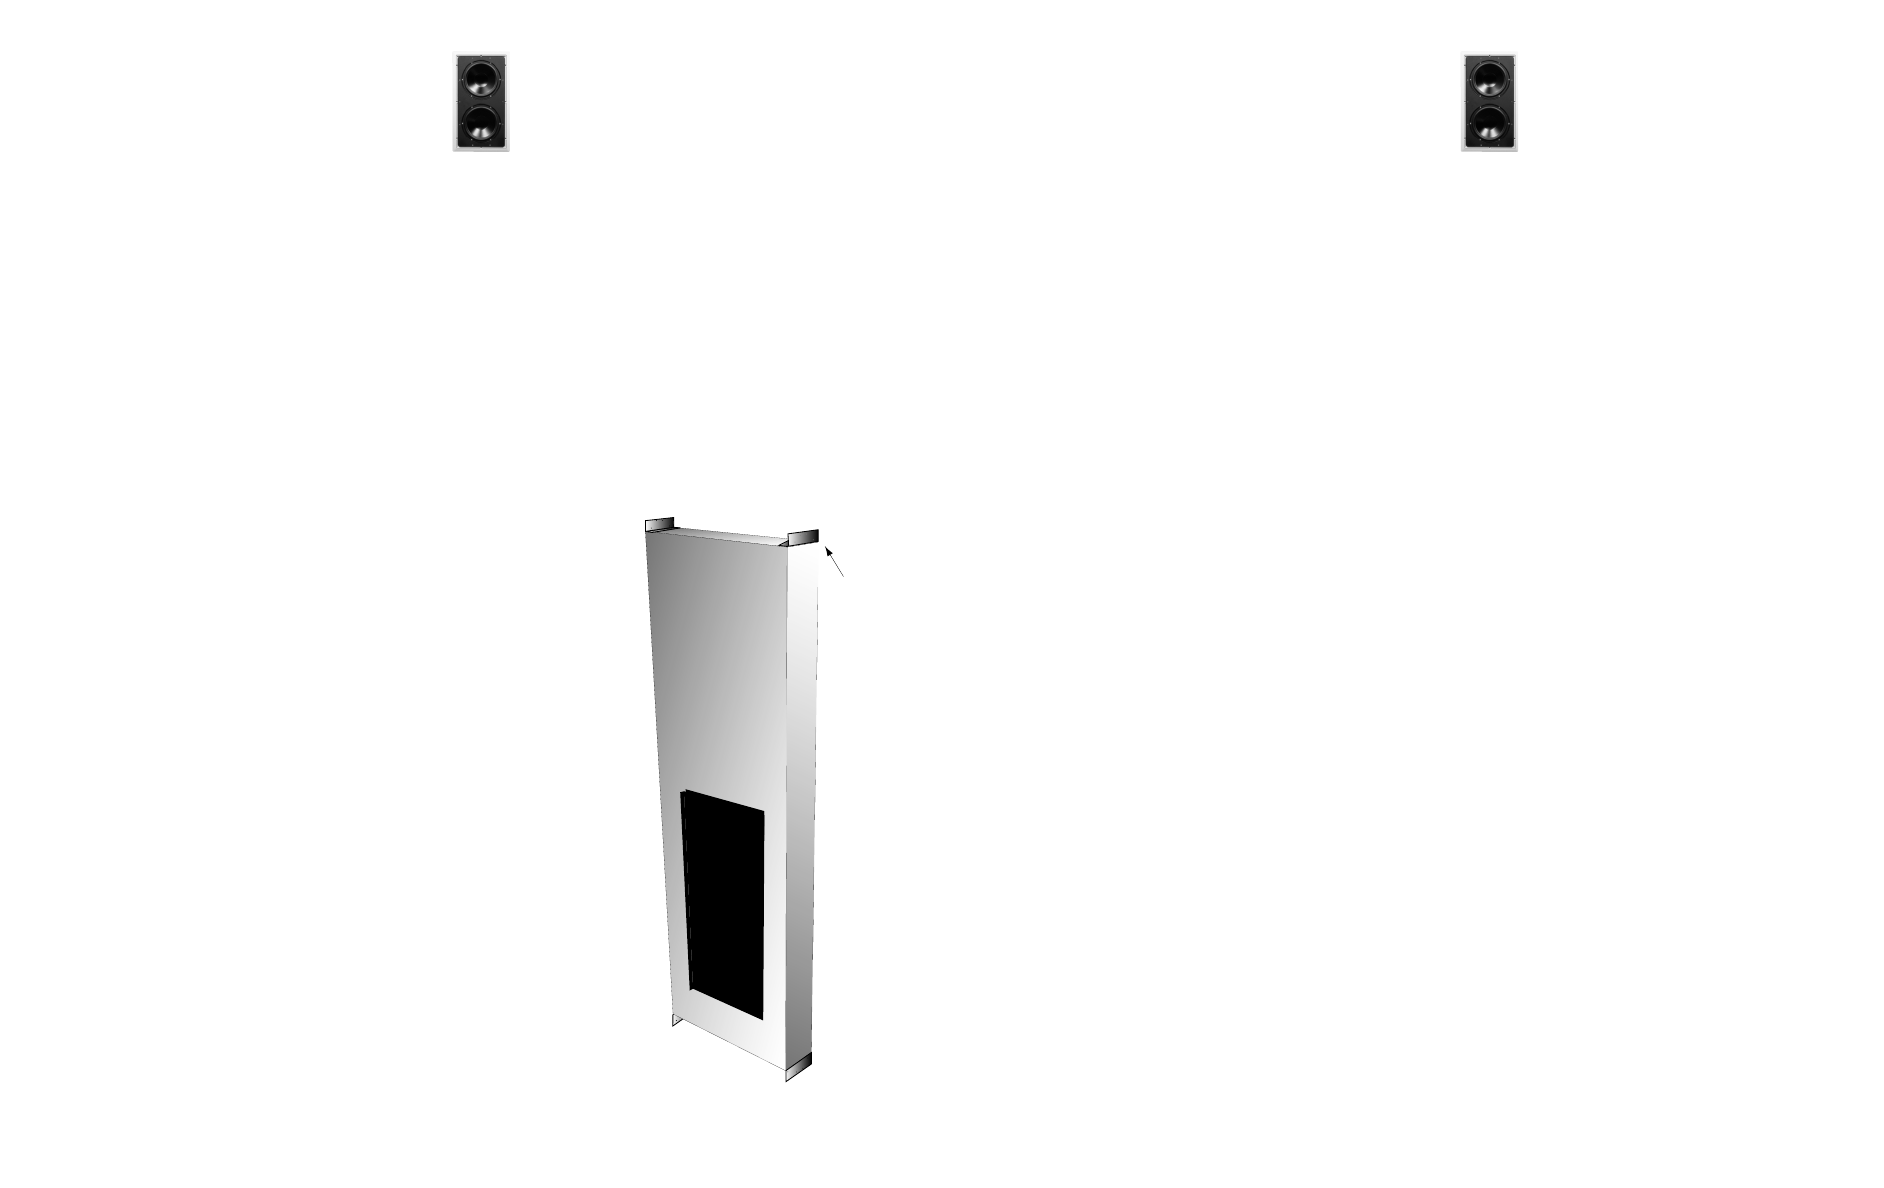
The Cinema Two Back Box must be installed in a 2" x 6" stud bay that is at least 84" tall and 14-1/2"
wide. Refer to pages 8 and 9 for optimal subwoofer placement. Run the speaker cable from your
equipment to the back box location.Attach the four "L" brackets to the four corners on the short side
of the cabinet. Install the back box as far forward (speaker cutout side) in the bay as possible to
minimize contact with the rear side drywall.The four "L" brackets should then be attached to the studs
or joists at the appropriate position. Drill a hole that is slightly larger than your speaker wire.Once your
speaker wire is routed into the back box use silicone or construction adhesive to seal off the wire entry
hole. This will make the box air tight.
If possible apply construction adhesive to the front of the box (not
the coverplate) during drywall installation. This will bond the back
box to the wall structure, and eliminate all possibility of unwanted
resonances.The coverplate, included with the back box,is designed
as a drywall cutout template for the speaker.It may be left attached
to the back box until the speaker is ready to be installed.
SPEAKER INSTALLATION
Wire Connections – Strip 1/2" of insulation from each speaker wire.
Attach the positive conductor to the red 5-way binding post and the
negative wire to the black post. To connect, loosen the nut on the
binding post until the hole in the post is visible. Insert the stripped
end of the wire through the hole, then snug the nut. Do not
over tighten.
Before installing the speaker remove the coverplate from the
enclosure. Speaker Mounting –Screw each speaker assembly by
inserting the ten long screws provided through the baffle into the
back box.
GRILLE INSTALLATION
If 3/8" drywall is used, break off the 16 tabs on the back side of the
grille ring.Attach the ring to the back box with the eight short screws
provided. Carefully place grille into grille ring. The sides of the grille
may be bent,if a tighter fit is required.
5.5"
14.5"
72"
"L" Bracke
t
Diagram 3


