4
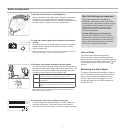
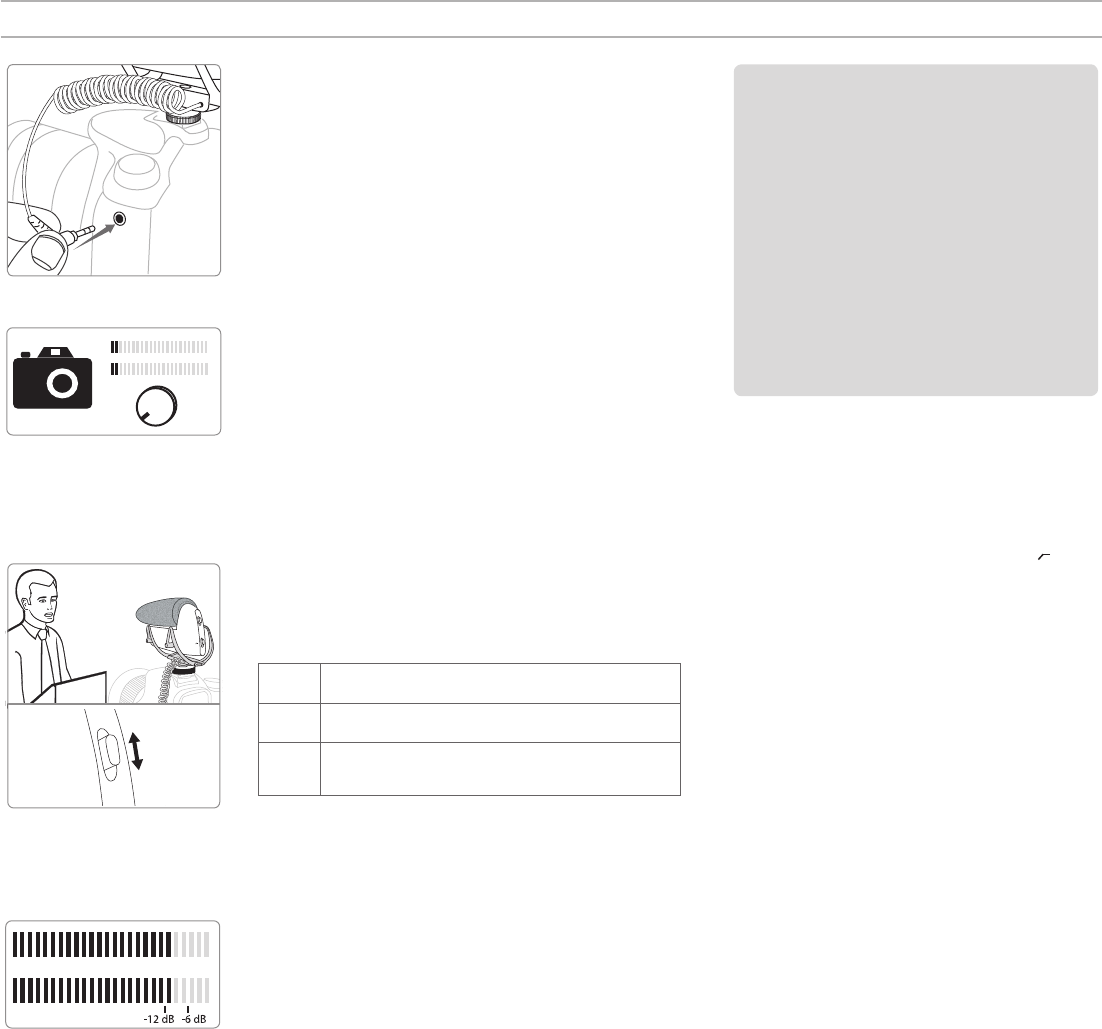
① Connect to the camera or recording device
Plug the attached coiled cable into the camera's audio input.
Alternatively, the microphone can be plugged into a field
recorder or other external device. It may be connected to both
a camera and a recorder by using a Y-splitter cable.
Why Gain Settings are Important
Proper gain adjustment is necessary to
achieve the best signal-to-noise ratio. When
recording audio, the camera's preamp circuitry
may introduce a small amount of noise that
increases as the camera's preamp gain is
raised, or when volume levels are raised
during post production.
How the VP83 improves performance:
The VP83 microphone has very low noise
characteristics, which means that using more
gain from the microphone and less from the
camera will improve the signal-to-noise ratio
and result in a cleaner audio signal.
Audio Configuration
Low-cut Filter
The low-cut filter reduces low frequency
rumble caused by camera handling and other
environmental factors by rolling off low frequencies
170 Hz and below (12 dB per octave). To engage,
slide the power switch to the low-cut filter ( )
position.
Monitoring the Audio Signal
To listen to the audio while recording, connect a
pair of headphones to the camera's headphone
output. Use the camera's headphone volume
control to adjust the monitoring level. Do not
use the gain switch on the VP83 to adjust the
monitoring level.
0
+20
0
-10
on
o
+20
0
-10
④
② Lower the camera's gain (input volume) to the minimum
setting
Using the least amount of gain from the camera or recording
device and more gain from the VP83 will result in a better
signal-to-noise ratio.
Note: If automatic gain control on the camera (when applicable) introduces
unwanted audio artifacts, consider bypassing the feature.
③ Perform a sound check and adjust the gain switch
The dB gain switch adjusts the level of the audio signal sent to
the camera's audio input. Begin with the gain switch set to +20
dB. Monitor the camera's audio meter and adjust the switch
so that the loudest sounds do not exceed -6 dB.
+20 dB: Appropriate level for many cameras when recording typical
sound levels (speech, for example) and for quiet sources.
0 dB: Use when capturing sounds that are slightly louder than typical
speech levels.
-10 dB: Use when the signal is too loud and distorts the camera's
preamp, or in loud environments, such as a concert or sporting
event.
Note: Camera input sensitivity varies between manufacturers. Use this
information for general reference.
④ If necessary, increase the camera's input gain
The audio signal should peak between -12 and -6 dB on the
camera's audio meter. Follow the camera manufacturer's
instructions to fine tune the gain to reach the appropriate level.


