


6
Batteries and Charging
LED Status During Charging
The following LED states indicate battery status when the transmitter is
connected to a charger:
• Green = charging complete
• Green Flashing = battery charge > 90%
• Red = battery charging
• Amber Flashing = battery error, replace battery
GLX-D transmitters are powered by Shure SB902 lithium-ion rechargeable batteries. Advanced battery chemistry maximizes runtimes with zero memory
effects, eliminating the need to discharge batteries prior to charging.
When not in use, recommended battery storage temperature is 10°C (50°F) to 25°C (77°F).
Note: The transmitter will not pass RF or audio signals when connected to the charging cable.
The following battery charging options are available:
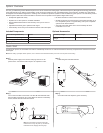
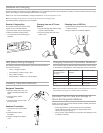
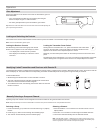
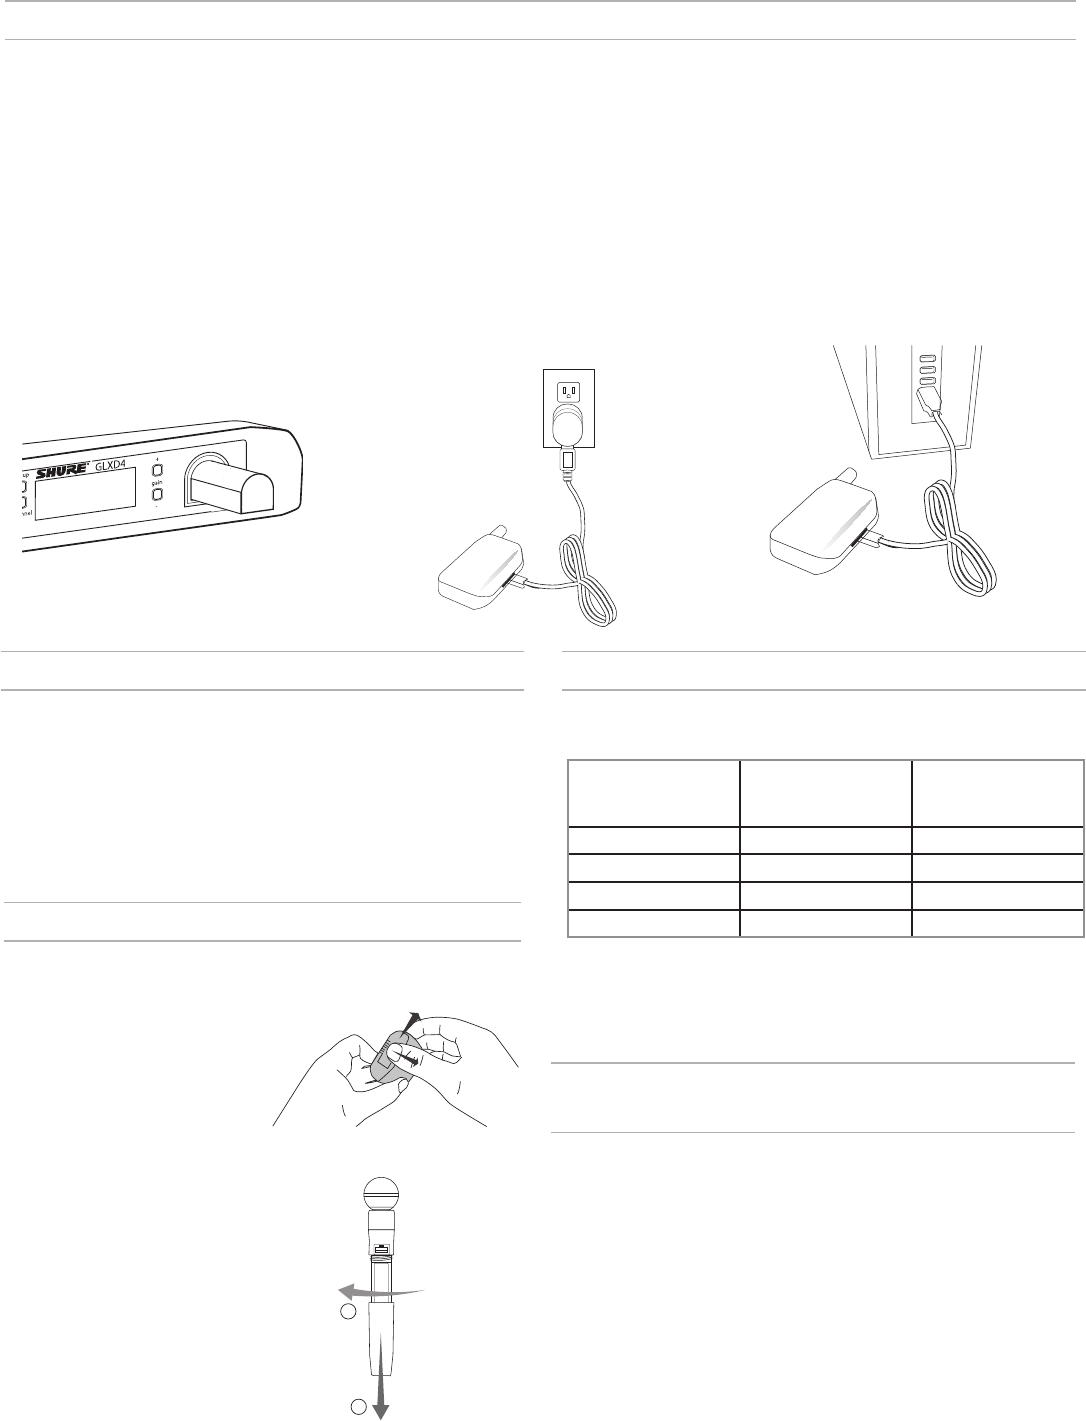
Charging from a USB Port
1. Plug the USB charging cable into the charging port
on the transmitter.
2. Plug the cable into a standard USB port.
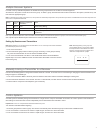
Charging Times and Transmitter Runtimes
Use the following table to determine approximate battery runtime based
on the duration of charging time. Times shown are in hours and minutes.
Receiver Bay or
AC Power Source
Charging
USB Connection
Charging
Transmitter Runtime
0:15 0:30 up to 1:30
0:30 1:00 up to 3:00
1:00 2:00 up to 6:00
3:00 4:00 up to 16:00*
*Storage time or excessive heat will reduce maximum runtime.
Note: GLX-D transmitters automatically power-off after approximately 1 hour to con-
serve battery life if the signal from a linked receiver is not detected.
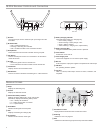
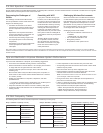
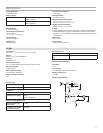
Installing Transmitter Batteries
Bodypack Transmitter
1. Move the locking lever to the open
position and slide the battery door
open.
2. Place the battery into the
transmitter.
3. Close the battery door and slide
the latch to lock.
Handheld Transmitter
1. Unscrew and remove the battery
cover.
2. Place the battery into the
transmitter.
3. Replace and tighten the battery
cover.
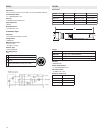
Receiver Charging Bay
The GLXD4 receiver has a built-in charg-
ing bay for the transmitter batteries.
1. Insert the battery into the charging bay.
2. Monitor the battery charging indica-
tor on the front panel until charging is
complete.
Charging from an AC Power
Source
1. Plug the charging cable into the charg-
ing port on the transmitter.
2. Plug the charging cable into an AC
power source.
Important Tips for Care and Storage of
Shure Rechargeable Batteries
Proper care and storage of Shure batteries results in reliable performance
and ensures a long lifetime.
• Always store batteries and transmitters at room temperature
• Ideally, batteries should be charged to approximately 40% of
capacity for long-term storage
• During storage, check batteries every 6 months and recharge to 40%
of capacity as needed
1
2