


GB
16
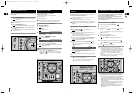
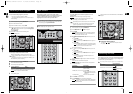
You can improve the quality of radio reception by:
Rotating the FM or AM(MW) aerial
Testing the positions of the FM and AM(MW) aerials before fixing them
permanently
If reception from a specific FM radio station is poor, press MO/ST. to
switch from stereo mode to mono. The quality of the sound will be
improved.
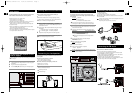
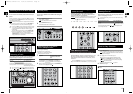
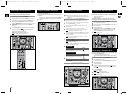
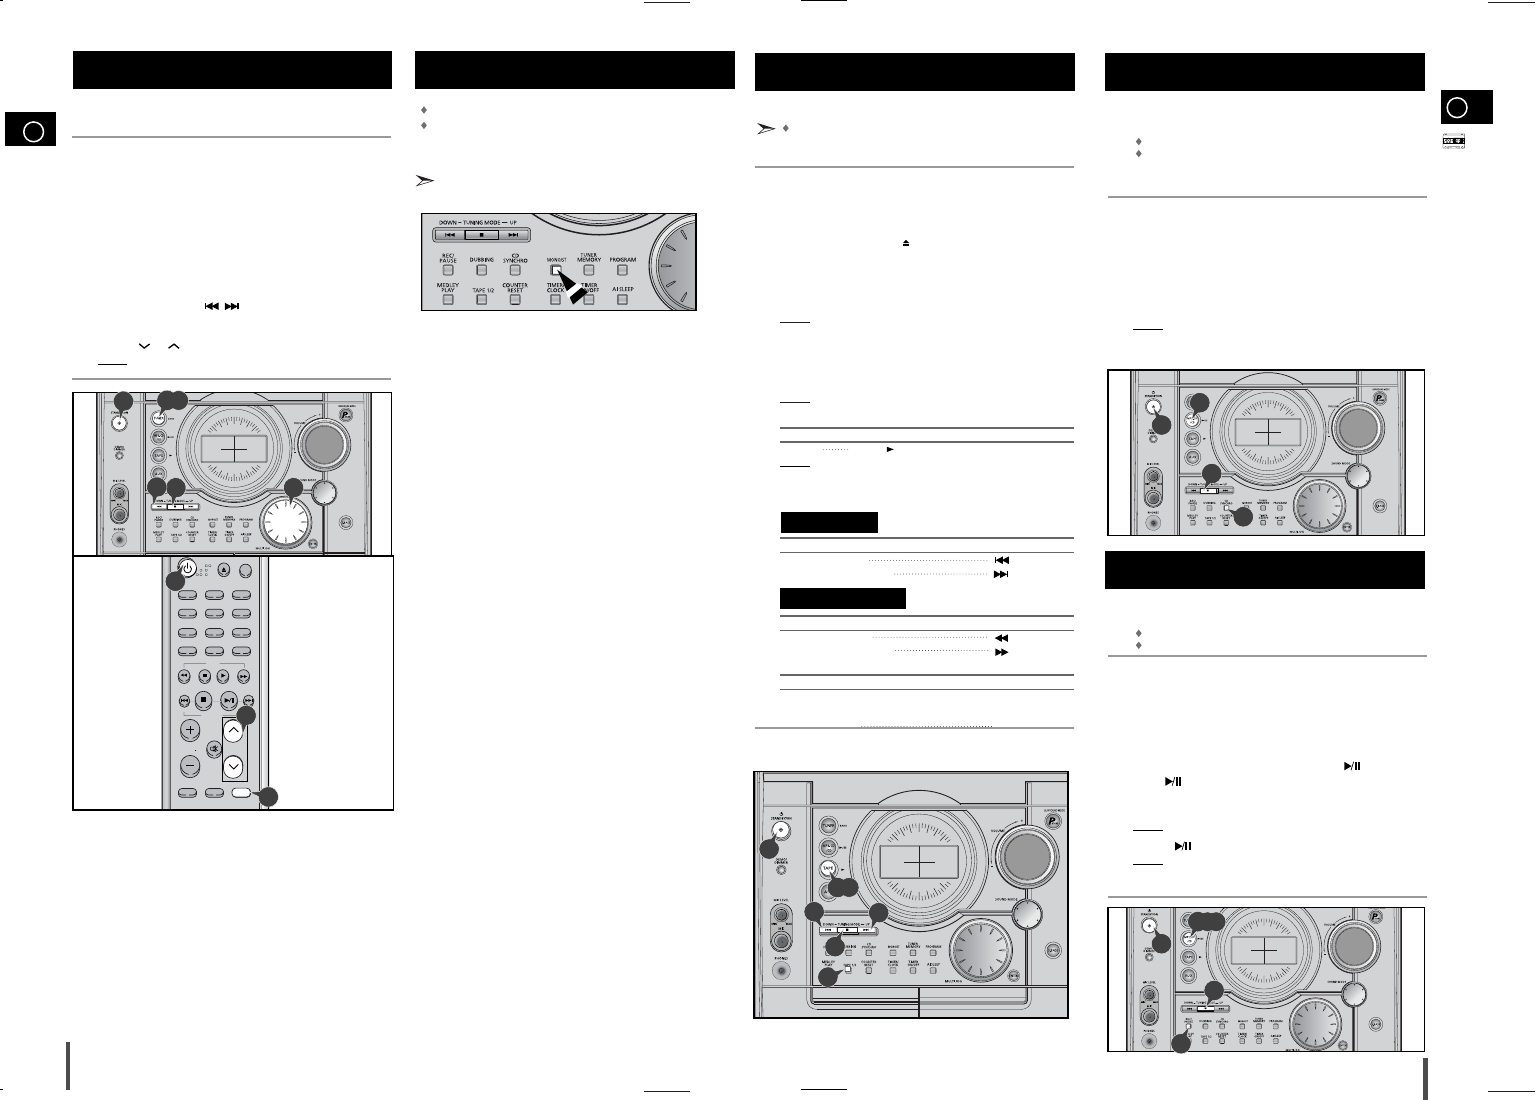
You can listen to a stored radio station as follows:
Switch the system on by pressing STANDBY/ON.
Select the TUNER function by pressing TUNER on remote control.
Select the required frequency band by pressing TUNER (BAND) on
the remote control or TUNER (BAND) again on the front panel.
Press the TUNING MODE button on the front panel of the unit, or the
TUNING MODE button on the remote control until “PRESET” is
displayed.
Turning MULTI JOG on the front panel left or right until the desired
station is found or press / to select the desired station.
or
Select the desired station by pressing the
TUNING or button on the remote control.
Result:
The desired station is now received.
Selecting a Stored Station
1
2
3
4
5
Improving Radio Reception
2,3
1
54
+10
VOLUME
SURROUND MODE SOUND MODE TUNING MODE
REC / PAUSE TAPE 1/2
TAPE
MP3-CD / CD
COUNTER RESET
MO / ST DEMO DIMMER
AI SLEEP SHUFFLE CD REPEAT
TIMER ON / OFF TIMER / CLOCK PROGRAM / SET
OPEN/CLOSE SKIP
MUTE
TUNING
/ALBUM
1
5
+10
4
5
MAX-T35 GB noR 1~15 4/21/06 8:2412:0 Page 16
GB
17
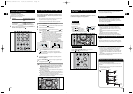
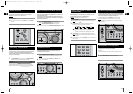
Always treat your cassettes with care; refer, if necessary, to
the section entitled “Precautions When Using Audio Cassettes”
on page 23.
Switch the system on by pressing the STANDBY/ON button.
Select the TAPE function by pressing TAPE on the front panel.
Open either cassette TAPE1 or 2 by pushing and releasing the Tape
cover where PUSH EJECT () is written.
Insert the pre-recorded cassette with the open edge of the tape
facing downward.
Close the Tape by pushing on it until it clicks into place.
Result: Depending on the Tape selected, the 1 or 2 indication is
displayed in front of the counter number.
If you have inserted two cassettes, press TAPE1/2 on the front panel
or directly the TAPE1/2 button on the remote control to select the
cassette to be played.
Result:
Depending on the Tape selected, the TAPE 1 or TAPE 2
indication is displayed.
To listen to... Press ...
Side A,B TAPE ( )
Result:
The cassette starts playing.
When the cassette is stopped, select one of the following functions
as required or on the remote control.
To... Press...
Rewind the cassette
Fast-forward the cassette
To... Press ...
Rewind the cassette
Fast-forward the cassette
To... Press ...
Stop the playback
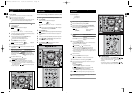
You can record a compact disc on a cassette in two different ways:
Synchro nised recording
Direct recording
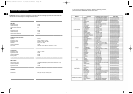
This feature enables you to synchronize the start of the
recording with the start of the disc or track of your choice.
Switch the system on by pressing STANDBY/ON.
Insert a blank cassette in TAPE2.
Select the CD function by pressing MP3-CD/CD on the front panel.
Load a compact disc.
Select the required disc.
Select the required track and press CD SYNCHRO or press CD
SYNCHRO directly to start recording at the beginning of the disc.
Result:
REC and SYNC are displayed and recording starts.
To stop recording, press .
The direct recording mode enables you to start recording with
any track on the compact disc.
You can only record on cassettes in Deck 2.
You do not need to adjust the volume, as it has no effect on the recording.
Switch your system on by pressing STANDBY/ON.
Insert a blank cassette in TAPE2.
Select the CD function by pressing MP3-CD/CD on the front panel.
Load the compact disc.
Select the required disc.
Select the required track on the compact disc and press on the front
panel or on the remote control to set the compact disc player to Pause
mode.
Press the REC/PAUSE.
Result:
REC is displayed.
Press the to start playing the track.
Result:
The track is recorded on the cassette.
To stop recording, press .
CD Synchro Record Feature
Recording a Compact Disc
Listening to a Cassette
1
2
3
4
5
6
7
8
1
9
1
2
3
4
5
6
7
2
3
4
5
6
7
8
9
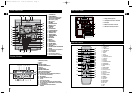
Main Unit
Remote Control
9
6
2,7
1
8
8
1
3
7
6
1
3,6,8
9
7
MAX-T35 GB noR 15~23-1 4/21/06 8:2112:0 Page 15