


9
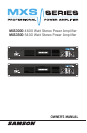
MXS Series Power Amplifiers
Getting Started with the MXS Power Amplier
Setting up your MXS Series is a simple procedure which takes only a few minutes:
Remove all packing materials (save them in case your units needs future service) and
decide where the amplifier is to be physically placed—it can be used free-standing or
mounted in a standard 19” rack, requiring two rack spaces. When installed, make sure
that both the front and rear panels are unobstructed and that there is good ventilation
around the entire unit.
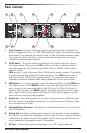
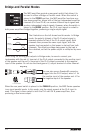
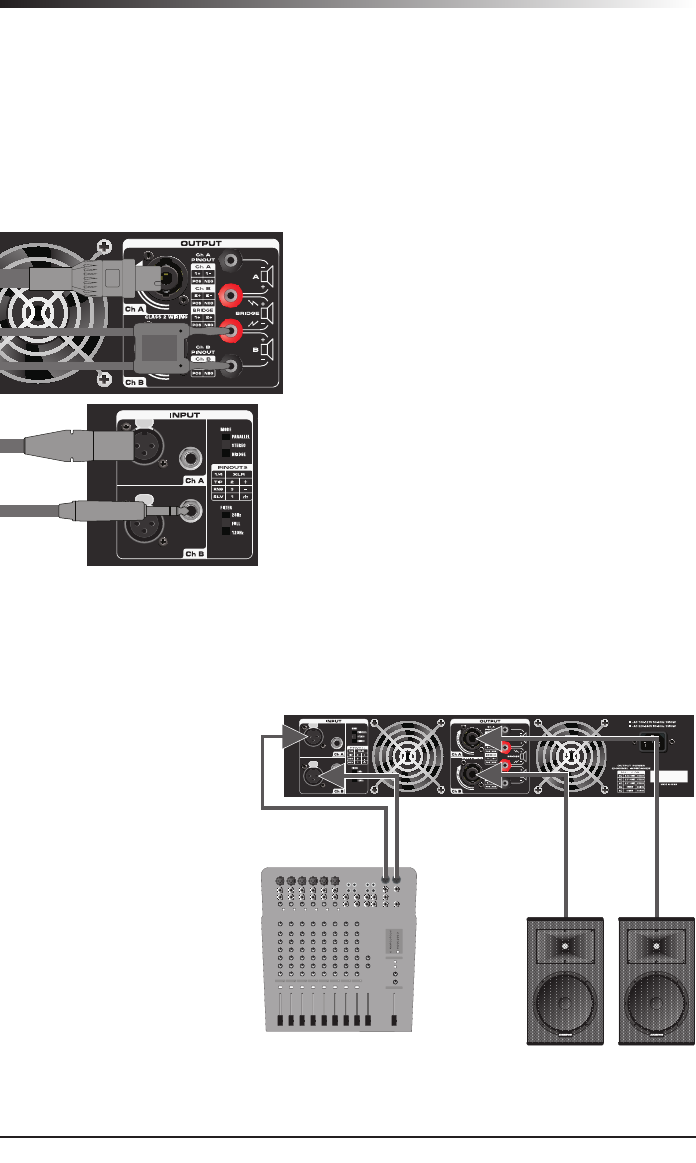
When making speaker connections, use the
binding posts, or Speakon® output connectors
on the rear panel. It is never a good idea to
power up any amplifier that is not connected to
loudspeakers.
To make the signal input connections, use the
input connectors on the rear panel (if operating the
amplifier in Parallel mode, use the Ch A input only).
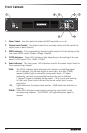
On the front panel of the MXS Series, turn both Channel level controls fully
counterclockwise (to their minimum setting). Then connect the supplied heavy-gauge
3-pin power cable to the rear panel AC input and to any grounded AC socket.
Turn the Power switch ON.
Apply an input signal to the
MXS Series at or about +4dBu
(if sending signal from a mixer,
drive the output meters at
approximately 0 vu). While the
input signal is present, slowly
raise the Channel level controls
until the desired sound level is
achieved. For the best signal-
to-noise ratio, the MXS Series
should normally be run with the
Channel Input controls at or
near maximum (fully clockwise)
and the PEAK segments should
light occasionally (but not
frequently) during maximum
levels.