8
ENGLISH
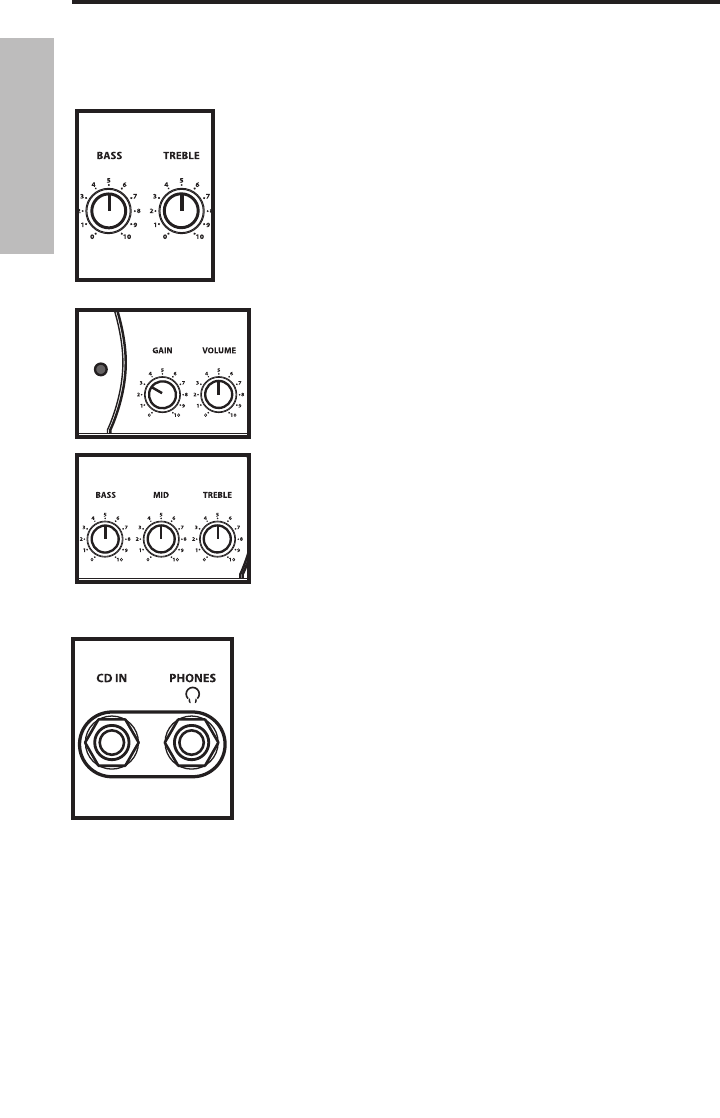
8. Adjust the CHANNEL 1 BASS and Treble equalizer controls to
taste. (When you get a great setting that complement your instru
-
ment and playing style, it’s a good idea to write it down for future
use.)
9. Now, press the CHANNEL SWITCH (or the footswitch) to select
CHANNEL 2.
10. Set the CHANNEL 2 GAIN to “10” position (fully clockwise) and
then, while playing, slowly turn the GT Series CHANNEL 2 VOLUME
control up until the desired level is achieved.
NOTE: With the GAIN control on “10” you will get the most overdrive
from CHANNEL 2. You can turn down the GAIN control for less
distortion.
11. Adjust the CHANNEL 2 BASS, MID and TREBLE equalizer con
-
trols to taste. (When you get a great setting that complement your
instrument and playing style, it’s a good idea to write it down for
future use.)
8
Setting Up and Using Your Hartke GT60
Guitar Amplifier
12. Your GT series amplifier features a CD input which you can use
with a portable CD player, cassette, mini disk or MP3 player to jam
with pre-recorded tracks or learn a riff from a favorite tune. In fact,
you can plug any line level signal into the CD input including the
signal from a keyboard or drum machine. Connect the CD player or
other Line level device to the CD Input using standard RCA cable. You
will want to use the volume control on the CD player or other Line
level device to set the balance between the track and your guitar.
So, start with the volume control all the way down and slowly raise it
until you reach a good balance with your guitar
13. Test the headphone output by turning the Volume control to its
minimum (fully counterclockwise) position and then connect a stan
-
dard stereo headphone to the front panel Phones jack. While playing
your guitar, slowly turn the Volume control up—you should hear
sound from the headphones and none from the connected speaker.


