


6
6
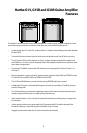
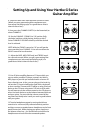
Setting Up and Using Your Hartke G Series
Guitar Amplifier
1. Remove all packing materials (save them in case of
need for future service) and decide where the amplifier
is to be physically placed. To avoid potential overheat-
ing problems, make sure that the rear panel is unob-
structed and that there is good ventilation around the
entire unit.
2. Before you plug-in the power cable, be sure the
POWER switch is in the off (down) position. Plug-in the
3-pin AC plug into any grounded AC socket. Don’t turn
the G Series on just yet, though.
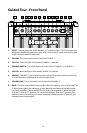
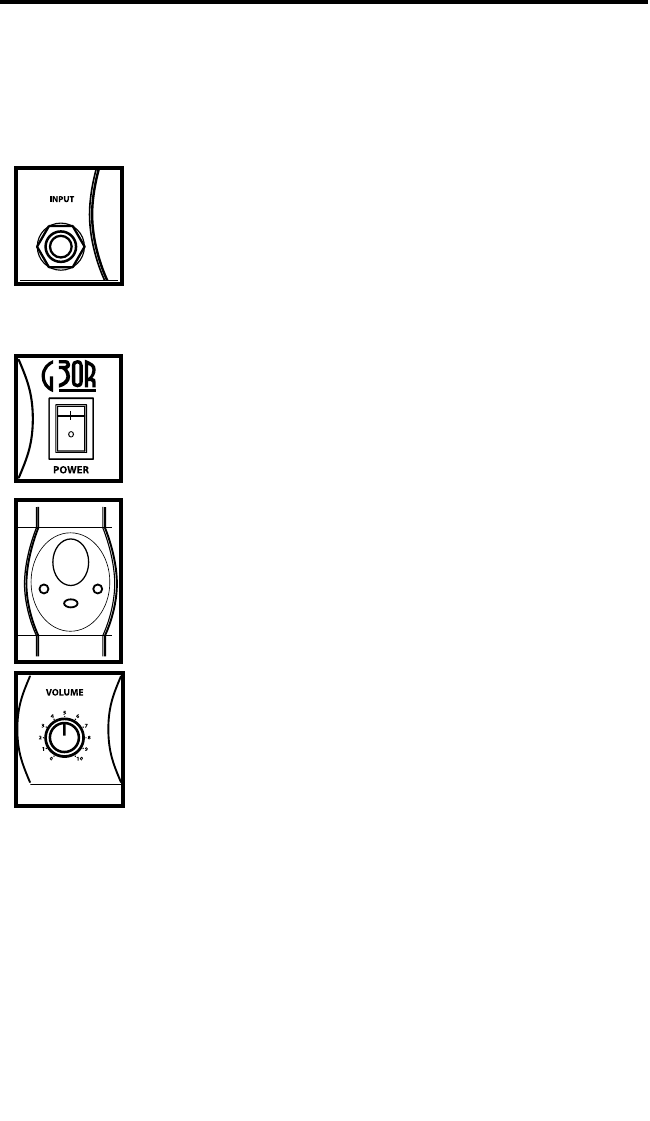
3. Use a standard music instrument cable to connect
your guitar to the INPUT jack on the front panel.
4. On the front panel of the G Series, turn the VOLUME
on CHANNEL 1, and CRUNCH and VOLUME on CHANNEL
2 controls to their minimum (fully counterclockwise)
position. Set the BASS, TREBLE and MID controls to their
“5” position.
5. Press the front panel Power switch in order to turn on
your G Series amp; the switch will light up to indicate
power has been applied.
6. Press the front panel CHANNEL SWITCH to select
CHANNEL 1. Note: If a footswitch is connected to the
rear panel FOOTSWITCH input jack, you will need to
change the channel using the foot switch.
7. Set the output of your guitar to maximum and then,
while playing, slowly turn the G Series CHANNEL 1
VOLUME control up until the desired level is achieved.
You will get a nice clean tone when using just VOLUME
for level, so set it to the level you like.
#(!..%,37)4#(
#( #(