


1PLC0012 rev. A.
Title: PLX2 Faceplate Replacement
Bulletin #: PLC0012
Issue Date: 9 April 2008
Models Affected: All PLX2 (not original PLX series)
Bulletin Revision: Rev. A
Production Range: All
Service Bulletin
Description
This bulletin describes the recommended procedure for replacing the faceplate on a PLX2 amplifier. (The procedure may be more
involved than it first seems, because there are mounting screws hidden behind the faceplate labels.)
Parts and tools needed
• Faceplate (QSC part number CH-000426-00)
• Faceplate labels: model, LED lens, and gain (see table)
• #3 Philips screwdriver
• 7/16” nutdriver
• Pliers
Passionate About Sound
2
3
4
1
6
5
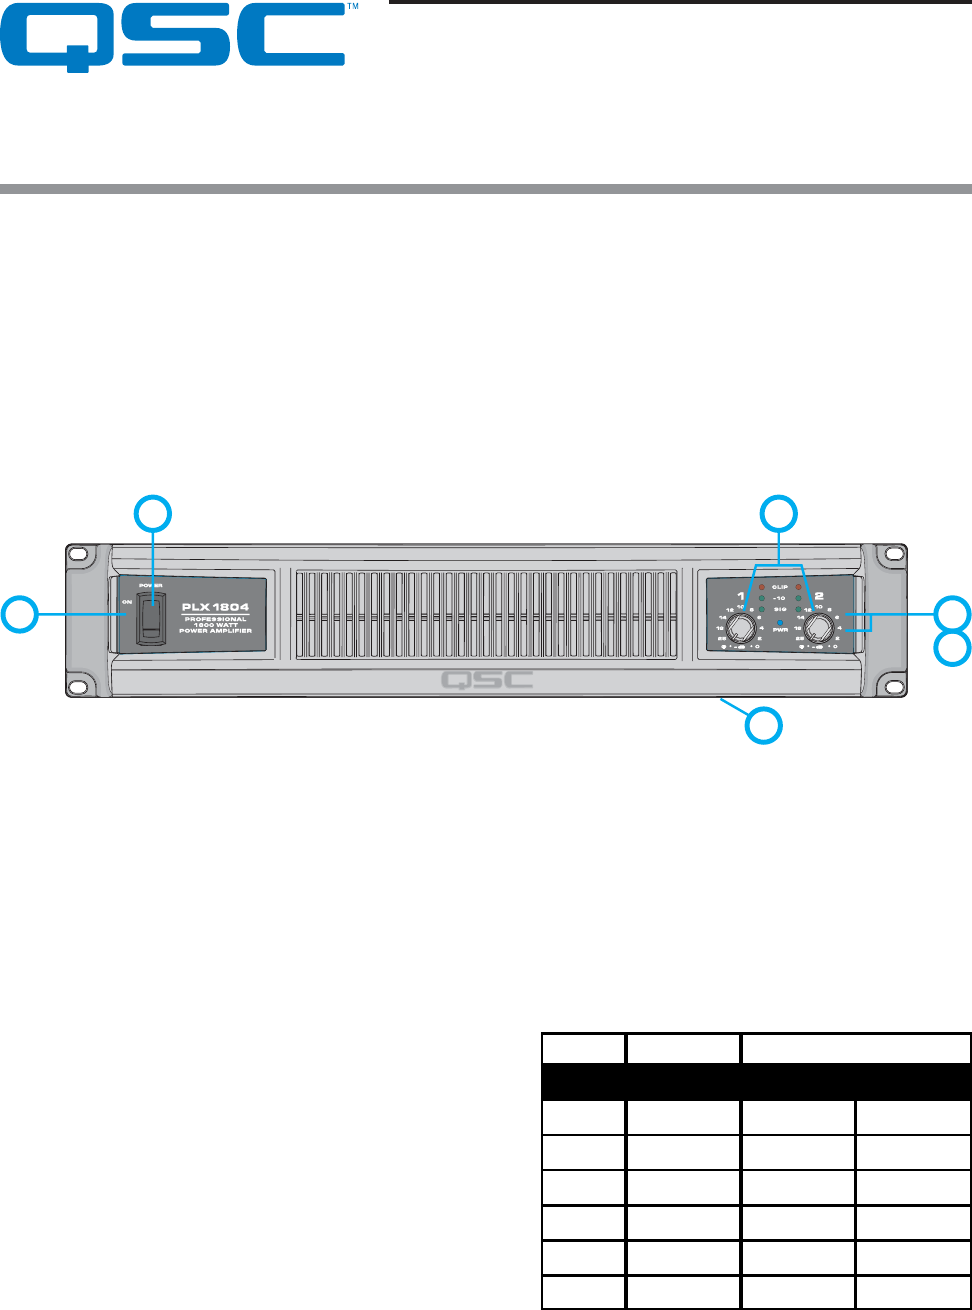
Left side Right side
Model LED lens Gain
PLX1104
LB-000578-00 LB-000526-00 LB-000585-00
PLX1804
LB-000579-00 LB-000526-00 LB-000585-00
PLX1802
LB-000580-00 LB-000526-00 LB-000584-00
PLX2502
LB-000581-00 LB-000526-00 LB-000584-00
PLX3102
LB-000582-00 LB-000526-00 LB-000584-00
PLX3602
LB-000583-00 LB-000526-00 LB-000584-00
Procedure
Removal of the old faceplate
1. Unplug the amplifier from the AC mains and let it sit for at least five minutes to allow internal voltages to bleed down.
2. Remove bottom cover (1).
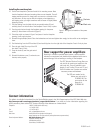
3. Pull both gain control knobs (2) straight off their shafts.
4. Remove the gain control mounting nuts and lockwashers on the front of the faceplate. Separate the gain/display board from
the faceplate.
5. Peel off the gain label (3) and the LED lens label (4) under it. Once
you get an edge raised on a label, you might need to grip it with
pliers to pull it off the rest of the way. Warming the label with a
hair dryer may make it easier to peel.
6. Behind the faceplate, squeeze the mounting tabs of the power
switch (5) and push it out of its mounting hole.
7. Using pliers, disconnect the wires from the power switch.
8. Peel off the model label (6).
9. Remove the faceplate mounting screws. There are two on each
side panel behind the rack mounting ears and two on the front,
where the labels were. Remove the faceplate.
Table 1. Faceplate labels needed, by amp model
Figure 1. The PLX2 faceplate and associated parts