28
7 Using the Tape Deck
Making tape recordings (UK
model only)
You can make tape recordings from any other component in
the system, and also from an external component connected
to the auxiliary inputs. If you're recording from CD or the
optional CD-Recorder, it's usually most convenient to use the
synchro-recording mode. This makes the process largely
automatic with the system starting and stopping the recording
for you. Detailed instructions for this are below. If you're
recording from the tuner or from a component connected to
the auxiliary inputs, use the manual recording mode
explained on page 29.
Once recording has started, you can't switch to another
component until either the recording has stopped, or you
pause the recording. So, for example, you can't switch over to
the tuner while you're recording a CD.
Unlike some tape decks, there's no need to set recording
levels—the deck sets the right level automatically. Also, when
recording, the volume, tone and balance controls have no
effect on the recording. This means that you can record
something with the volume turned right down, if you want.
Before recording, check that the cassette erase tabs have not
been broken, and that the tape is either a type I (normal
position) or type II (high position/CrO2)—you can't record
on type IV (metal) tapes using this deck.
If you're recording from the start of a tape, it's a good idea to
wind the tape on a little so that you don't accidently start
recording over the leader tape. You can either do this by hand,
or load the tape into the deck and play the tape for 5–6
seconds.
Recording CDs
This feature makes recording a CD as simple as possible by
automatically starting and stopping the CD and tape together.
There are two modes: 1 track synchro records just a single
track, then stops; all tracks synchro records the whole disc.
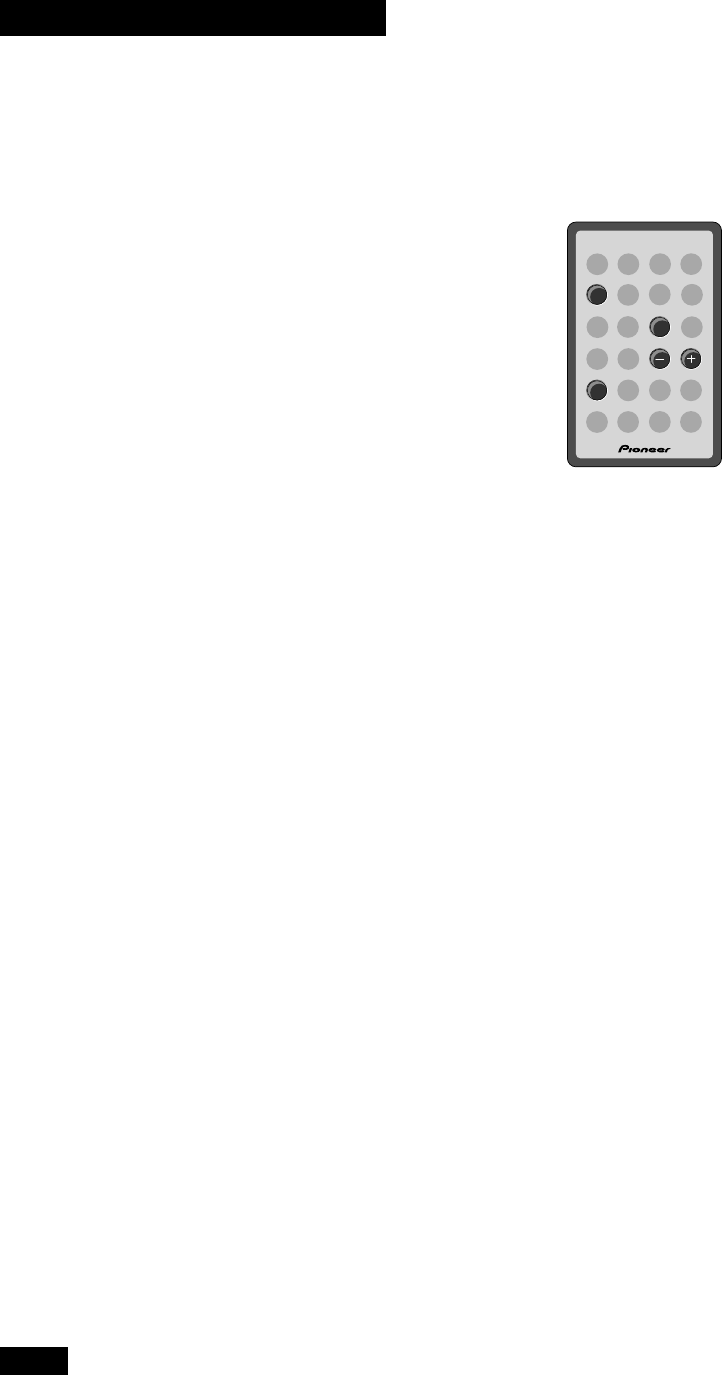
DIRECT PLAY 3
CD
7
TAPE
4¢
1 Load a cassette into the tape deck.
In order to follow these instructions more easily, load the
cassette with side A facing you.
2 Check the recording direction.
If the tape direction indicator shows 3 , then recording will
start from side A. If it shows 2 , then recording will start from
side B.
If you need to change the direction, press TAPE twice, then
7.
3 Set the auto-reverse mode.
If you set this to one-way, then recording will stop after
reaching the end of the current side. If it's set to endless, then
recording will continue onto the other side of the tape.
However, if you start recording in the reverse direction, (2)
only that side of the tape will be recorded.
For detailed instructions on setting the reverse mode, see page
27.
4 Turn Dolby NR on or off as required.
Using Dolby NR improves the sound quality of tape recordings
that are going to be played on Dolby NR equipped players. If
the tape is not going to be played on a Dolby NR equipped
player (or if you're not sure), you should leave Dolby NR off.
See page 27 for detailed instructions on switching Dolby NR
on/off.
