


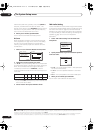

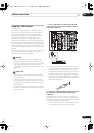
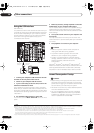
Other connections
08
47
En
2 Use the
XM RADIO (SHIFT+TUNER) input source
button to switch to the XM RADIO input.
1
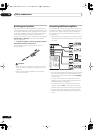
For best reception, you may need to move the Connect-
and-Play™ antenna near a window (the southernmost
window should produce the best results).
• If after pressing XM RADIO the display shows Check
Antenna, try disconnecting the antenna and
reconnecting.
2
Listening to XM Radio
After connecting, you will be able to use this receiver to
select channels, navigate categories and save song
information (like the artist’s name) using the on-screen
display.
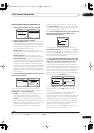
3
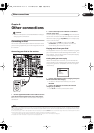
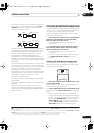
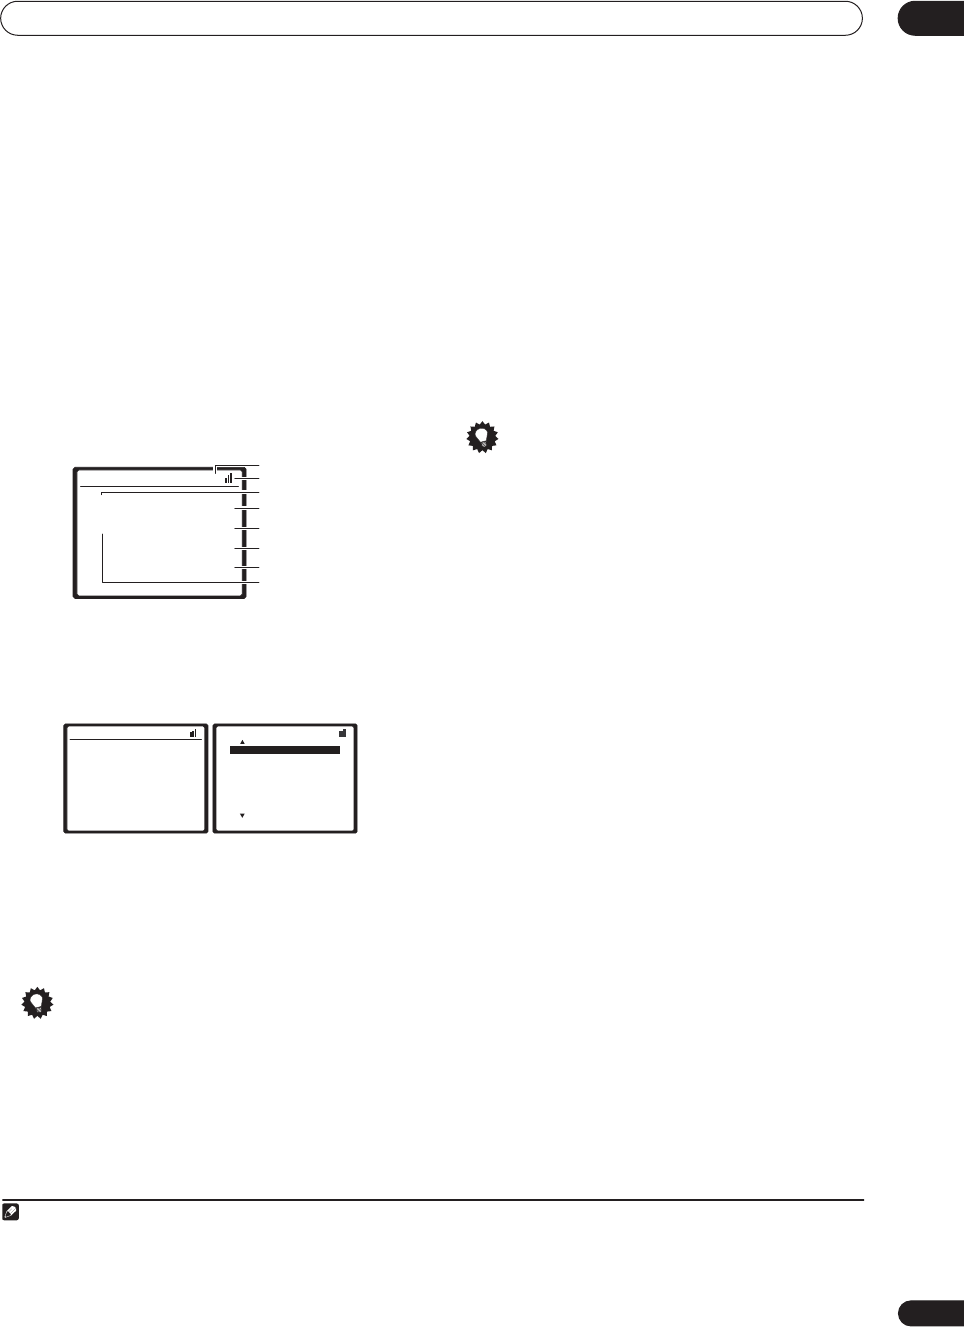
The information displayed is as follows:
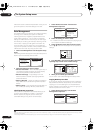
Selecting channels and browsing by genre
From the XM channel Guide, you can browse XM Radio
channels in the order that they appear, or you can narrow
your channel search by genre.
• Use the
/
buttons to select a channel then press
ENTER
to listen to the XM radio broadcast.
• To browse by genre, first press CATEGORY, use /
to select a genre then press ENTER.
4
• To cancel and exit any time, press RETURN.
Tip
• You can select channels directly by pressing
D.ACCESS then the three-digit channel number.
• You can press DISP to change XM Radio information
in the front panel display.
Saving channel presets
This receiver can memorize up to 30 channels, stored in
three banks, or classes, (A, B and C) of 10 stations each.
1 Select the channel you want to memorize.
See Selecting channels and browsing by genre above.
2 Press
T.EDIT
.
The display shows a blinking memory class.
3 Press CLASS to select one of the three classes then
press
/
to select the channel preset you want.
You can also use the number buttons to select a preset.
• The default for all presets is CH001.
4 Press
ENTER
.
After pressing ENTER, the preset class and number stop
blinking and the receiver stores the XM channel.
Tip
• You can also press MEMORY during reception
display to save the information of up to 8 songs. See
Using the XM Menu below to recall this information.
Listening to channel presets
You will need to have some presets stored to do this.
1 Press CLASS to select the class in which the channel
is stored.
Press repeatedly to cycle through classes A, B and C.
2 Press
/
to select the channel preset you want.
• You can also use the number buttons on the remote
control to recall the channel preset.
Using the XM Menu
The XM Menu provides additional XM Radio features.
1 Press
TOP MENU
.
2 Use
/
to select a menu item then press
ENTER
.
Choose between the following menu items:
• Memory Recall – Use / to browse your saved
song information (see Tip above).
• Channel Skip/Add – Use / and ENTER to select
channels you would like to remove/restore from/to
the channel guide.
• Antenna Aiming – Check the strength of satellite
and terrestrial reception.
3 When you’re finished press
TOP MENU
to return to
the reception display.
Connect & Play™, XM-Ready
®
and The Ultimate Playlist are
trademarks of XM Satellite Radio Inc. ©2005 XM Satellite
Radio Inc. All rights reserved. All other trademarks are the
property of their respective owners.
Note
1• You can’t use the iPod and XM Radio functions simultaneously using the multi-room feature on page 55.
2• You can check the strength of reception in Using the XM Menu above.
• After unplugging the receiver, LOADING shows in the display for about 1 minute when switched back on.
3 It’s easiest if you have your TV switched on to take advantage of the OSDs. You can, however, use just the front panel display to do everything if you prefer.
4 Select CH000 (RADIO ID) from the on-screen display to check the Radio ID of the Connect-and-Play antenna.
XM Satellite Radio A
Decades
A0
The 50s CH005
Remy Sherman
Lovin' You
Preset class
Signal strength
Category
Preset number
Channel number
Artist name
Song name
Channel name
XM Satellite Radio A
Decades
A0
The 50s CH005
Remy Sherman
Lovin' You
XM Channel Guide
Previous
[
000 RADIO ID
]
[
001 XM Preview
]
[
004 The 40s
]
[
005 The 50s
]
[
006 The 60s
]
[
007 The 70s
]
[
008 The 80s
]
[
009 The 90s
]
Next
10_Other_connections.fm 47 ページ 2005年6月7日 火曜日 午後8時22分