


Connecting up 02
11
En
English
FrançaisDeutsch
Nederlands
Italiano Español
English
FrançaisDeutsch
Nederlands
Italiano Español
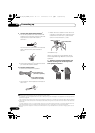
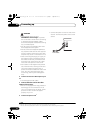
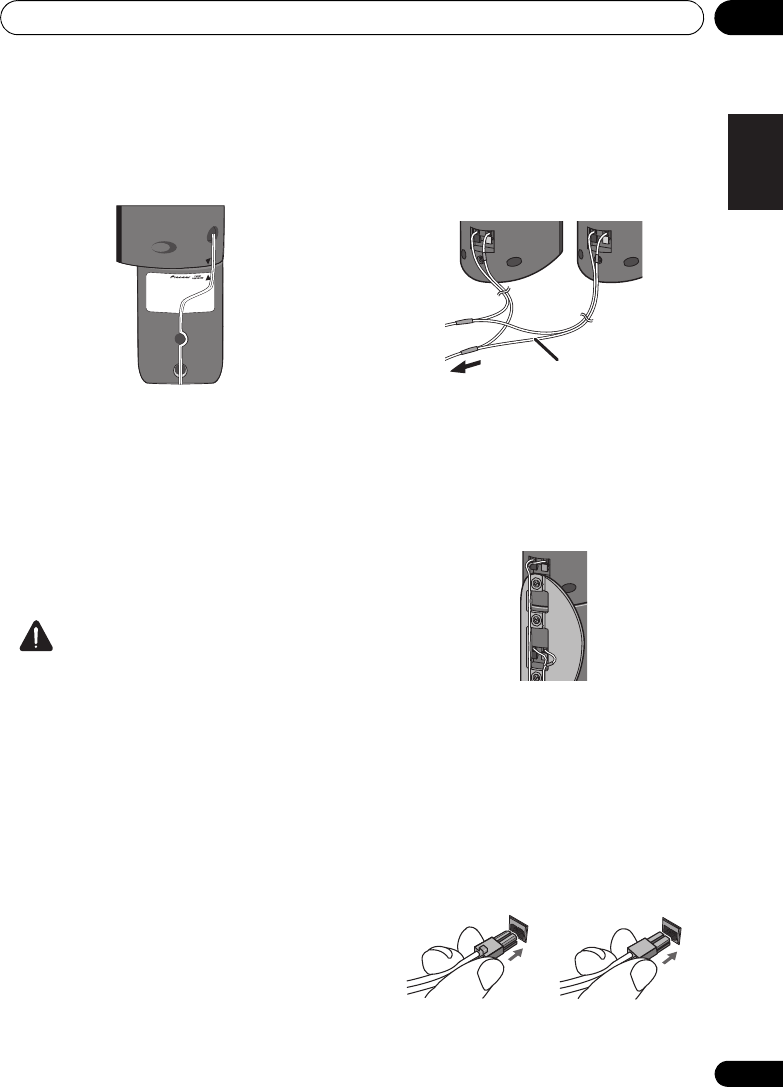
b. Secure the speaker wire.
After testing for the slack necessary to turn the
speaker (see the following step), use the groove
provided to secure the speaker wire.
c. Turn the speakers towards the closest
wall, lining the arrows up for optimal Front
Surround.
For Front Surround mode, turn each surround
speaker so that the arrow at the base is lined
up with the (FRONT SURROUND) arrow on
the front speaker. For Extra Power mode, have
all the speakers facing forward. See the
Listening to your system for more on using
Front Surround and Extra Power modes.
CAUTION
• To prevent accidents, make sure the
surround speaker is placed securely on top
of the front speaker.
• Please don’t attach the speakers to the wall
or speaker stands for 3 spot speaker layout.
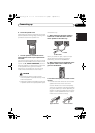
HTZ181DVD only :
a. When connecting the center speakers,
connect the Y-cable dual end to the two
center speakers in the same way.
When you select a 4-spot, 3-spot or 2-spot
layout where the brackets are used for
assembling, also follow step b below.
b. When connections are completed, secure
the speaker cables. Fix the cables to the
groove in the brackets.
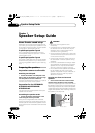
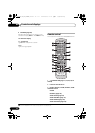
3-2 Connect each speaker terminals on the
receiver.
• Connect the other end to the color-coded
speaker terminals on the rear of the
receiver. Make sure to insert completely.
The small lug at the wire-end of the speaker
plug should face up or down depending on
whether it’s being plugged into one of the
upper or lower speaker terminals. Please
make sure to connect correctly.
Y-cable
To Main Unit
Upper terminal Lower terminal
02_Connecting_up.fm 11 ページ 2009年3月13日 金曜日 午後2時58分