Adjusting initial settings
1
Using the initial settings, you can customize
various system settings to achieve optimal per-
formance from this unit.
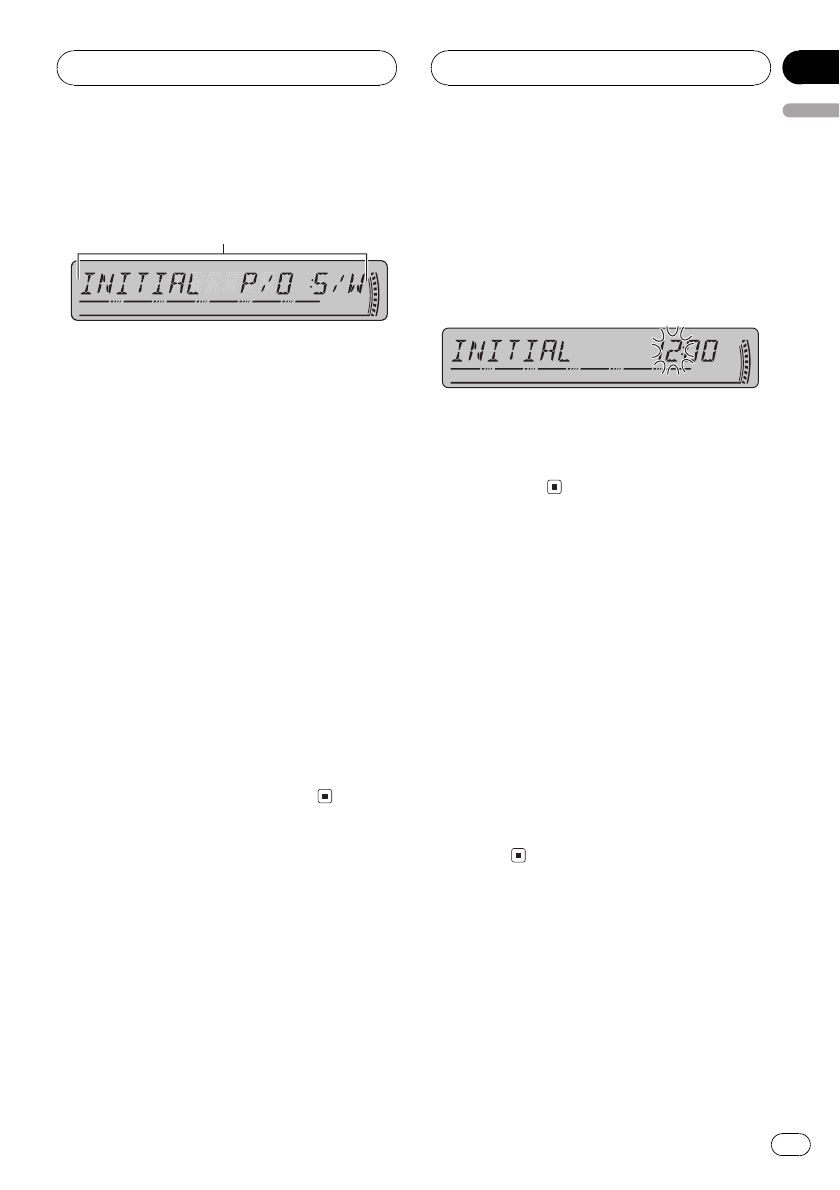
1 Function display
Shows the function status.
1 Press SOURCE and hold until the unit
turns off.
2 Press SOURCE and hold again until
function name appears in the display.
3 Press FUNCTION to select one of the in-
itial settings.
Press FUNCTION repeatedly to switch be-
tween the following settings:
ClockAUX (auxiliary input)R-SP (rear out-
put and subwoofer controller)
# To cancel initial settings, press BAND.
# You can also cancel initial settings by holding
down SOURCE until the unit turns off.
Setting the clock
Use these instructions to set the clock.
1 Press FUNCTION to select clock.
Press FUNCTION repeatedly until clock ap-
pears in the display.
2 Press c or d to select the segment of
the clock display you wish to set.
Pressing c or d will select one segment of the
clock display:
HourMinute
As you select segments of the clock display
the segment selected will blink.
3 Press a or b to set the clock.
Pressing a will increase the selected hour or
minute. Pressing b will decrease the selected
hour or minute.
Switching the auxiliary setting
It is possible to use auxiliary equipment with
this unit. Activate the auxiliary setting when
using auxiliary equipment connected to this
unit.
1 Press FUNCTION to select AUX.
Press FUNCTION repeatedly until AUX ap-
pears in the display.
2 Press a or b to turn AUX on or off.
Pressing a or b will turn AUX on or off and
that status will be displayed (e.g.,
AUX :ON).
Initial Settings
En
35
English
Section
09


