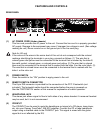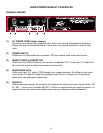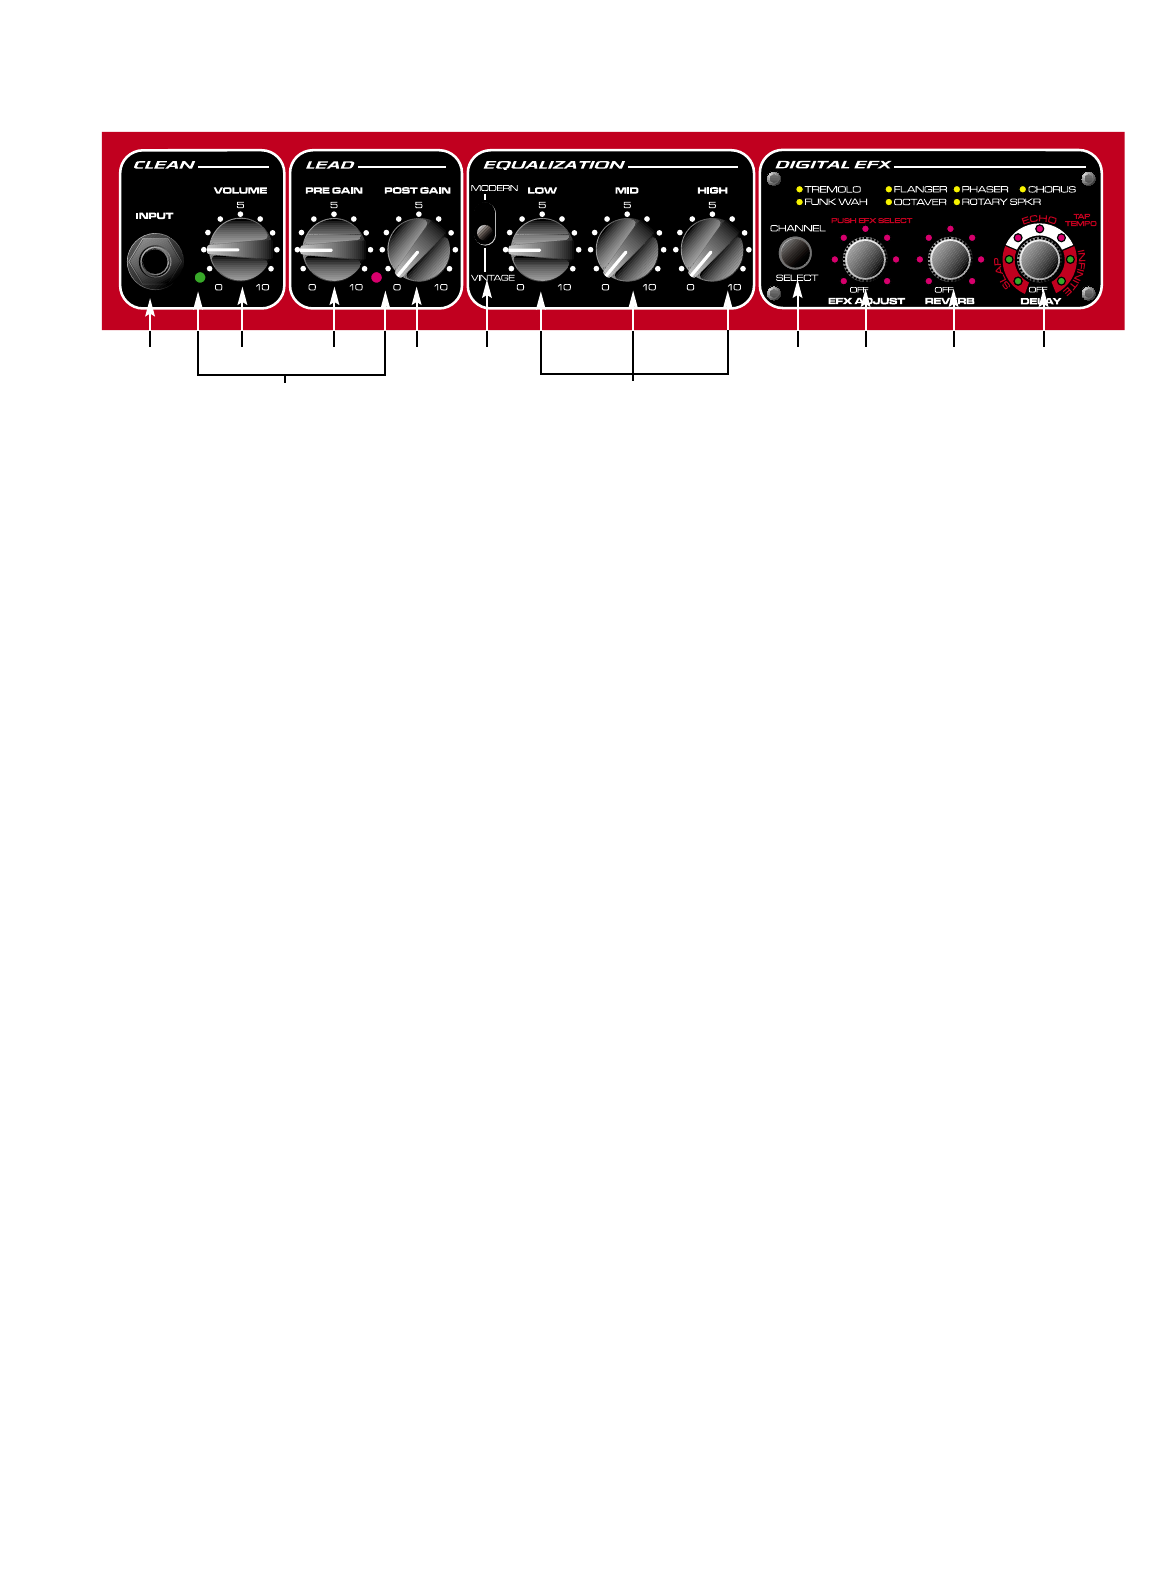
FRONT PANEL
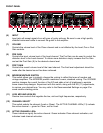
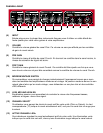
(6) INPUT
Input jack will accept signals from all types of guitar pickups. Be sure to use a high quality
shielded instrument cable to connect the guitar to the amplifier.
(7) VOLUME
Controls the volume level of the Clean channel and is not affected by the Lead, Pre or Post
Gain controls.
(8) PRE GAIN
Controls the input volume level of the Lead channel. The Pre Gain can be used to control the
distortion level in the Lead channel. To obtain more distortion simply increase the Pre Gain
and set the Post Gain (9) to the desired volume level.
(9) POST GAIN
Controls the overall volume level of the Lead channel. The final level adjustment should be
made after the desired sound has been achieved.
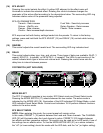
(10) MODERN/VINTAGE SWITCH
This switch allows you to instantly change the voicing to reflect the tones of modern and
vintage amplifiers. The MODERN position maintains a warm, standard voicing. The VINTAGE
position changes the overall function of the EQ and adds a hint of brightness to emulate
some classic amp designs. Experiment with this switch, along with the EQ (11) adjustments,
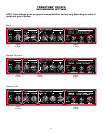
to capture your desired tone. You may refer to the Recommended Settings on page 6 for
some creative starting points.
(11) LOW, MID AND HIGH EQ
Passive tone controls that regulate the low, mid and high frequencies, respectively.
(12) CHANNEL SELECT
This switch selects the channel (Lead or Clean). The ACTIVE CHANNEL LEDs (13) indicate
the active channel — green for Clean; red for Lead.
(13) ACTIVE CHANNEL LEDs
These indicators signify the active channel. Green indicates Clean channel activation; red
indicates Lead channel activation.
6
6 7 8 9 10 12 14 15 16
13
11


