


6
AC Mains Voltage
NOTE: Before you plug this amplifier into an AC mains outlet:
115v - 230v AC Voltage Selector Switch
This switch is found on the chassis rear panel. The 115V position of this switch is correct for North
America; most other regions require setting it to 230V. Make sure the 115/230V switch is set for the
correct AC line (mains) voltage before you connect the Model 275 v.2’s power cord and before you
install it. The unit may be seriously damaged if this switch is set incorrectly.
AC Voltage Warranty Exclusion
Amplifiers set for 115V which are damaged by 220V-240V are not covered under the Parasound
Limited Warranty.
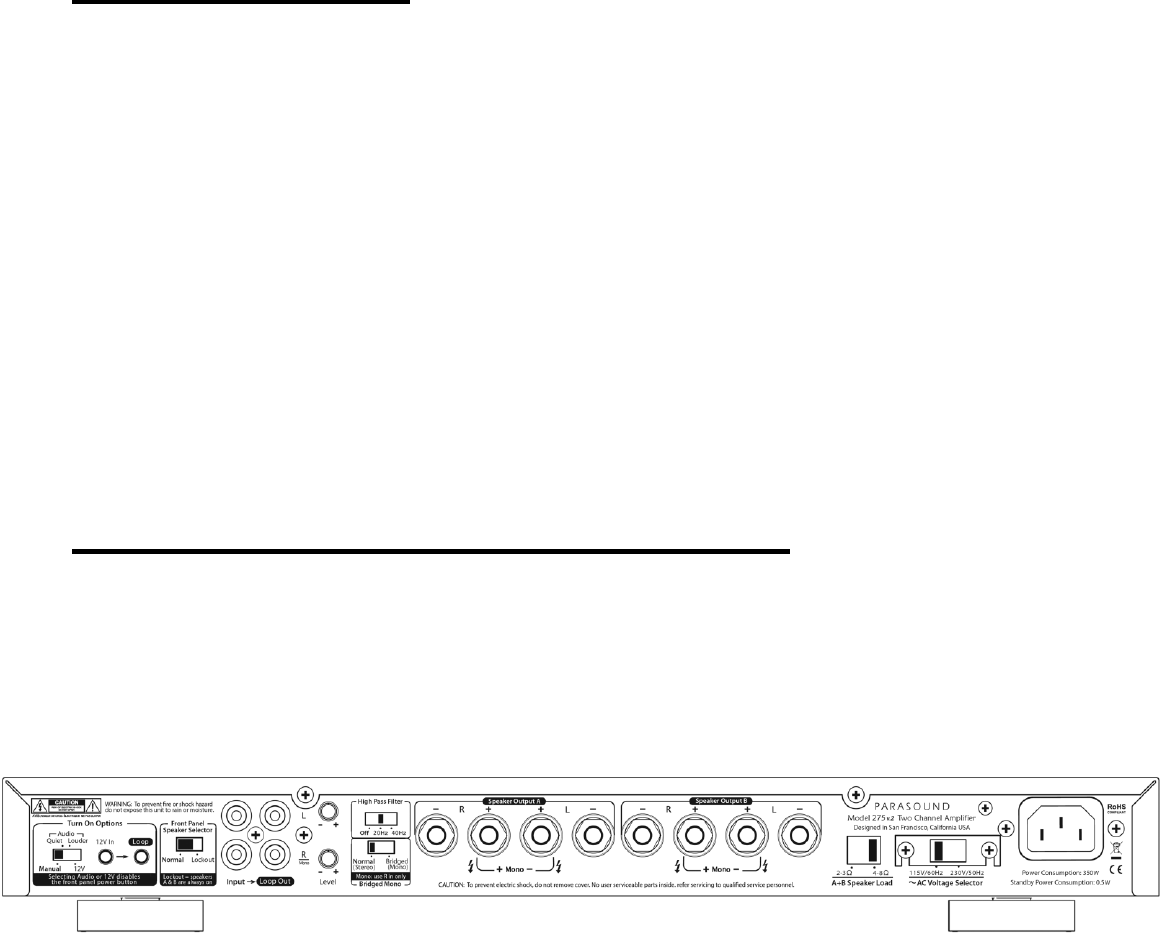
Rear Panel Connections and Controls
Always disconnect the AC cord to your Model 275 v.2 before making or changing any input,
output or trigger wire connections. Inserting or removing an input or output cable while the Model
275 v.2 is turned on can result in a blast of sound that can damage your loudspeakers and your
hearing. Make sure there is no strain or tension on any cables that could cause them to pull loose.
R (Right) and L (Left) Audio Input Jacks
Connect the shielded audio cables from your preamplifier or system controller’s output jacks to the
Model 275 v.2’s L and R audio Input jacks. Use only the R channel Input jack for bridged mono
operation.
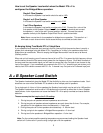
Audio Loop Out Jacks
The jacks replicate the audio input signals to facilitate connections of other power amplifiers to the
same preamplifier or system controller. Loop connection of multiple power amplifiers is called a ―daisy
chain.‖ These Loop Out jacks also provide a convenient way to connect a powered subwoofer.