


31
RQT6750
Other functions Sound field/sound quality operations
Sound quality
Press [SUBWOOFER LEVEL].
Each time you press the button:
SUB W 1>SUB W 2>SUB W 3>SUB W 4 (factory preset)
^--------------------------------------------------------------}
[RAM] [DVD-A] [DVD-V] [CD]
Discs recorded with 2-channel LPCM at 44.1 kHz or 48 kHz
This feature gives you a more natural sound by adding the higher
frequency signals not recorded on the disc.
[WMA] [MP3]
Discs recorded at 44.1 kHz or 48 kHz
This feature reproduces the frequencies lost during recording to give
you a sound closer to the original.
1 During play
Press [DISPLAY] until the unit
information screen is displayed
(➡ page 25).
2
Press
[3, 4
] to select the audio menu.
3 Press [2, 1] to select “Double
Re-master”.
4 Press [3, 4].
Each time you press the button:
[Note]
[HT900] This doesn’t work if input is “DIGITAL IN”.
[HT900]
Change this setting to listen to a source recorded with Dolby Digital
when “DIGITAL IN” is selected as the source
at low volume (such as
late at night) and maintain audio clarity. This setting reduces the peak
level in loud scenes without affecting the sound field.
Press [SHIFT]i[DR COMP].
Each time you press the button:
STANDARD>MAX>OFF
^---------------------------------}
STANDARD: The level recommended by the producer of the source
for household viewing.
MAX: The maximum allowable compression (recommended for
night viewing).
OFF: Source is played with the original dynamic range
(factory setting).
Adjusting the bass
Double re-master—Enjoying more
natural sound
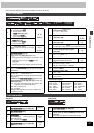
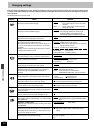
Setting [RAM] [DVD-A] [DVD-V] [CD]
Type of music
[WMA] [MP3]
Effect level
1
High tempo (e.g., pops and rock)
Light
2 Various tempos (e.g., jazz) Medium
3 Low tempo (e.g., classical) Strong
OFF Off Off
DR COMP—Dynamic range compression
OFF
OFF/48kHz
Double Re-master
Convenient functions
Press [MUTING].
Volume is reduced to minimum.
To cancel
Press [MUTING] again or reduce the volume to minimum (–– dB),
then raise it to the required level.
Muting is also canceled when you switch the unit to standby.
Press [SHIFT]i[FL DISPLAY].
To return to the original brightness, press [SHIFT]i[FL DISPLAY]
again.
The display also returns to the original brightness when you switch
the unit to standby.
This timer turns the unit off after a set time.
Press [SHIFT]i[SLEEP] to select the time
(minutes).
Each time you press the button:
SLEEP 30_--)SLEEP 60_--)SLEEP 90_--)SLEEP 120
^_______=SLEEP OFF(_______}
To cancel the timer
Press [SHIFT]i[SLEEP] to select “SLEEP OFF”.
To check the SLEEP setting
Press [SHIFT]i[SLEEP] once.
≥The time remaining appears.
To change the setting
Press [SHIFT]i[SLEEP] to display the remaining time, then press
again to select the required time.
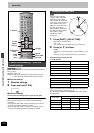
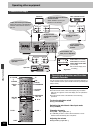
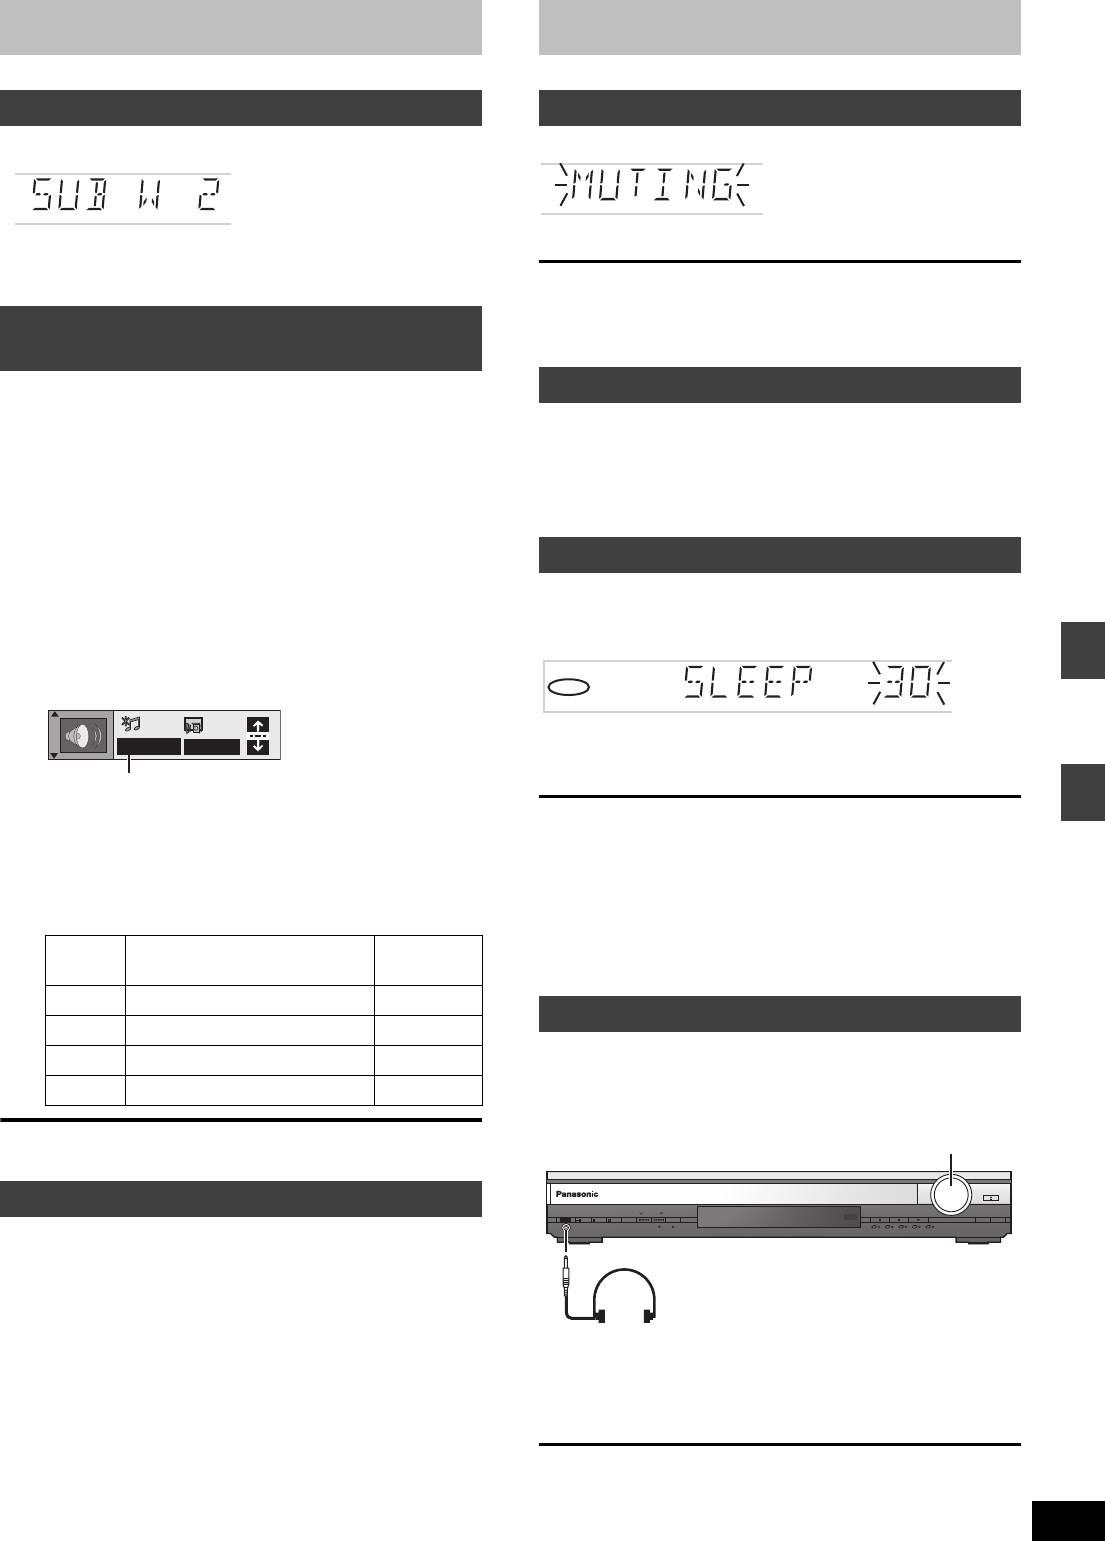
1 Reduce the volume and connect the
headphones (not included).
Headphone plug type: 3.5 mm (
1
/8z) stereo
2 Adjust headphone volume with
[VOLUME].
Audio is automatically switched to stereo (2-channel).
[Note]
Avoid listening for prolonged periods of time to prevent hearing
damage.
Muting the volume
Dimming the display
The sleep timer
Using headphones
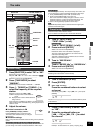
SLEEP
PHONES
PROGRESSIVE
DISC EXCHANGE
SELECTOR
DISC SKIP
DIGITAL IN
DOWN
VOLUME
UP
OPEN/CLOSE
C.S.M
POWER
DISC
V.R.S M.R.S
12345
TUNE MODETUNING FM MODE MEMORY
VOLUME
Í
/
I