


34
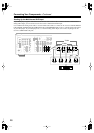
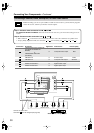
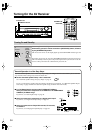
Turning On the AV Receiver
MASTER VOLUME
VIDEO
STANDBY
TONE DISPLAYSTEREO DIMMER MEMORY
DIGITAL INPUT
TUNING MODE
ABSPEAKERS
TUNERTAPE
AUXCBL/SATVCR/DVR
DVD
MULTI CH C
D
SETUP ENTER
SETUP MIC
RETURN
CLEAR
LISTENING MODE
AUDIOLR
AUX INPUT
STANDBY/ON
PHONES
TUNING
PRESET
STANDBY/ON
MUTING
PREVIOUS
MENU
GUIDE
TOP MENU
SP A
/
B
--
/
---
TAPE/AMP
M
D/CDR
DOCK
CABLE
STANDBY/ON
DIMMER
ENT
D TUN
SLEEP
10 11 12
INPUT SELECTOR
REMOTE MODE
V
CR/DVR
AUX
CBL/SAT
C
DTAPE TUNER
DVD
MULTI CH
TV
VOL
VOL
SAT
VCR
TV
DVD
RECEIVER
C
D
INPUT
+
10
0
CLR
123
456
789
CH
DISC
ALBUM
RECEIVER
STANDBY/ON
STANDBY indicator
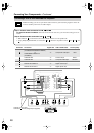
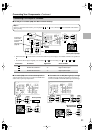
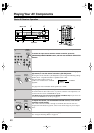
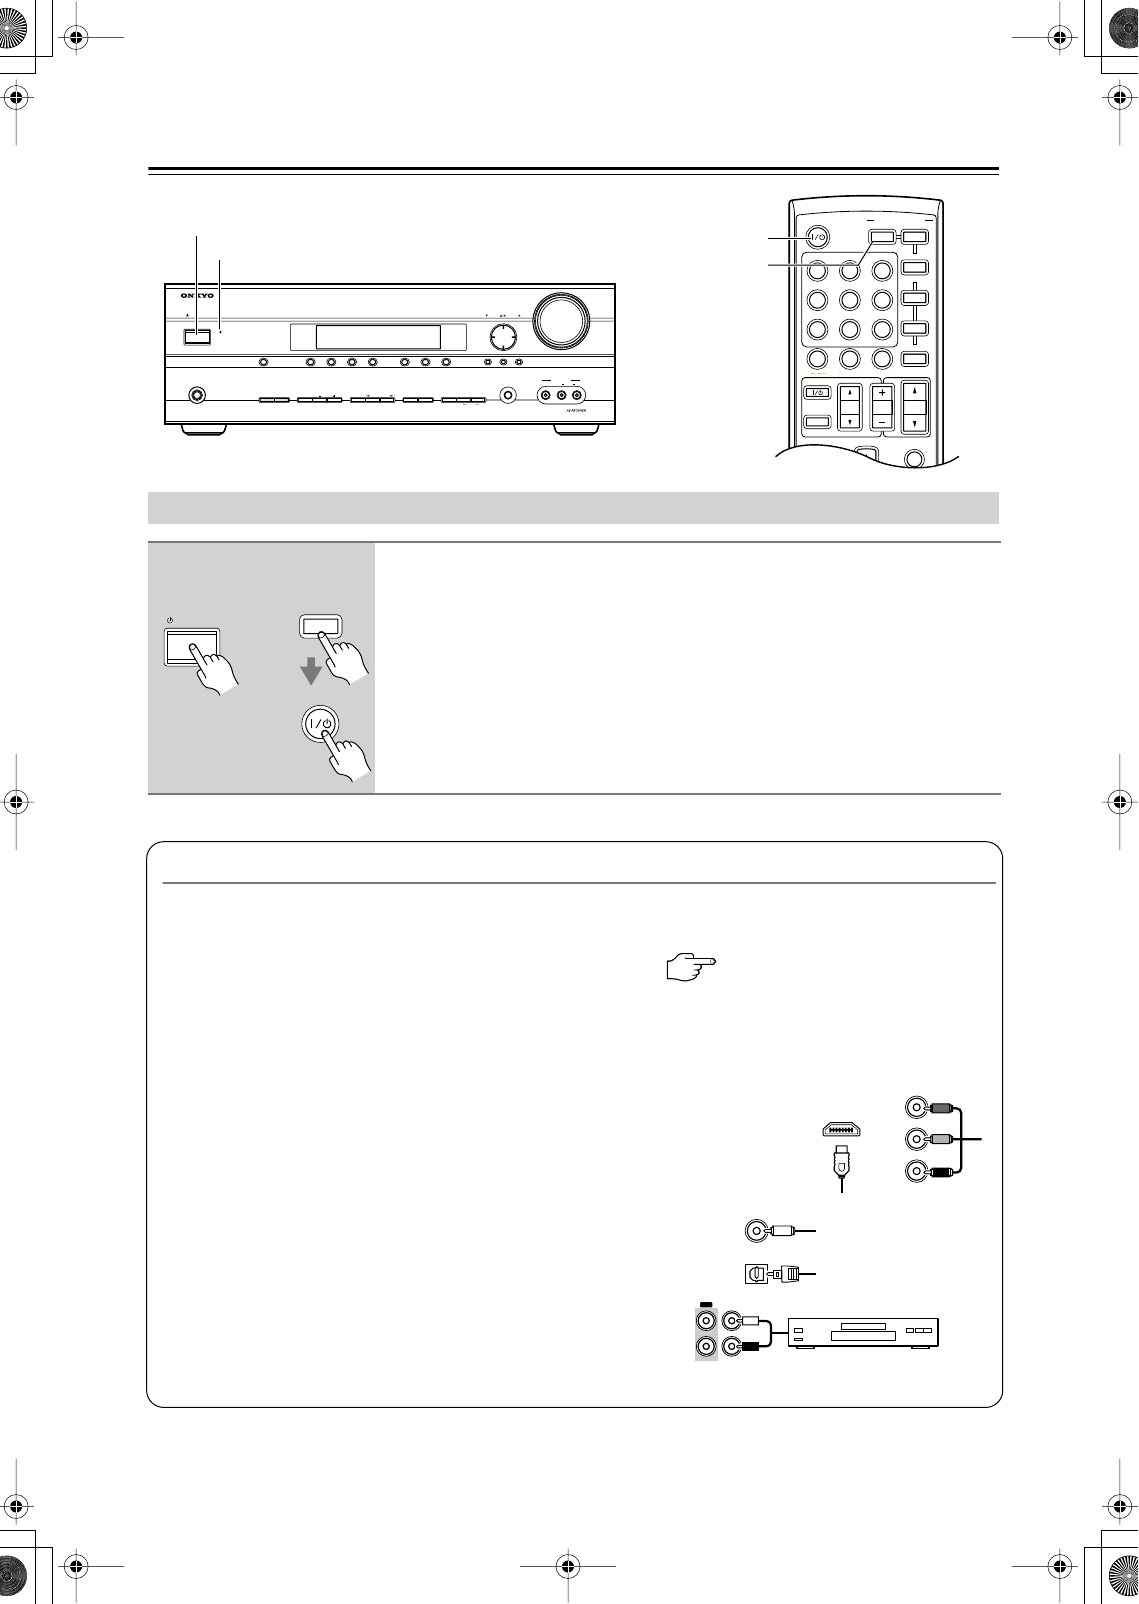
Turning On and Standby
1
Press the [STANDBY/ON] button.
Alternatively, press the remote controller’s [RECEIVER] button, followed
by the [STANDBY/ON] button.
The AV receiver comes on, the display lights up, and the STANDBY indicator goes off.
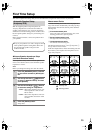
To turn the AV receiver off, press the [STANDBY/ON] button again. The AV receiver
will enter Standby mode. To prevent any loud surprises when you next turn on the AV
receiver, always turn down the volume before you turn it off.
STANDBY/ON
STANDBY/ON
Remote
controller
AV receiver
or
RECEIVER
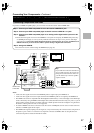
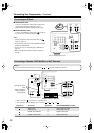
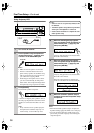
Smooth Operation in a Few Easy Steps
To ensure smooth operation, here’s a few easy steps to help you configure the AV receiver before you use it for the
very first time. These settings only need to be made once.
■ Do the automatic speaker setup—this is essential!
See “Automatic Speaker Setup (Audyssey 2EQ)” on page 35.
If you’ve connected any speakers with an impedance of between 4 and 6 ohms, see “Minimum Speaker Imped-
ance Setup” on page 35 before the automatic speaker setup (not North American model).
■ For TX-SR505 North American model/TX-SR505E/TX-SR575
Have you connected a component to an HDMI IN or the COMPONENT
VIDEO IN (TX-SR575 only)?
If you have, see “Video Input Setup” on page 38.
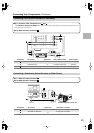
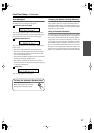
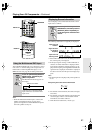
■ Have you connected a component to a digital audio input?
If you have, see “Digital Audio Input Setup” on page 39.
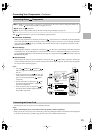
■ Have you connected an Onkyo MD recorder, CD recorder,
or RI Dock?
If you have, see “Changing the Input Display” on page 39.
Y
P
B
PR
HDMI
OPTICAL
COAXIAL
OUT IN
TAPE
CD recorder, MD recorder,
RI Dock