


INSTALLATION OF MB-C10
The MB-C10 consists of five separate pieces and two different types of
screws. There are two pairs of steel mounting rails supplied. One pair
14.5” long to span 16” OC members and one pair 22.5” long to span 24” OC
members. These fasten to the framing members with screws (Item 2) as
shown in Figure 2. The appropriately sized set of rails for 19.2 OC framing
is available separately (MBR-192).
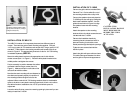
Mount the white plastic bracket to the appropriate set of rails with the
shorter screws (Item 1 in Figure 1). Place the white plastic bracket in the
middle position and tighten the screws.
Put the assembly in position between the rafters
and fasten with the longer screws (Item 2 in
Figure 1). Make sure that the room-side of the
rails are flush with the rafters.
Now that the steel mounting rails are fastened to
the rafters and spaced properly, the position of
the mounting bracket along the rails can be
adjusted. When used with 24” OC framing members there is considerable
space to slide the round plastic mounting frame back & forth on the rails to
the desired location; installations into 16” OC provide little space for
adjustment.
Leave the white film that covers the mounting opening in place until you are
ready to install the C-10SW.
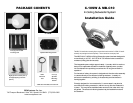
ITEM 1 ITEM 2
Figure 1
The MB-C10 mounting bracket contains
eight (8) short screws (Item 1) and eight
(8) longer screws (Item 2).
Figure 2
CAUTION: THIS
INSTALLATION HANDLE
MUST BE REMOVED
BEFORE THE SUB IS
ACTIVATED
INSTALLATION OF C-10SW
Remove the grille with the included Grille
Removal Tool. Cut the white film out of
the mounting bracket with a utility knife.
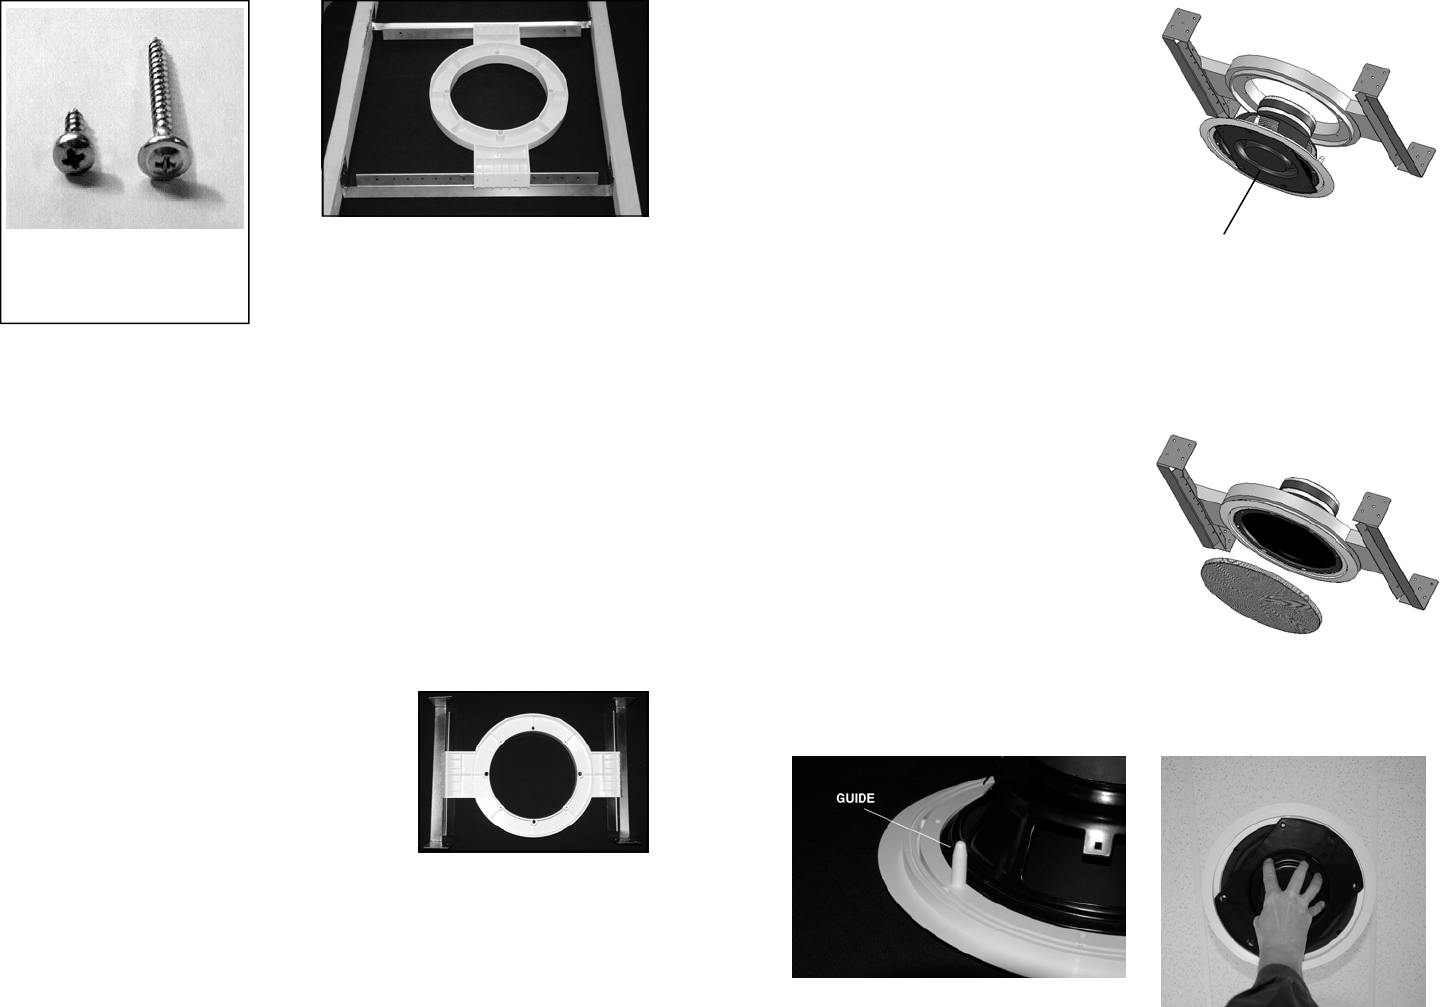
Connect the speaker wires and place the
C-10SW up into the ceiling by holding the
black steel installation handle. Use the
guides shown below in Figure 3 to align
the speaker frame with the mounting
bracket.
Attach the speaker to the mounting
bracket with the four black screws that are
included with the C-10SW.
Remove the installation handle by
loosening the two screws that hold it in
place and turning it so that the screw
heads pass through the keyhole openings.
Tighten the two screws that held the
handle in place.
Attach the grille with spun cellulose insert.
The white insert goes between the driver
and the grille to improve the appearance.
Figure 3