CDN-32S
- The Leader in DJ Technology
©1999 Numark Industries - 9 - http://www.numark.com
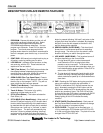
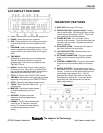
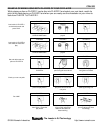
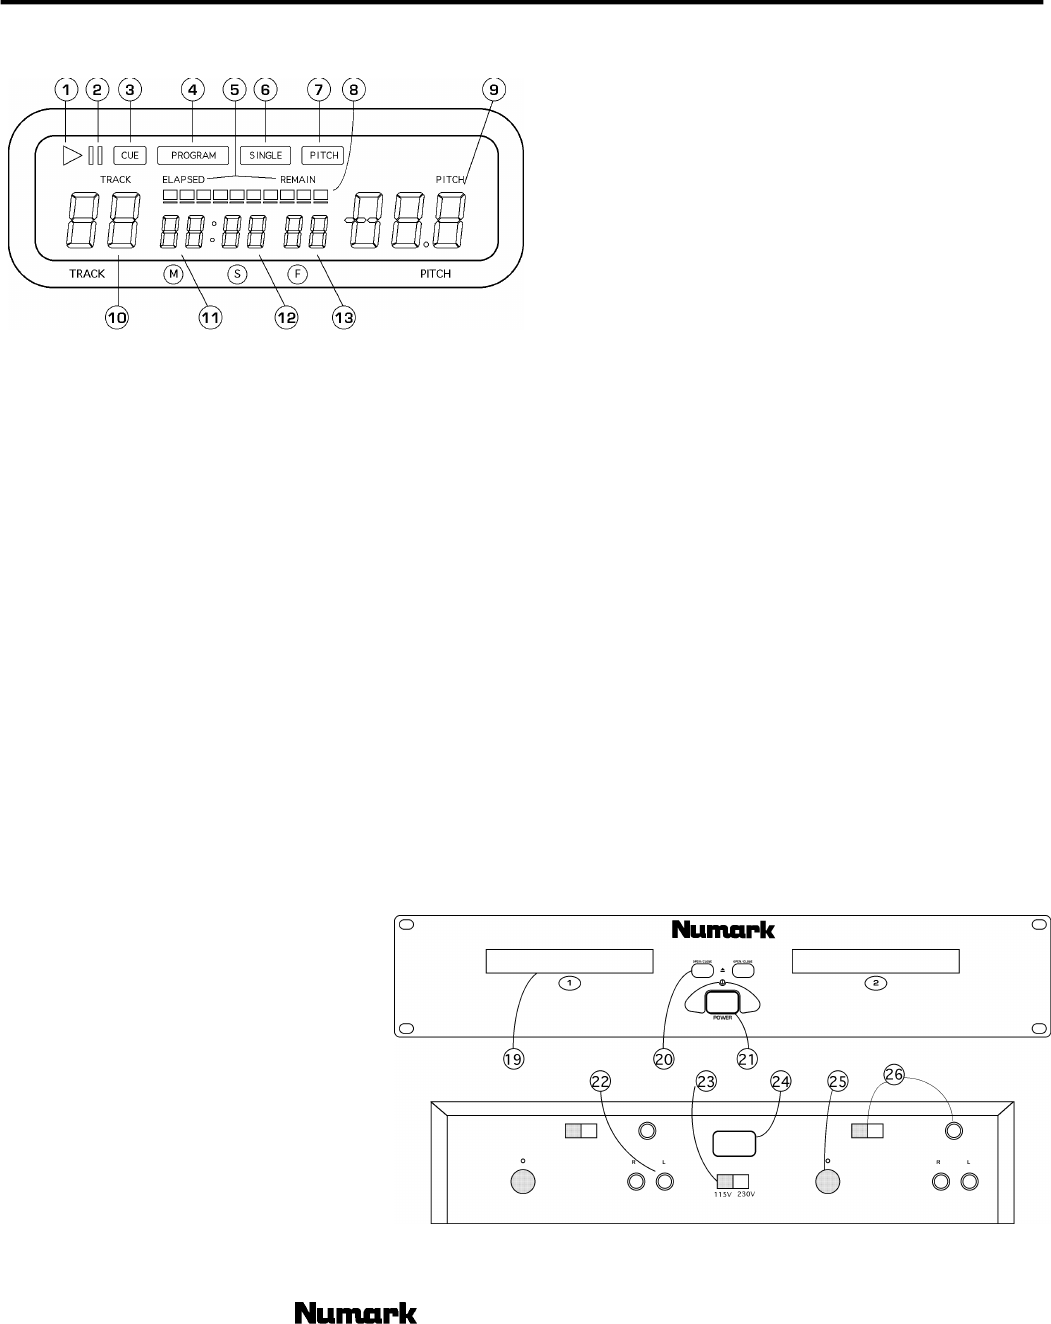
LCD DISPLAY FEATURES
c) PLAY - Active while the unit is actually playing a CD.
d) PAUSE - Active when the unit is paused.
e) CUE - Flashing when the unit is setting a cue point.
Lit continuously when the unit is paused at a cue
point.
f) PROGRAM - Used for preprogramming the track
order to automatically be played by the unit. This is
a great function if you need to leave the CD player
alone.
g) TIME MODE -
(Elapsed) is for showing time as it is taking place.
(Remain) shows how much time is left on a
particular track. This function is controlled by the
TIME BUTTON (4).
h) SINGLE - Shows when the unit is set to play just
one track at a time. When this is not lit the CD will
play continuously through all tracks. This function is
controlled by the SING/CONT BUTTON (2).
i) PITCH - Is lit when the PITCH BUTTON is active.
j) TIME BAR - Shows either time remaining or elapsed
depending on the setting of the TIME BUTTON (4).
k) PITCH - Shows the percentage change in pitch.
l) TRACK - Shows the track that the unit
is playing with.
m) MINUTES - Shows the minutes elapsed
or remaining depending on mode
setting.
n) SECONDS - Shows the seconds
elapsed or remaining depending on
mode setting.
o) FRAMES - The CD Player breaks down
a second into 75 frames for accurate
cueing. This shows the frames elapsed
or remaining depending on mode
setting.
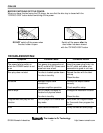
TRANSPORT FEATURES
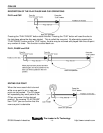
19. DISC TRAY- Place your CD in here.
20. OPEN/CLOSE (Disc Tray Open/Close) - Press to
load or eject the disc. Each press will open or close
the disc tray on the transport. NOTE: Tray will not
open unless the disc has been paused.
21. POWER BUTTON - Turn on and turn off the
machine from this button. The unit should always be
shut down with this button first before any external
power is removed.
22. RCA AUDIO JACKS - Connect your CD player to
your mixer from this line level output.
23. VOLTAGE SELECTOR - Set this switch to the
voltage for your location.
24. IEC POWER CONNECTOR - Plug your supplied
power cord into here then plug unit into a power
outlet.
25. CONTROL CONNECTOR - Plug your control cables
for each unit into here and the back of the remote
unit.
26. DIGITAL OUTPUTS - The format is type 2, form 1,
also known as S/PDIF (Sony/Phillips Digital Interface
Format). In order to use the digital output you must
set the digital output selector to on. This will
deactivate the variable pitch slider and the pitch
bend buttons or pitch wheel. If you were able to
adjust the pitch, other devices will not read the
digital output properly.


