


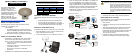

DETERMINING WHEN THE POSITION IS VALID
When the receiver has a valid position, the Solution Status field
in CDU’s Position window shows Computed.
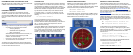
ENTERING COMMANDS
The SMART-V1/V1G uses a comprehensive command
interface. Commands can be sent to the receiver using the
Console window in CDU, which is opened from the View menu.
Enter commands in the text box at the bottom of the Console
window.
The following information is important when entering commands:
• Commands can be entered in three formats:
• ASCII (log bestposa)
• Abbreviated ASCII (log bestpos)
• Binary (log bestposb).
Abbreviated ASCII is the best format to use when you
wish to work with the receiver directly. For data
collection, use ASCII or Binary.
• Press Enter to send the command string to the receiver.
• The commands are not case sensitive.
The OEMV Family Quick Reference Guide provided with the
receiver lists the available commands and the parameters they
use for the Abbreviated ASCII format.
LOGGING DATA
An extensive collection of logs has been created to capture the
data your SMART-V1/V1G receives and processes. These logs
can be directed to a SMART-V1/V1G port (COM1, COM2 or
USB) and can be automatically generated when new or changed
data becomes available or at regular intervals. The available
logs are listed in the OEMV Family Quick Reference Guide.
To log data, use the LOG command. For example, to log the
pseudorange position to COM 2 every 30 seconds, enter the
following:
LOG COM2 PSRPOS ONTIME 30
Logs can be generated in one of three formats: ASCII,
Abbreviated ASCII, or Binary. Refer to the OEMV Family
Firmware Reference Manual (OM-20000094) for information on
the LOG command, specifying the output format, and the
detailed contents of each log.
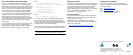
If you prefer, CDU provides a graphical interface for configuring
data logging. Select Logging Control Window from the Tools
menu. In the Logging Control window, you can select which logs
to capture and choose to which ports to send the data. In
addition, you can specify a file in which to save the data.
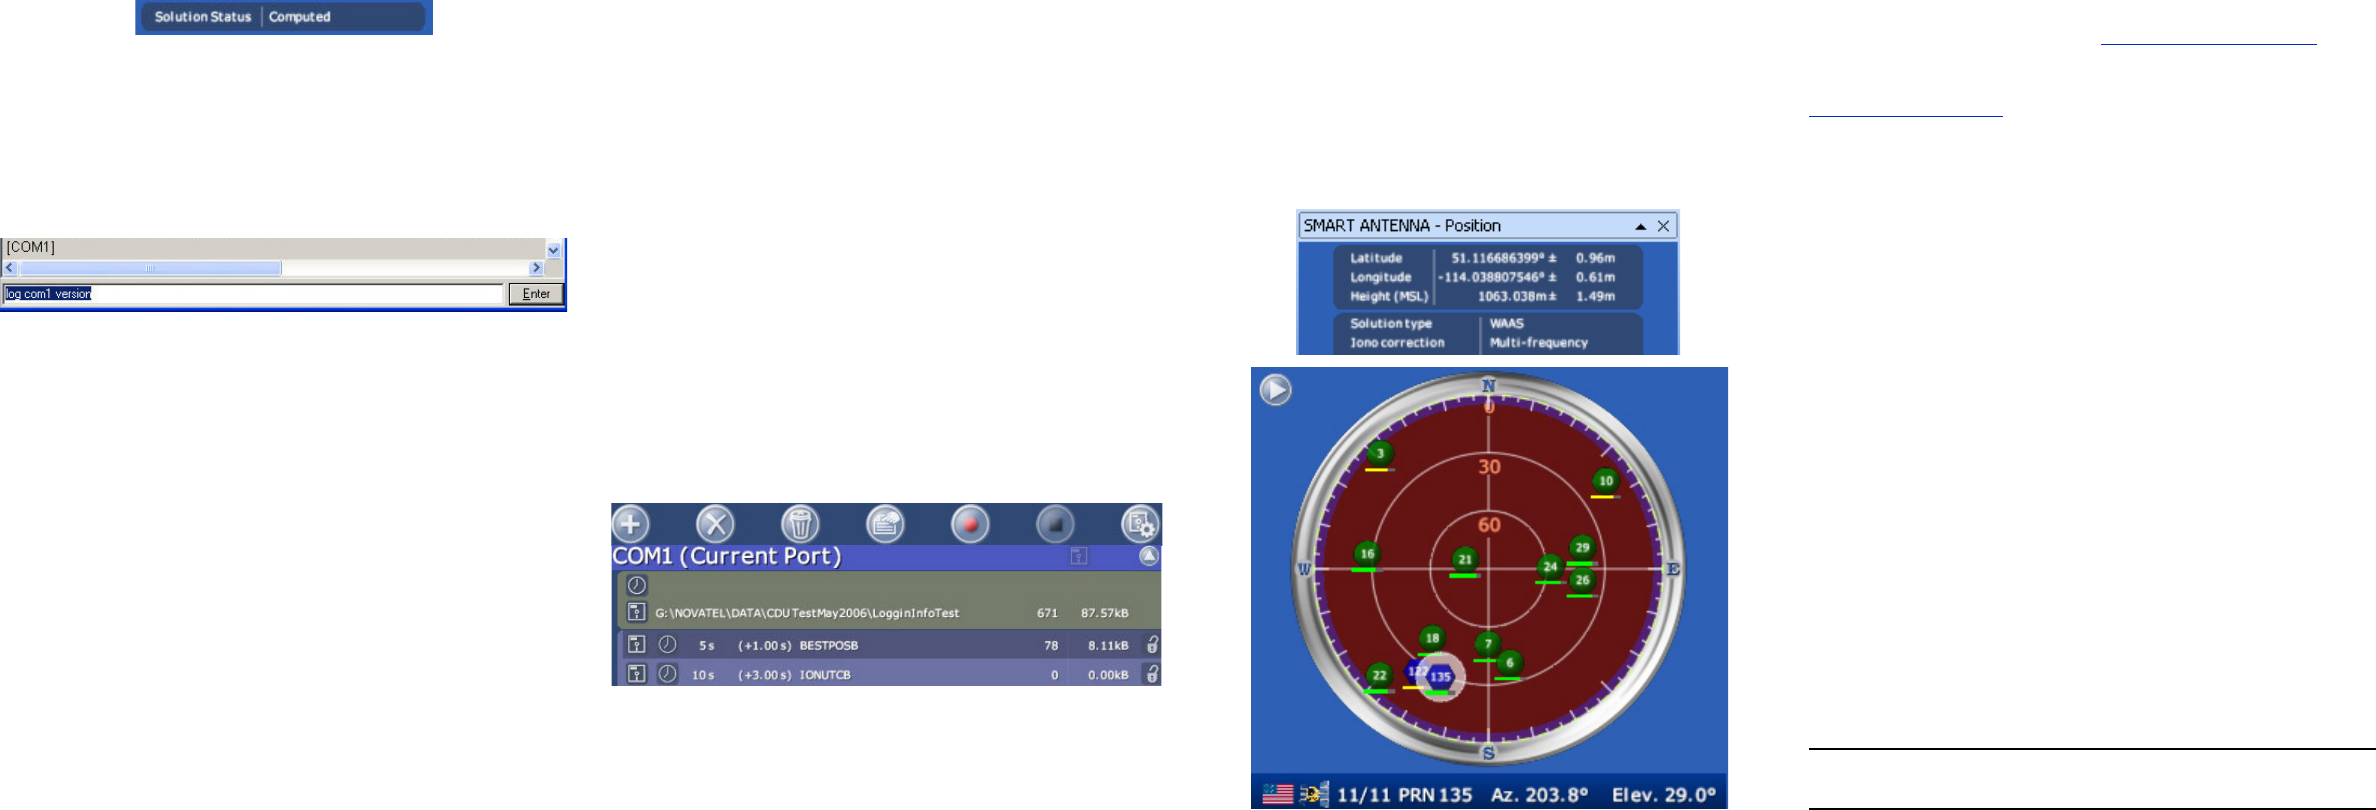
ENABLING SBAS POSITIONING
SMART-V1/V1G models are also capable of SBAS positioning.
This positioning mode is enabled using the SBASCONTROL
command. The following commands are typically used to enable
WAAS (North America) and EGNOS (Europe) systems:
SBASCONTROL ENABLE WAAS
SBASCONTROL ENABLE EGNOS
Once enabled, the Position Type field shown in CDU’s Position
window should change from Single to WAAS and you may see
SBAS satellites in the Constellation window.
ENABLING L-BAND POSITIONING
L-Band equipped receivers allow you to achieve sub-meter
accuracy. To use this positioning mode, you must enable L-band
tracking to the Canada-Wide Differential GPS (CDGPS) or
OmniSTAR signal. A subscription to OmniSTAR is required to
use the OmniSTAR service (visit http://www.omnistar.com
and
have your receiver’s serial number ready). The CDGPS signal is
free and available without subscription over North America (visit
http://www.cdgps.com
).
The ASSIGNLBAND command allows you to set OmniSTAR or
CDGPS base station communication parameters and to start
tracking L-Band satellites. It should include a relevant frequency
and data rate. The frequency assignment can be made in Hz or
KHz. For example:
Hz: assignlband omnistar 1536782000 1200
KHz: assignlband omnistar 1536782 1200
A value entered in Hz is rounded to the nearest 500 Hz.
To confirm you are tracking an L-Band signal, log the L-Band
status information by entering: log lbandstat. For example,
if you are receiving CDGPS, the fifth field after the header
should be 00c2:
lbandstata com1 0 43.5 finesteering 1295
149951.671 00000000 976f 34461;
1547546977 46.18 4541.0 0.00 00c2 00f0 ...
To specify the correction source, use the PSRDIFFSOURCE
command as shown in the examples below:
PSRDIFFSOURCE OMNISSTAR or,
PSRDIFFSOURCE CDGPS
otherwise it is left at the default AUTOMATIC.
Refer to the OEMV Family Firmware Reference Manual for more
details on individual L-Band or SBAS commands and logs.