10 7
2 3
4
5 6 7 8
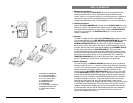
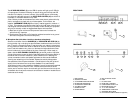
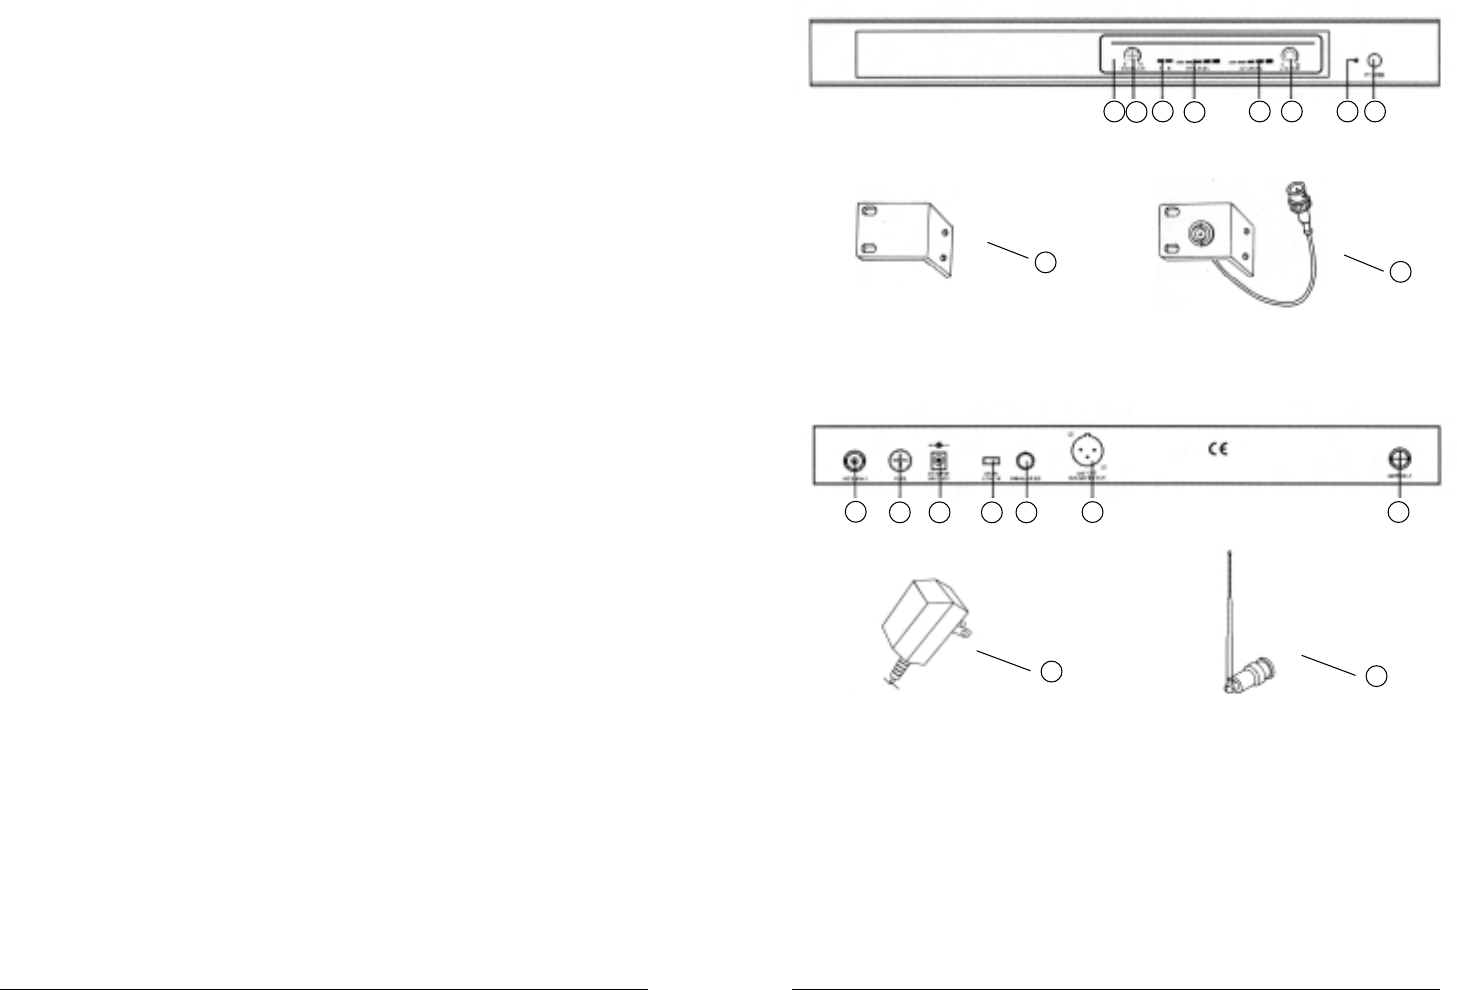
FRONT PANEL
REAR PANEL
1
9
10 11
12
13 14
9
15
17
18
10. FUSE
11. DC INPUT JACK
12. LEVEL LOW/HI SWITCH
13. UNBALANCED AUDIO OUT
14. BALANCED AUDIO OUT
15. 12-15 VDC ADAPTER
16. TELESCOPING ANTENNAS
17. STANDARD RACK EARS
18. FR-2 FRONT-ANTENNA RACK KIT (optional)
1. FRONT PANEL
2. SQUELCH CONTROL
3. A/B DIVERSITY LED INDICATORS
4. RF LEVEL LED INDICATORS
5. AF LEVEL LED INDICATORS
6. VOLUME CONTROL
7. POWER ON LED
8. POWER SWITCH
16
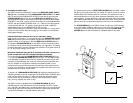
The AF LEVEL LED DISPLAY (5) on the URR-10 receiver will light up to 5 LEDs for
all input signals. Occasional flickering on and off during use of the top red LED
indicator in this display is normal, however if the red LED stays on continuously,
turn down the instrument volume or the INPUT LEVEL CONTROL (33) on the UB-10
transmitter, or noticeable distortion may result.
(Note: Scratchy noises can sometimes occur when some electric guitars with dirty
pots or connections are used with any wireless system. For this reason, the
supplied INSTRUMENT CORD (28) has a factory installed capacitor inside the 1/
4" plug. This capacitor provides first order filtering of the RF signal from the cord
into the guitar and eliminates virtually all scratchy noises. Should your equipment
still give you scratchy noises, we suggest these steps to eliminate them:
1) Make sure all guitar volume and tone pots are clean and all contacts are
solid–this is very important.
2) Provide extra filtering with a 47pf capacitor soldered across the hot to ground
terminals of the guitar’s volume and tone pots.)
6. Microphone Use (with either a lavalier or headworn microphone)
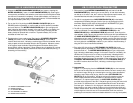
Secure the connection from the LAVALIER (30) or HEADWORN MIC CORD (29) by
turning the slip ring on the plug into the transmitter clockwise to thread it on to the
jack. To unplug, reverse the process. To use the lavalier mic, attach it at chest level.
Do not place it too close to the mouth–a distance of about six inches usually works
best. To use the headworn mic, place it on the head and adjust the boom so that
the mic is about one inch to the side of the front of the mouth. When ready to
speak, slide the OFF/STANDBY/ON SWITCH (31) to the ON position. Adjust the
volume of the receiver as per the Audio Output Microphone Connection section of
the above URR-10 receiver instructions.
[Note: Observe care in selecting P.A.
volume, transmitter location and speaker placement so that acoustic feedback
(howling and screeching) will be avoided. Please also note the pickup pattern
characteristics of the microphone selected. Omnidirectional mics pick up sound
equally from all directions and are prone to feedback if not used carefully.
Unidirectional mics are more resistant to feedback, but pick up sound sources best
that are directly in front of the mic. Also, mics that are farther from the sound
source, such a lavaliers, require more acoustic gain and thus are also more prone
to feedback than close-source mics such as handheld or headworn models that are
used close to the mouth].
9. BNC ANTENNA JACKS


