


M1 CDT manual issue 2 Page 14 of 17
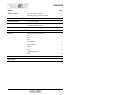
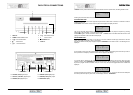
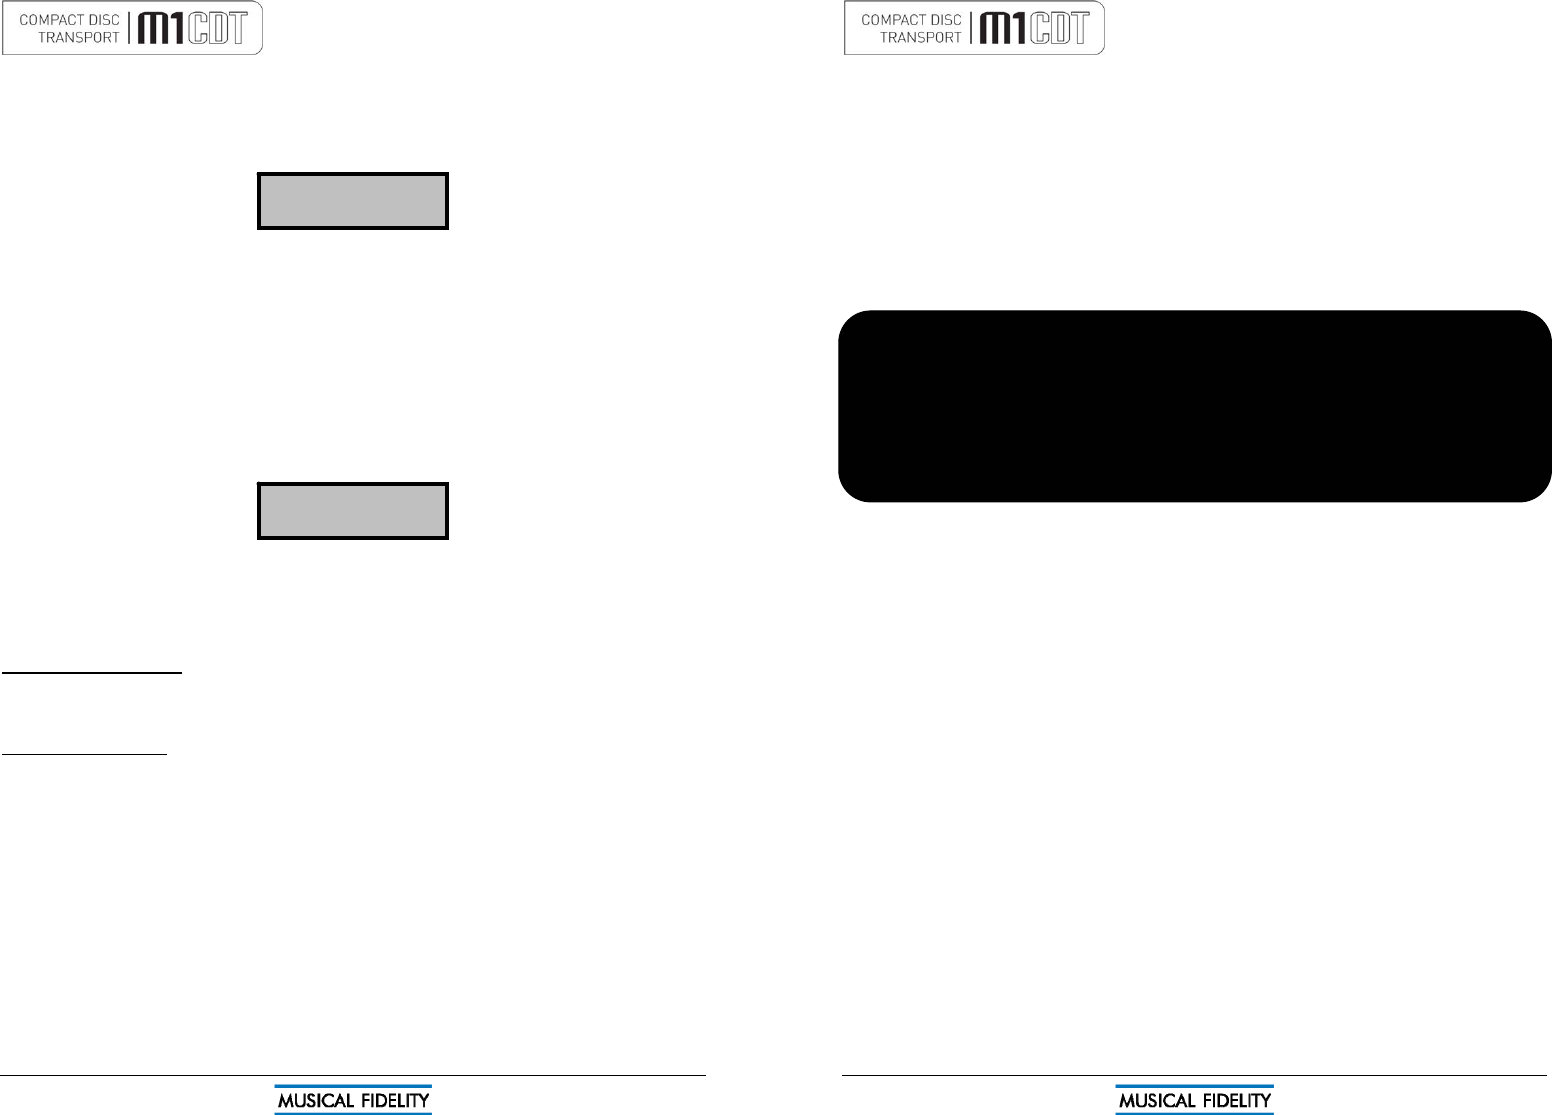
PLAY 1
0
:
41
program play
PLAY 1
0
:
41
program rpt
If at any time you wish to add a track to the list, press the CLEAR button to obtain the next step number.
Alternatively, to delete a previous entry, press CLEAR a second time to remove the last entry. Repeated
pressing of CLEAR will then erase each step in reverse order. So to delete an entire program sequence from
the memory, press CLEAR repeatedly until “PROGRAM 1” is shown in the display.
When the last track number has been entered, press PROGRAM a final time, then the
►|▐▐ button to start the
program sequence.
If you wish to check the selection before playing back your program, the CHECK button can be pressed to step
through each program entry in turn.
If during this check sequence the
►|▐▐ button is pressed, the remaining part of your programmed selection will
play to the end of the sequence.
Otherwise, to play all the programmed tracks from the beginning of the sequence, press
►|▐▐, or ► on the
remote control directly from programming. You can also start the sequence from any point by stepping through
the programmed sequence with CHECK button until the desired starting track is displayed.
The
►►| button may be pressed to jump to the next track in the programmed sequence, or |◄◄ button to obtain
the previous track in the sequence.
When all programmed tracks have played, the CD player stops. The same track selection can then be played
again by pressing the
►|▐▐ button on the front panel, or ► on the remote control.
To repeat a programmed sequence continually, press REPEAT whilst playing the program.
To cancel this mode, press PROGRAM.
Note: The program contents will be cleared if you switch off the power, or load another disc. If,
however, the same disc is loaded again with the power still switched on, the program sequence is
retained in the memory.
TIME (remote control only)
Pressing the TIME button displays the word TRACK followed by the current track elapsed time. Pressing a
second time displays the word DISC then the total disk time elapsed.
Trigger input and output
The unit can be triggered to switch on or off remotely by applying a ±4.5 to ±15V DC signal to the 3.5mm (⅛”)
TRIGGER INPUT from an external triggering device. Any futher devices to be triggered on/off may be
connected to the TRIGGER OUTPUT jack as it replicates the TRIGGER INPUT signal. This will form a chain of
devices that will switch on and off together.
N.B. the on/off triggering action works from ANY device in the chain, whether at the beginning, middle or end of
the chain.
OPERATION
M1 CDT manual issue 2 Page 7 of 17
Introduction
Congratulations on the purchase of the new M1CDT player. This unit will give top quality performance when
used as a top quality CD player delivering the best performance possible from CD
Cleaning
Before cleaning the unit, switch off power at the mains switch and remove the mains plug from the wall socket.
Clean the cabinet and remote control unit using a moist cloth. Using solvents, white spirit or thinners is not
advised, as they could damage the surface finish.
Installation
Position the M1CDT on a stable, horizontal surface where there is no risk of it being knocked, or subjected to
vibration such as from loudspeakers.
Important note:
In normal operation, the unit dissipates a small quantity of power at all times, and it is important
that it is adequately ventilated. The top and bottom are perforated to allow the smooth flow of heat
through the unit. It is therefore not recommended that the unit is enclosed in a cabinet or placed
where the ventilation holes are impeded as this could result in excessive heat build-up.
The M1CDT must be protected from humidity – if the unit is moved from a cold place to a warm
room, leave the unit for an hour or so to allow sufficient time for the moisture to evaporate.
Power Connections
The M1CDT is supplied with a standard IEC mains cable which plugs into the IEC socket at the back of the unit
Digital Connections
RCA digital (SP/DIF) output: Connect RCA digital receiver to RCA digital outputs. Use good quality fully
connected (signal and ground) coaxial digital cables for optimum RCA digital signal transfer.
Optical (TOSLINK) output: Connect optical digital receiver to optical output. Use good quality “Toslink” cables,
for optimum signal transfer.
AES/EBU XLR (balanced) output: Connect AES/EBU digital receiver to AES/EBU output. Use good quality
fully connected (signals and ground) AES/EBU balanced digital cables for optimum AES/EBU digital signal
transfer.
Trigger Connections
Trigger input: Connect system triggering device output to this socket. Use good quality 3.5mm mono jack
cable. Unit accepts 4.5V-15V DC triggering, either polarity.
Trigger output: Connect further devices in the system to be triggered into this socket. Use good quality 3.5mm
mono jack cable.
INSTALLATION