


STEP 1
Using a stud finder (available at low cost at most hardware stores)
or other accurate method, locate center point between two
studs and mark. Using template provided, trace hole pattern on
surface of wall.
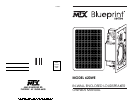
STEP 2
Using a sabre saw, keyhole saw or very sharp utility knife, cut hole
in wall, following traced pattern.
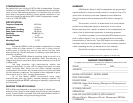
STEP 3
Run loudspeaker wires to sound source location. There are several
methods you can use to accomplish wiring, depending on the
construction characteristics of the room or house. You can add a
professional touch to your installation by using a speaker terminal
plate at the source location. Leave sufficient amount of wire at
speaker location (8 to 10 inches) to complete connection.
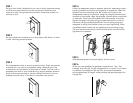
STEP 4
Attach loudspeakers wires to speaker terminals, observing correct
polarity (positive to positive and negative to negative). Insert the
speaker into the mounting hole. Be careful not to pinch the
loudspeaker wires in the process. using the integral bubble levels
located on the baffle, align the speaker’s frame either horizontally
or vertically. Once you are satisfied with the speaker’s location,
tighten the eight mounting wings located near each corner of
the frame using a phillips screwdriver. The mounting wings are
designed to swing into position when you start tightening.
Note:
the phillips head screws are for tightening the mounting wings.
The torx head screws are for the enclosure which should not be
tightened or loosened.
STEP 5
After speaker panel is secured tightly, test for sound.
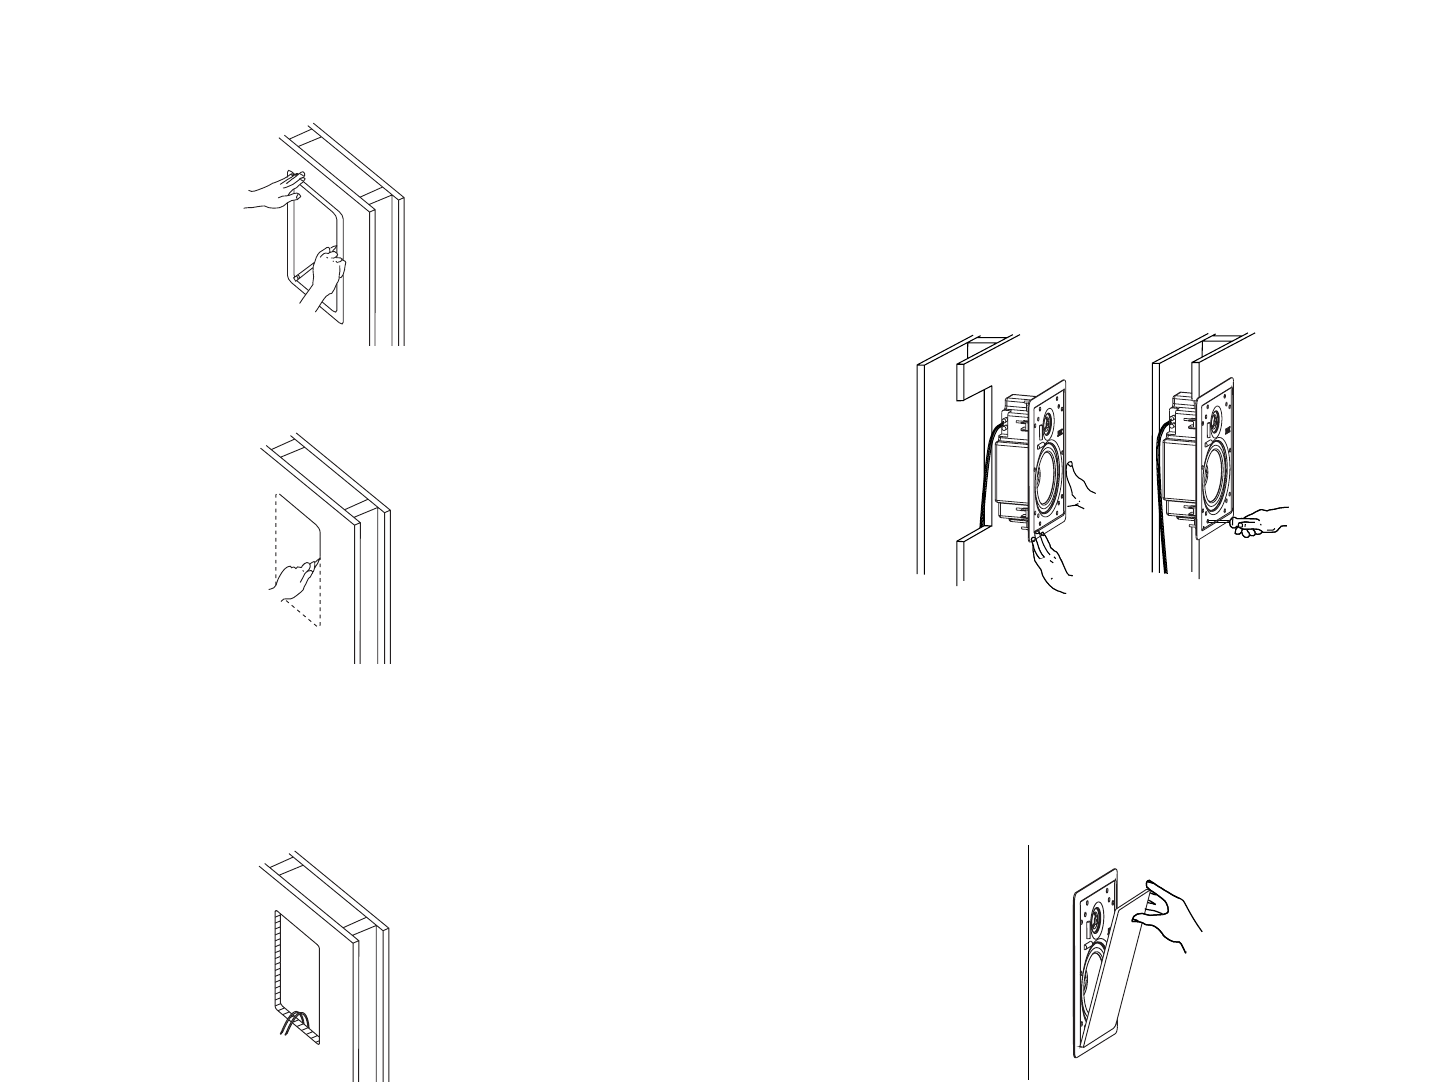
STEP 6
When you are satisfied the speaker is operational, “aim” the
tweeter, and affix grill. As grill is designed for a snug fit, you’ll need
to position one edge into the slot first, and press or squeeze
around perimeter of thegrill, while pushing the leading edge into
the grill slot.