


30
Notes
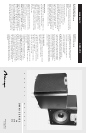
owners manual
3
SUBWOOFER PLACEMENT
The placement of your new MIRAGE
®
subwoofer is critical to its
performance. The three most common locations include: in the corner
of the room (which can result in a boomy or exaggerated low
frequency response), placement along one wall but out of the corner
(moderate bass performance with increased fidelity over corner
placement), or alongside a front speaker (creating a better blend with
the front speaker, but sacrificing overall volume). Experimentation with
subwoofer placement is highly encouraged, as slight adjustments can
create large benefits in sound reproduction. To further test subwoofer
placement, install the subwoofer temporarily in your main listening
position and while playing a familiar piece of music, walk around the
listening room until you find the best sounding position. This is a
possible location for the subwoofer to be placed.
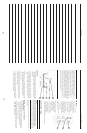
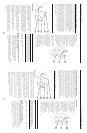
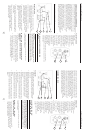
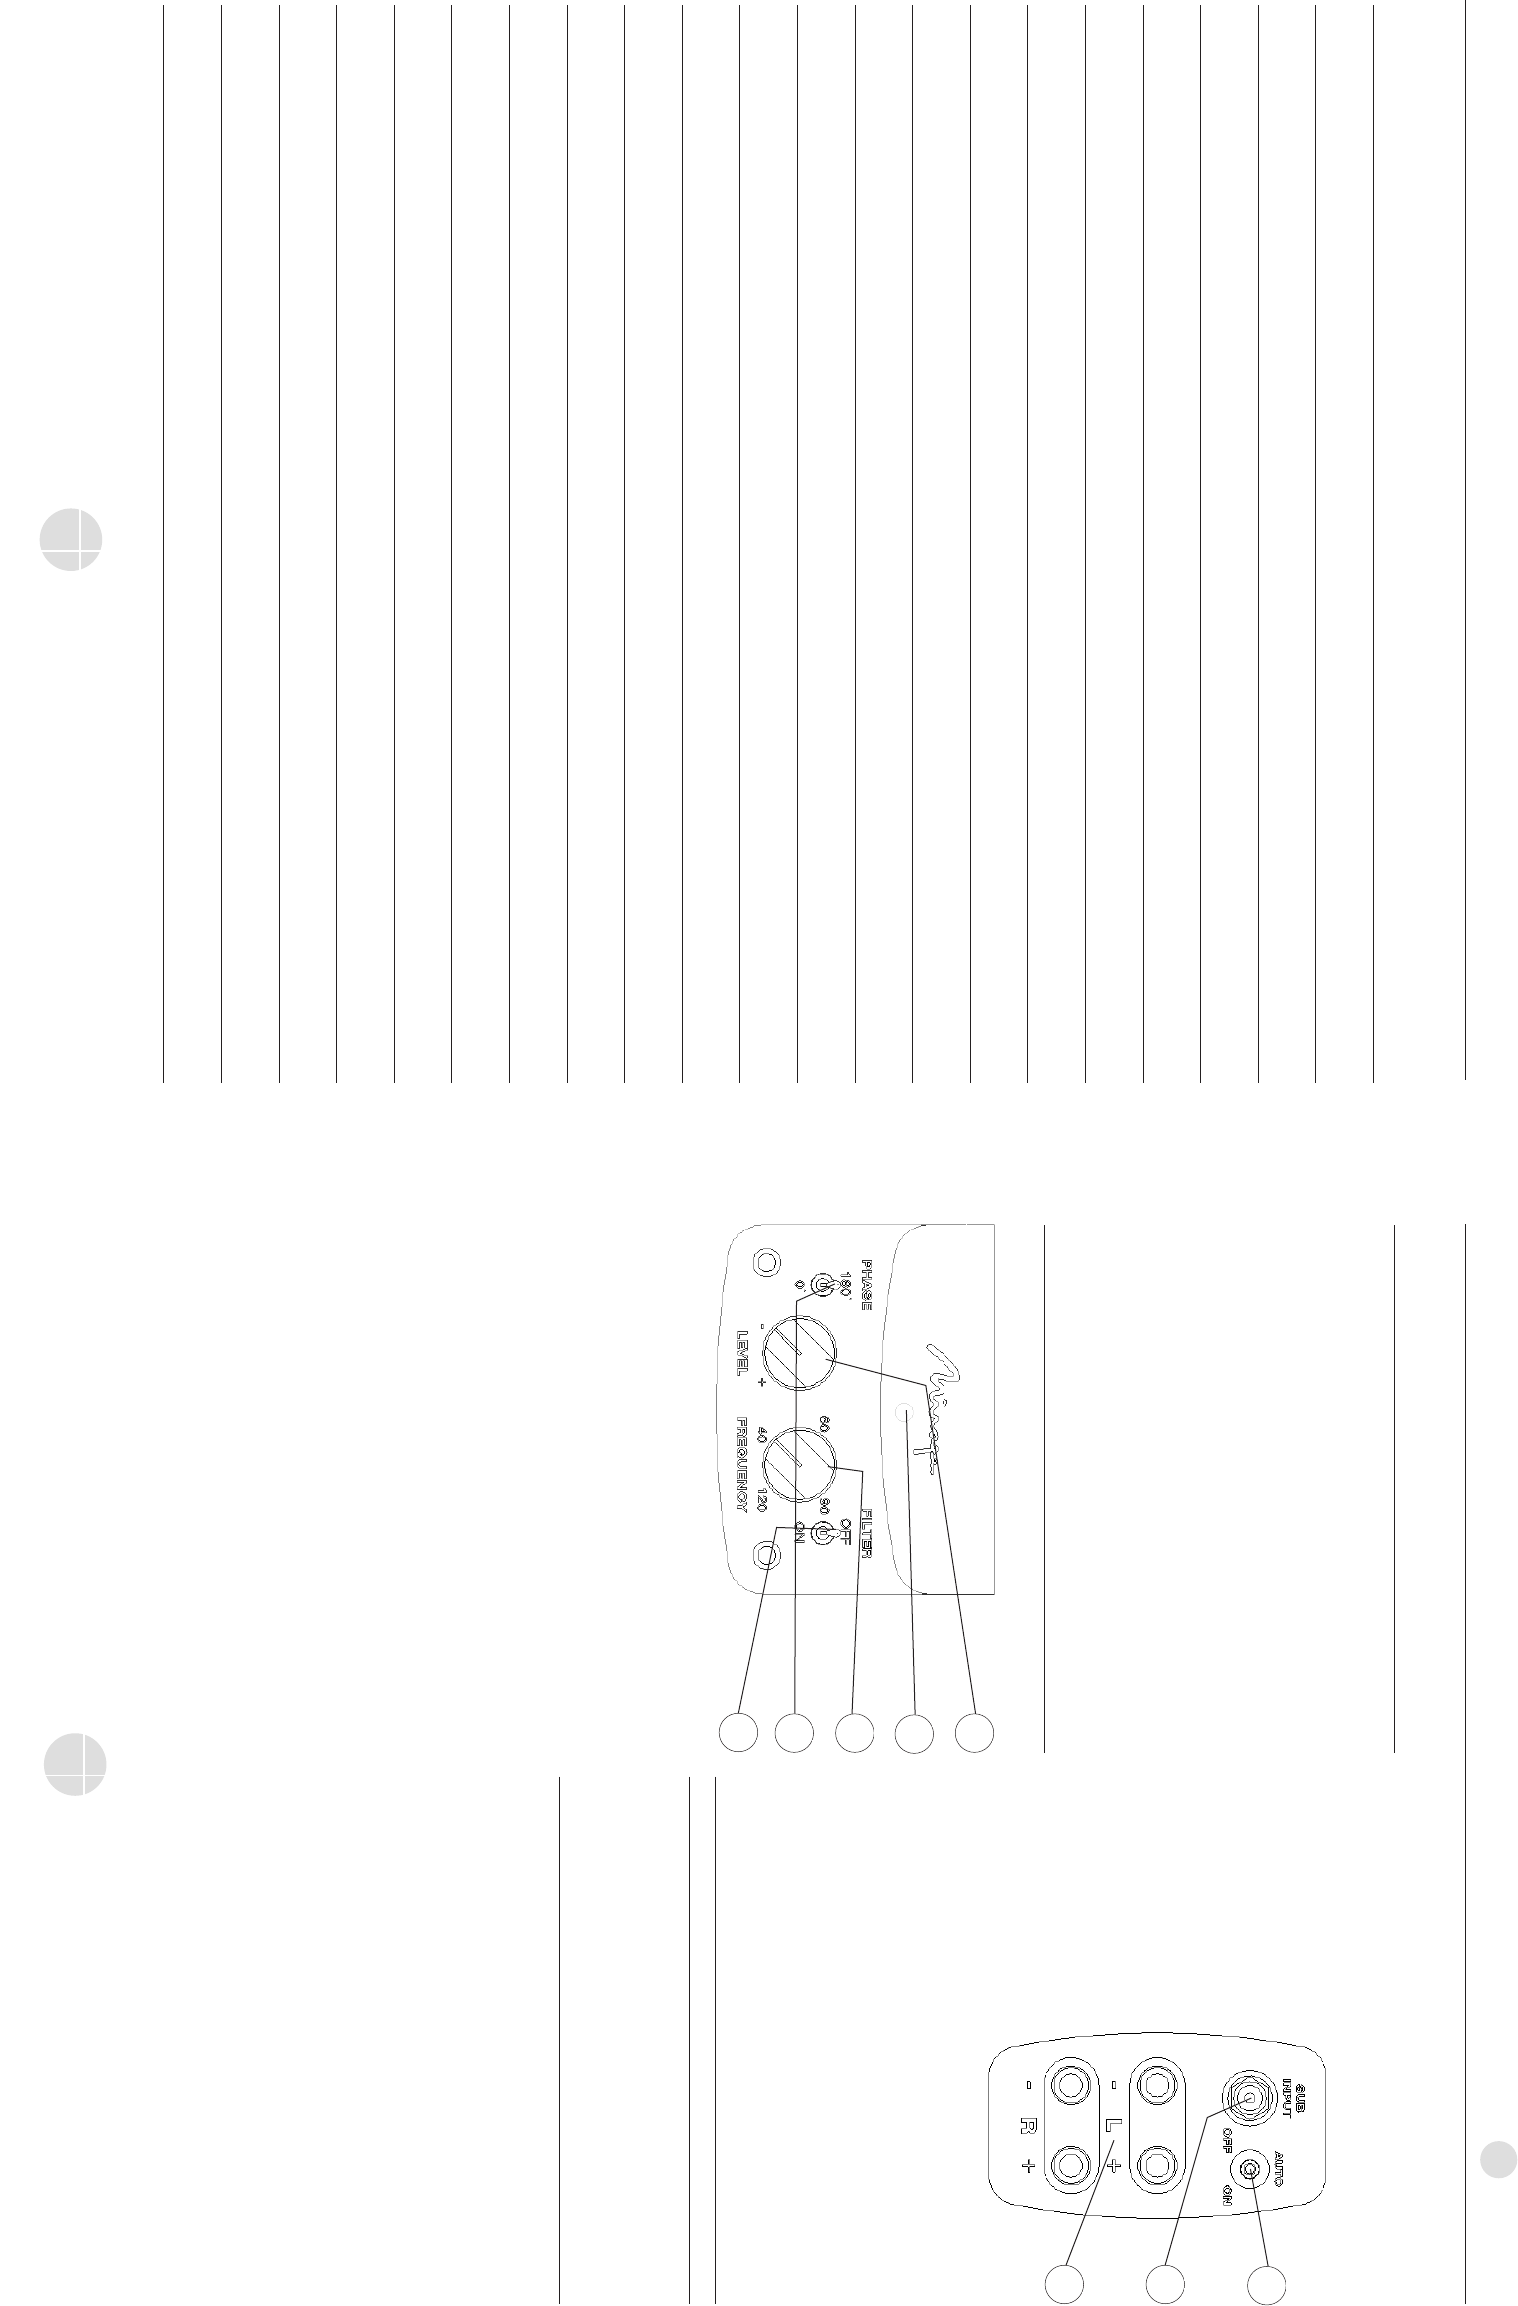
TERMINOLOGY AND CONTROLS
Front Panel
1. Subwoofer Level Control - This knob can be adjusted to control the
level of output from your subwoofer. The level chosen should allow
the subwoofer to blend its output with that of the rest of your
audio system.
2. Status Indicator – The LED found on the front panel will illuminate
when the subwoofer is connected to an AC source and the unit is
active. The LED will display in red when the unit is plugged in but
is not receiving a signal and will display green when the unit is
active.
3. Frequency Control – This control allows for the adjustment of the
low-pass filter. Adjustments can infinitely be made from 40Hz to
120Hz. This will determine the highest frequency that the
subwoofer will play.
4. Phase Control – This switch allows for the adjustment of the phase
of the subwoofer, in relation to the speakers used in your system,
either 0 degrees or 180 degrees.
5. Filter Mode – This switch allows for the selection of either Filter On
or Filter Off. (Please see the connections section for suggestions on
which mode is appropriate for your installation).
Rear Panel
6. Power Mode – This switch
can be set to either On, Off
or Auto. If the switch is in
the Off position, the
subwoofer will not power
up. If the switch is in the On
position, it will constantly
remain on. If the switch is
set to the Auto position,
when a signal is present the
subwoofer will turn on and
will automatically turn off
several minutes after a signal
is no longer present.
7. Sub In – This input is an RCA
type mono input.
8. High-Level Input – These are
5-way binding post type
speaker connectors. The
High-Level inputs are
designed to be used on
receivers or amplifiers that
do not incorporate any RCA
type subwoofer outputs. If
your receiver is equipped
with an RCA type subwoofer
output, these speaker level inputs should not be utilized.
CONNECTING YOUR
MIRAGE SUBWOOFER
Caution:
All power should be turned off to your system before any
connections are made. Careful attention should be taken to
ensure that all electronic components are not connected to an
AC source. Not doing so could result in potential damage to the
system.
There are two mutually exclusive methods to connect your subwoofer
to your receiver.
Method 1 – RCA – For Home Theater
or LFE Applications
1. On the rear of the receiver there should be a single RCA type jack
marked “Subwoofer Out”. Connect a single RCA cable from that
jack to the RCA Sub In (#7) on the rear of the subwoofer. A
standard male to male RCA cable is needed.
2. After connecting the single low level Sub In (#7) connection, plug
your MIRAGE
®
subwoofer into an AC outlet. Do not use the AC
outlet on the rear of your receiver.
1
2
3
4
5
6
8
7