PAGE 7
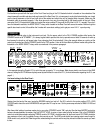
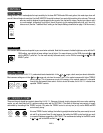
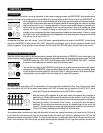
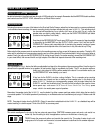
The importance of this switch is a must to understand. At low to medium playing volumes, the LEAD BRIGHT adds desirable sizzle,
and gain in the highs to the overdrive sound and contributes to a “big easy feeling” as well. At high volumes the LEAD BRIGHT can
cause real problems, such as excess squealing and noise. At high volumes it is often not necessary to supple-
ment the LEAD mode’s natural gain because the power amplifier will also be going into overdrive. So please
keep in mind how your Boogie’s cascading gain works: there are several amplifier stages in a row with “gain”
controls at all the crucial points in between, so you can produce enormous amounts of amplifier gain at low
volumes. Your MARK IV is capable of playing very loud as well, but it is not feasible to play with high gain
and high volume simultaneously without causing squealing, feedback and excess noise. A Ferrari is a great
car in tight corners and it is wickedly fast on the straightaway, but at some combination of speed and cornering
it will spin-out. So will your MARK IV !
So remember to balance “gain” with “volume”. In the LEAD mode, a general guideline might be push in the BRIGHT for loud playing
and pull out the BRIGHT at lower volumes. Your 12AX7 tubes will be much happier...and so will your soundman! (Another switch
similarly “dangerous” at high gain/high volume settings is the Rear Panel LEAD VOICING switch, described later in this manual.)
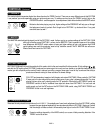
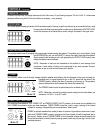
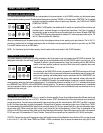
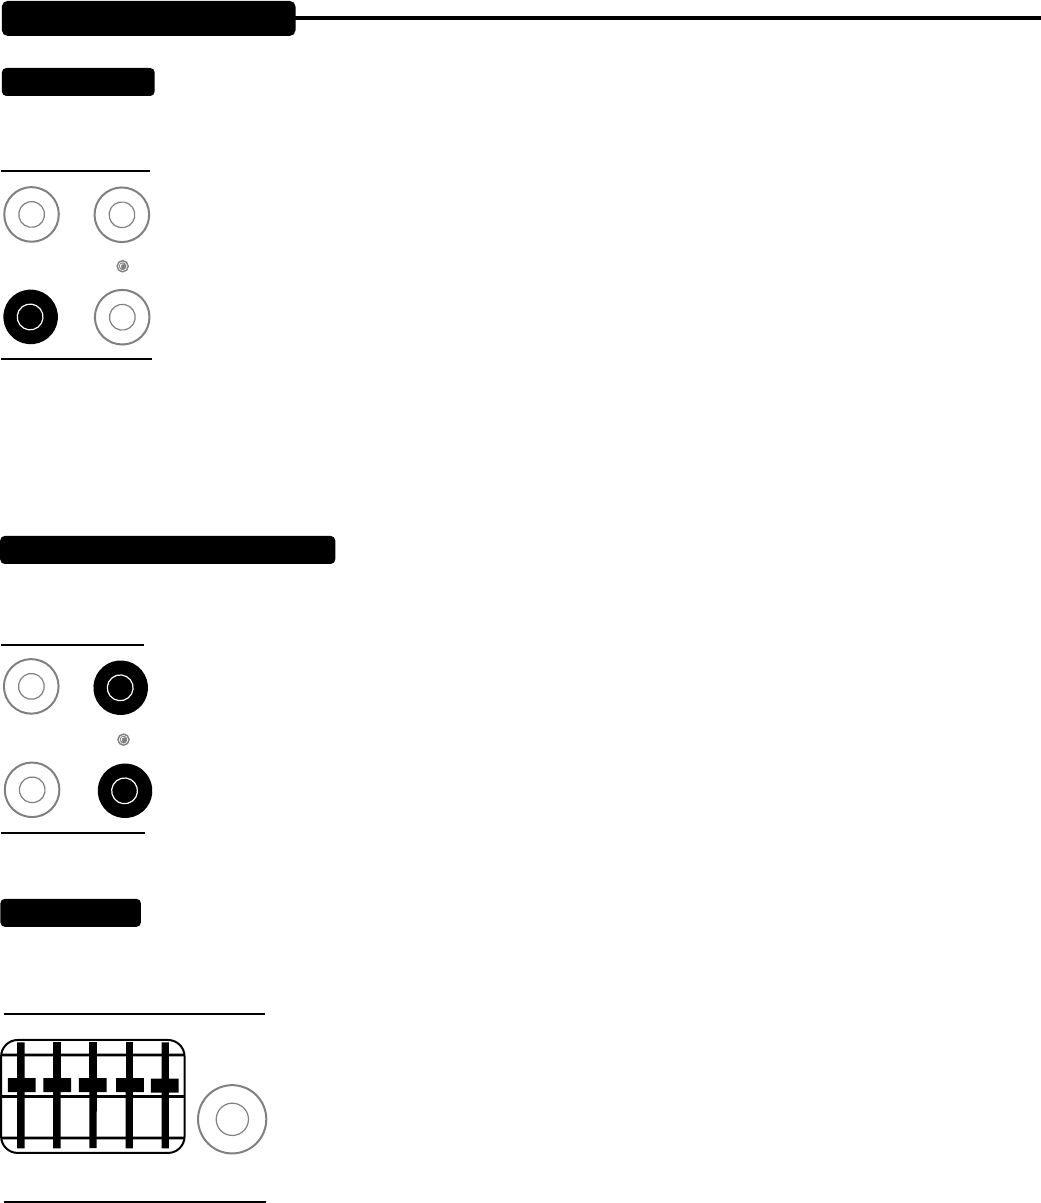
These two controls work similarly to the ones previously discussed. Note that adding lots of PRESENCE (which is extra gain in the
highest frequency range) to high gain and high volume settings may aggravate the spin-out of squealing and excess noise. The LEAD
PRESENCE control has a PULL SHIFT which operates just like the R2 PRESENCE PULL SHIFT - it reduces
the amount of low frequencies and shifts the range of the Presence effect.
You may find that pulling out the PRESENCE control gives you a better balance when playing with a band,
while pushing in the PRESENCE control provides a bigger and fatter sound for mic’ed up recording. When
the shift is pushed in and the graphic EQ is set to the “Classic V” setting (see below), unholy amounts of tight,
chunking bottom end are available. Give this setting a try for metal rhythm grooves.
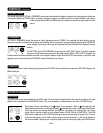
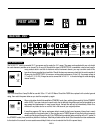
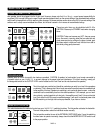
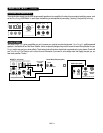
This feature can be switched IN or OUT via the footswitch or the mini-rocker switch located on the Rear Panel. The rear rocker switch
has three positions: left is EQ IN (all modes), center position is EQ OUT (all modes) and right position is EQ AUTO RHY 2, which
means the EQ comes on automatically whenever RHYTHM 2 is selected.
Note that once the EQ is switched IN via the rocker switch, the footswitch will not be able to
take it back out. Indicator LED’s on both the footswitch and the amplifier’s Front Panel indicate
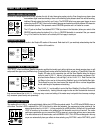
EQ status. Setting up the EQ is strictly a matter of personal taste and enjoyment, so prepare to
have some fun dialing in fine nuances of tonal shading - or going for the outer extremes of
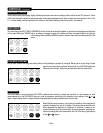
weirdness! The one setting we recommend you use as a departure point is one we call the
“classic V”. It involves boosting the lowest and highest frequency sliders the most, boosting the
240 and 2200 sliders somewhat less and cutting the 750 center band.
You can be as subtle or extreme as you want with this pattern; and when you’re going for extremes, you’ll notice that the 750 slider is
the one that’s by far the most crucial. Once you’ve boosted the other four bands, you’ll find that by adjusting only the 750, you can
determine the strength of the entire EQ effect. You’ll also notice that there is a certain point where the sound goes from “maximum
thrash” to thin and buzzy. You’ll find that your ears quickly become adjusted (addicted?) to this “hyper-tone and when you switch the
CONTROLS:
(Continued)
LEAD BRIGHT:
PULL BRIGHT
MASTERS
5
2
3
4
6
7
8
9
1
0
10
R1
LEAD DRIVE
R2 TREBLE
6
2
3
4
5
7
8
9
1
0
10
6
2
3
4
5
7
8
9
1
0
10
6
2
3
4
5
7
8
9
1
0
10
PRESENCE
CONTROLS
LEAD PRESENCE & LEAD MASTER:
PULL BRIGHT
MASTERS
R1
LEAD DRIVE
R2 TREBLE
5
2
3
4
6
7
8
9
1
0
10
PRESENCE
CONTROLS
5
2
3
4
6
7
8
9
1
0
10
6
2
3
4
5
7
8
9
1
0
10
6
2
3
4
5
7
8
9
1
0
10
GRAPHIC EQ:
SILENT
RECORDING
(PULL)
OUTPUT LEVEL
80 240 750 2200 6600
6
2
3
4
5
7
8
9
1
0
10


